
Pottery Painting: The Complete Guide to Getting Started
There’s a particular kind of satisfaction in painting your own pottery — picking up a plain mug or bowl and turning it into something with your own handwriting on it, in every sense. It’s part of why paint-your-own-pottery studios have stuck around for decades, and why so many people are now doing the same thing at their kitchen table.
If you’re new to this, though, it’s easy to feel like you’re missing context. Do you need a kiln? Is the paint you’re picturing food-safe? What’s actually realistic for a first project?
This guide answers all of that. Think of it as the starting point — a full picture of what pottery painting involves, how the process actually works, and where to go next depending on what you want to paint.
What Pottery Painting Actually Involves
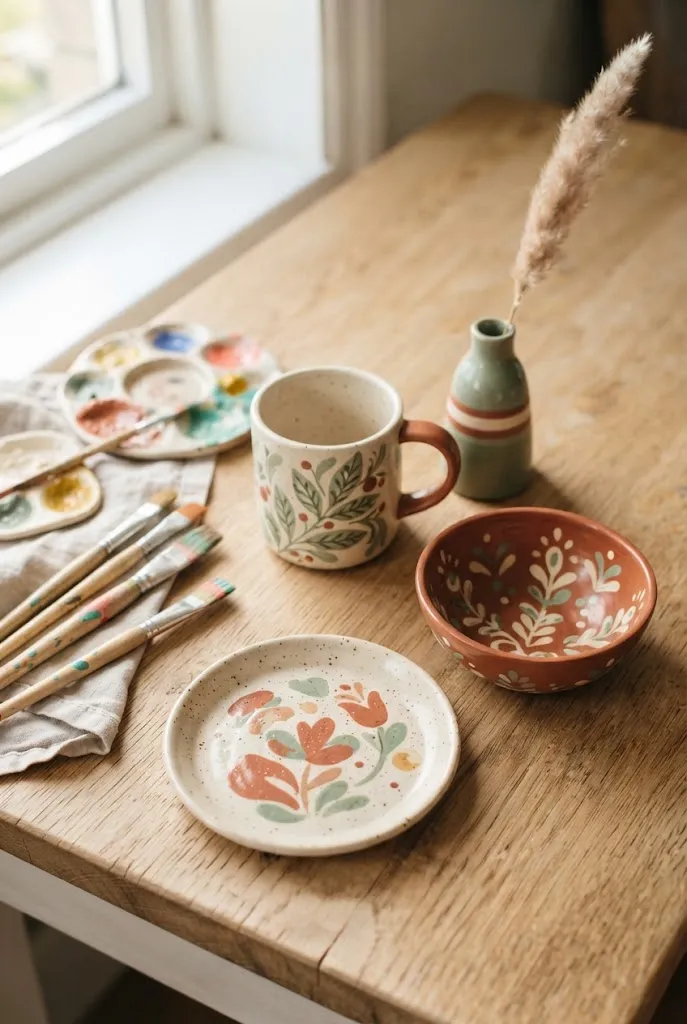
At its core, pottery painting means applying paint or glaze to a ceramic surface to create a design, then setting that design so it lasts. The specifics depend heavily on two things: what stage the pottery is in when you paint it, and what kind of paint you’re using.
Most pottery starts as bisque — clay that’s been fired once but not yet glazed. Bisque has a slightly porous, matte surface, and it’s what you’ll typically find waiting for you at a paint-your-own-pottery studio. Once painted, bisque needs a layer of clear glaze and a second trip through a kiln before it’s finished, which is why studios handle that part for you after you leave.
If you’re painting at home instead, you’re usually working with an already-glazed, finished piece — a mug from your cabinet, a plate from a thrift store — and a different category of paint made specifically for that smooth surface. For a full breakdown of how that at-home process works, from paint selection to the actual painting steps, our complete guide to painting pottery at home walks through it in detail.
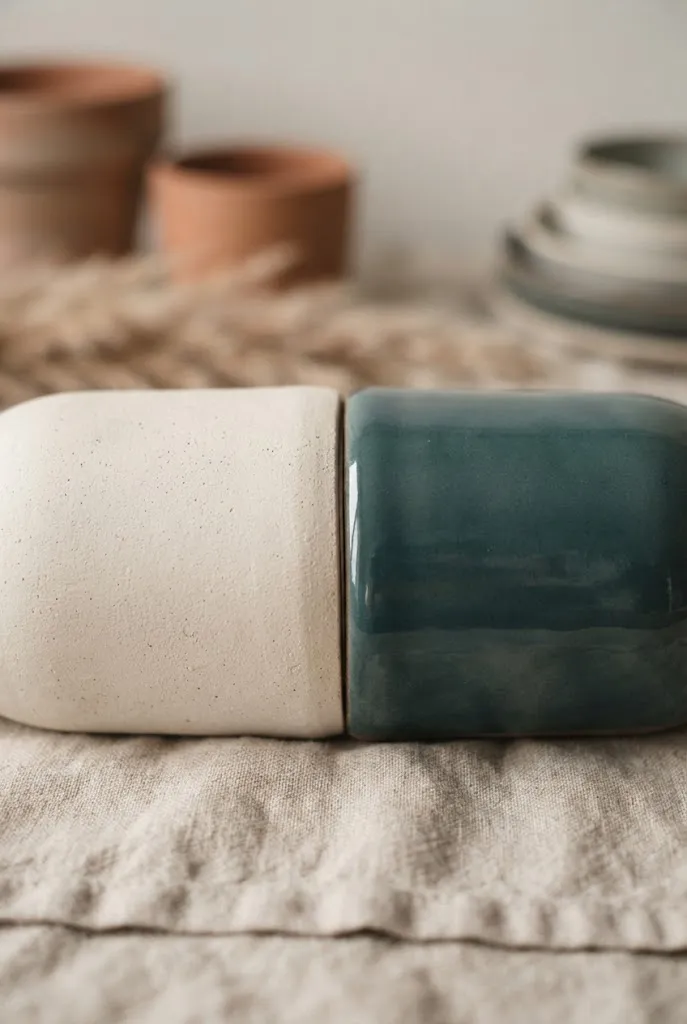
Two Paths: Painting at a Pottery Studio vs. Painting at Home
This is usually the first real decision to make, and it shapes almost everything else about your project.
Studio painting means visiting a paint-your-own-pottery studio, choosing a bisque piece, painting with underglaze, and leaving it behind for the studio to glaze and fire in a kiln. The result is genuinely food-safe, dishwasher-safe pottery — but it takes time (usually a week or two before pickup) and requires access to a studio.
At-home painting skips the studio and the kiln entirely. You paint an already-glazed piece with non-fired ceramic paint, then set it yourself with a home oven bake. It’s faster, more flexible, and lets you use pieces you already own — but the trade-off is that non-fired paint isn’t food-safe, so finished pieces are generally treated as decorative rather than something you eat or drink directly from on the painted surface.
Neither path is “better” — they solve different problems. If food safety and permanence matter most, a studio is worth the wait. If flexibility and working with pieces you already have matters more, painting at home is the more practical route, and it’s genuinely accessible even if you’ve never touched ceramic paint before.
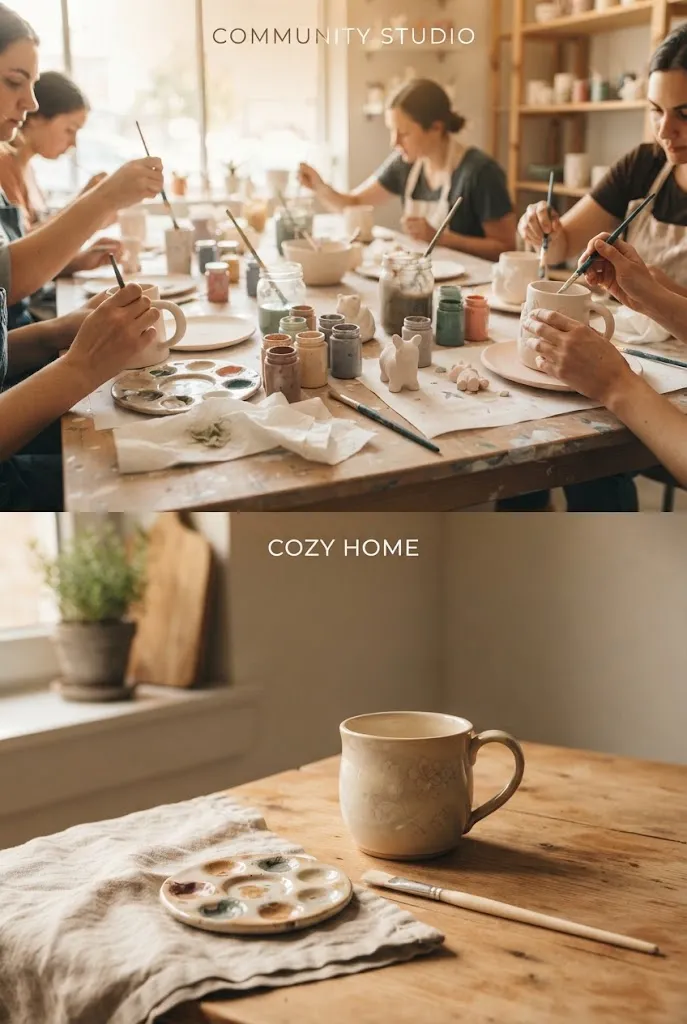
What You Can Paint (Choose Your Project)
Once you’ve settled on a path, the next question is simple: what are you actually going to paint? Each object type comes with its own quirks worth knowing before you start.
Mugs
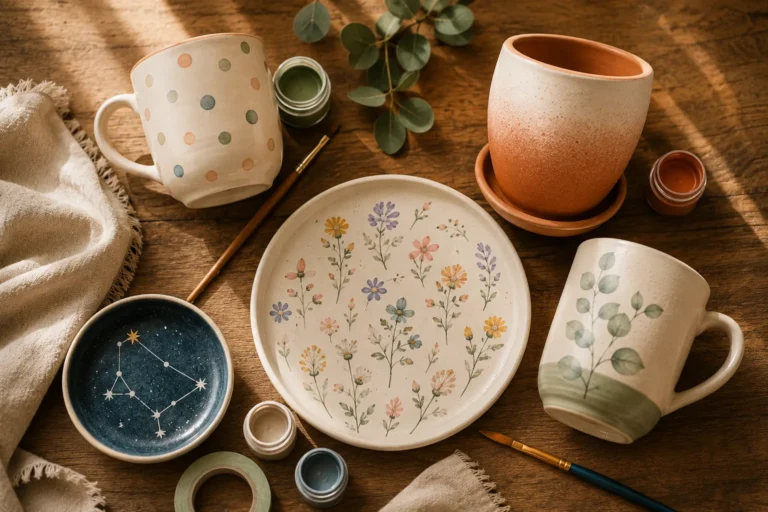
Mugs are one of the most popular first projects, and for good reason — they’re small enough to finish in one sitting and useful enough to actually get used afterward. The curved surface and handle do add a bit of a learning curve for certain techniques, like keeping lettering readable as it wraps around. If you’re starting here, our full collection of mug design ideas and techniques covers everything from simple beginner patterns to more advanced blending work.
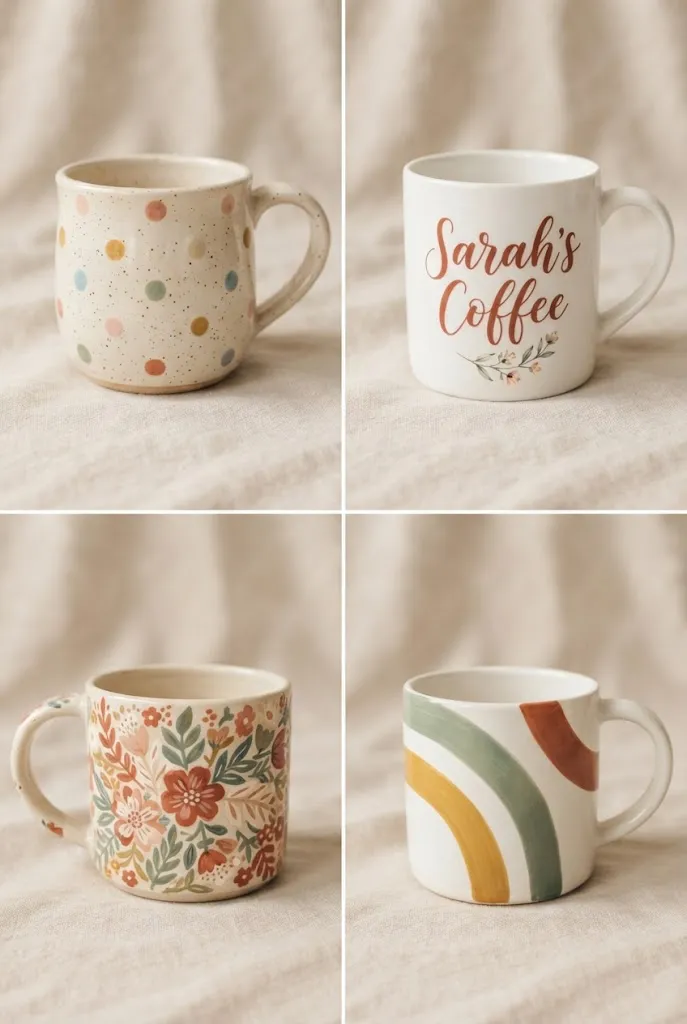
Plates
Plates give you a much bigger, flatter surface to work with, which makes them ideal for anything with a border, a centered design, or a wraparound pattern. Because people are more likely to actually eat off a painted plate than drink through paint on a mug rim, food safety becomes a bigger consideration here. Our plate-specific design guide covers both the design side and exactly what makes a plate food-safe versus decorative-only.
Vases
Vases offer some of the most dramatic shape variety of any pottery project — tall and narrow, short and round, straight-sided or curved — which changes how a design actually reads once it’s applied. A pattern that looks great on a cylindrical vase might need real adjustment on a bulbous one. Our vase painting ideas walk through designs suited to different vase shapes.
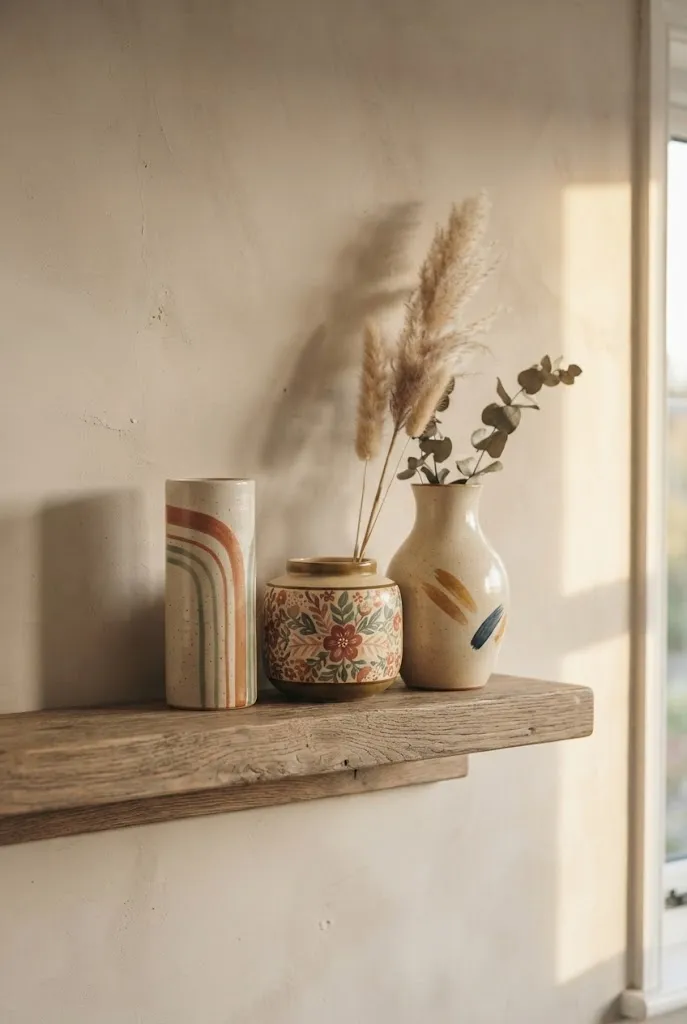
Bowls
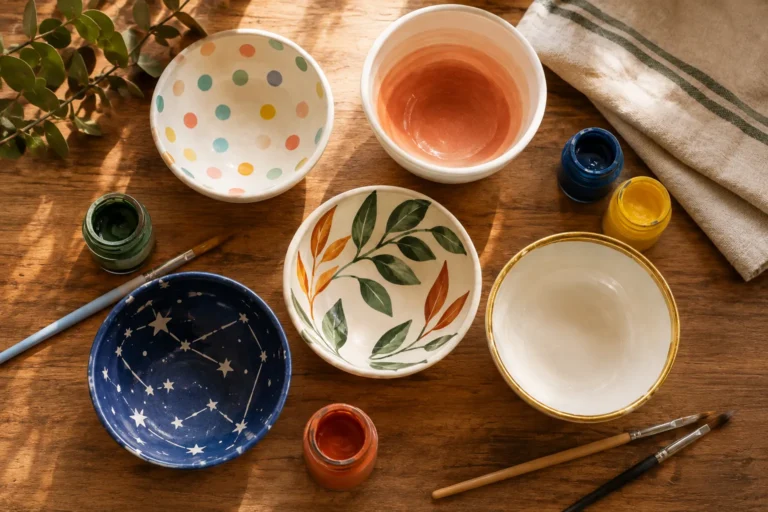
Bowls bring their own unique challenge: you’re often painting both an interior and an exterior surface, and the curved, concave shape changes how brushwork behaves compared to a flat plate. They’re also almost always going to have food or at least water contact, which makes the paint choice especially important. Our bowl painting ideas cover designs that work well with that shape.
Finding the Right Design Inspiration for Your Skill Level
Not every pottery painter is starting from the same place, and the right source of inspiration depends on where you’re at.
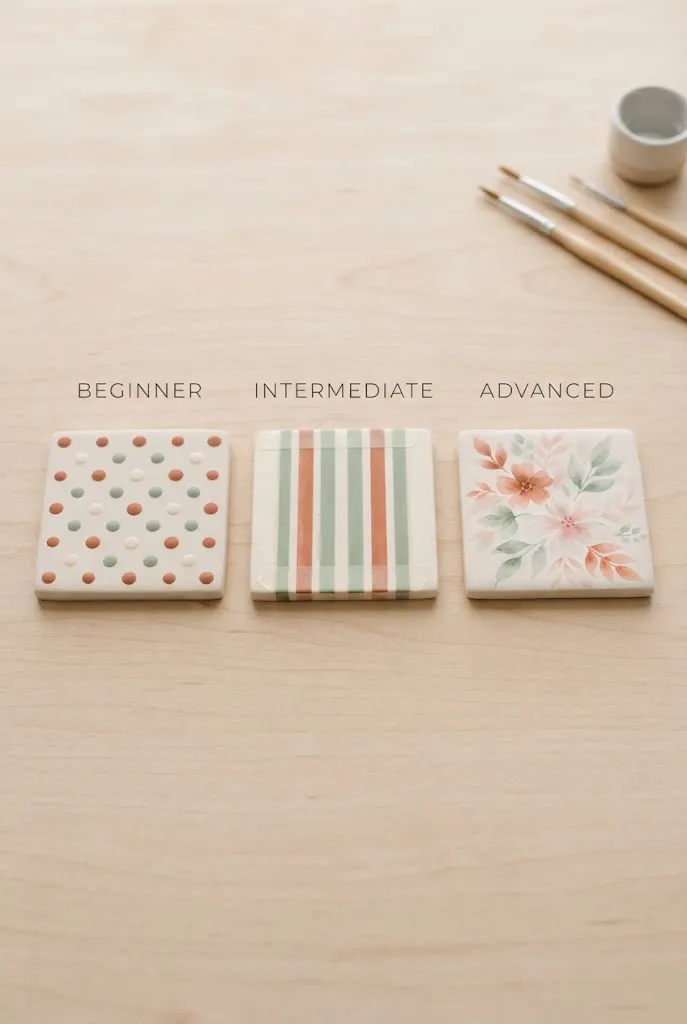
If you’re brand new to this and want designs that are genuinely hard to mess up — dots, simple stripes, loose splatter patterns — our collection of easy pottery painting ideas is built specifically around that kind of low-pressure entry point.
If you’ve got some basics down and want to browse a wider range of styles and themes before picking a direction, our broader pottery painting ideas gallery covers everything from geometric patterns to nature-inspired designs across different aesthetics.
Basic Supplies and Techniques Overview
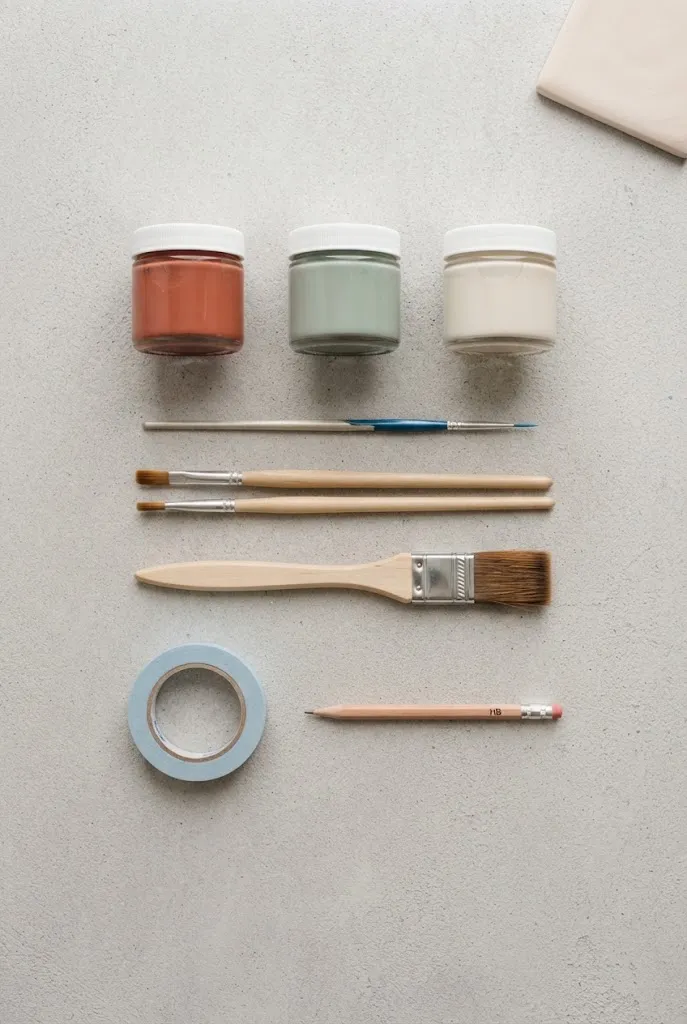
You don’t need much to get started, and most of what you need is inexpensive and easy to find. A basic setup includes a few paint colors suited to your chosen path (underglaze for studio work, non-fired ceramic paint for at-home projects), a fine detail brush, a wider flat brush for larger areas, and painter’s tape for anything with clean lines.
A handful of techniques come up again and again across almost every design, regardless of what you’re painting:
- Taping for crisp stripes, borders, and geometric shapes
- Dotting using a brush handle or cotton swab for polka dots and simple texture
- Wet-on-wet blending for soft, gradient-style color transitions
These are just the starting point. If you want the full step-by-step process — including how to prep your piece, layer a design properly, and seal and cure it once you’re done — our complete at-home painting guide covers the process from start to finish.
Painting Pottery With Kids
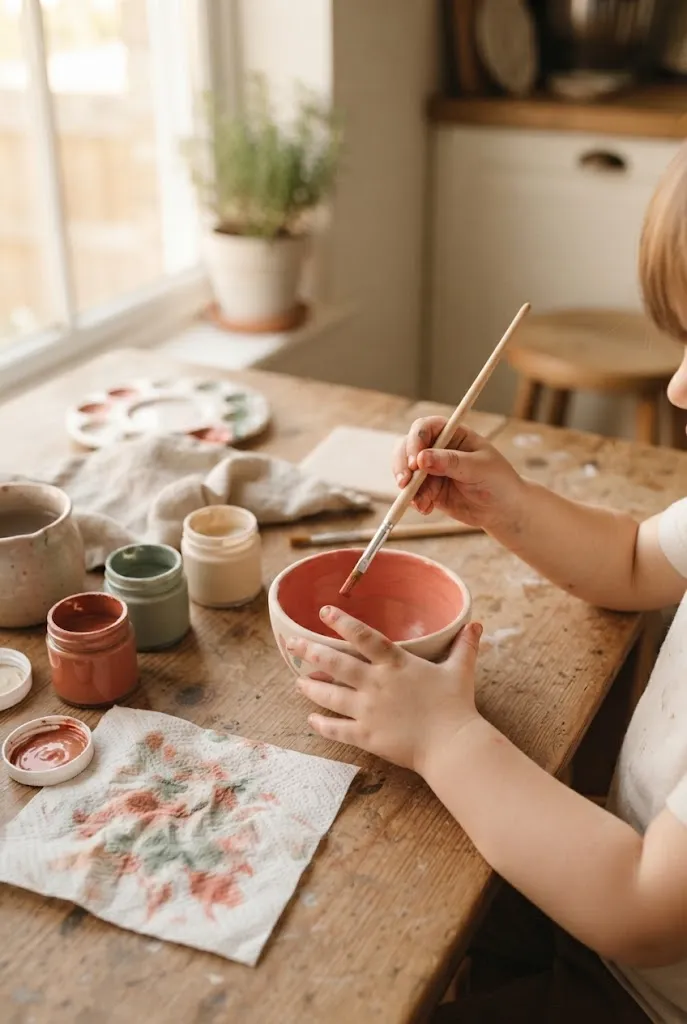
Pottery painting is one of the more forgiving crafts for kids to try, since a lot of the most charming designs — scattered dots, loose brushstrokes, simple shapes — actually work better with a bit of natural imperfection. It also happens to be a genuinely calm, screen-free activity that holds a kid’s attention longer than you might expect.
The main adjustments are practical ones: shorter painting sessions, simpler designs with fewer fine details, and non-fired paint kept to decorative pieces rather than anything that will touch food. A little supervision around drying times and cleanup goes a long way toward keeping the experience low-stress for everyone involved.
Frequently Asked Questions
Is pottery painting hard to learn?
No — most of the techniques that produce genuinely nice-looking results, like taping straight lines or dotting patterns, don’t require any prior art experience. The designs that look the most impressive are often the ones built from a few simple, repeatable techniques rather than advanced freehand skill.
Do I need a kiln to paint pottery?
Only if you’re aiming for a fully food-safe, permanently glazed finish, which is what a pottery studio provides. Painting at home with non-fired ceramic paint skips the kiln entirely, using a home oven bake instead, though the result is decorative rather than food-safe.
Is painted pottery food-safe?
It depends entirely on the paint and process used. Studio-fired underglaze, properly glazed and kiln-fired, is generally food-safe, while non-fired ceramic paint used in at-home projects is not, regardless of how it’s baked or sealed afterward.
How long does painted pottery take to dry or cure?
At-home, non-fired paint typically needs 15 to 30 minutes between layers and often benefits from 24 to 72 hours of curing time after baking, though this varies by paint brand. Studio-fired pieces usually take one to two weeks, since that timeline includes the studio’s glazing and kiln-firing process.
What’s the difference between a pottery studio and painting at home?
A studio has you painting bisque pottery with underglaze, which the studio then glazes and fires in a kiln to produce a food-safe, permanent finish. Painting at home means working on an already-glazed piece with non-fired paint that’s set in a regular oven — faster and more flexible, but decorative rather than food-safe.
Where to Go From Here
Pottery painting comes down to a few core decisions: whether you’re painting at a studio or at home, what you’re actually painting, and how much design inspiration versus technique guidance you need right now. Once those are settled, the rest is really just practice.
If you’re ready to start painting today, our at-home painting guide will walk you through the entire process. If you already know what you want to paint, jump straight to the design ideas for mugs, plates, vases, or bowls. And if you’re still just browsing for a bit of inspiration, our easy pottery painting ideas are a good, low-pressure place to start.