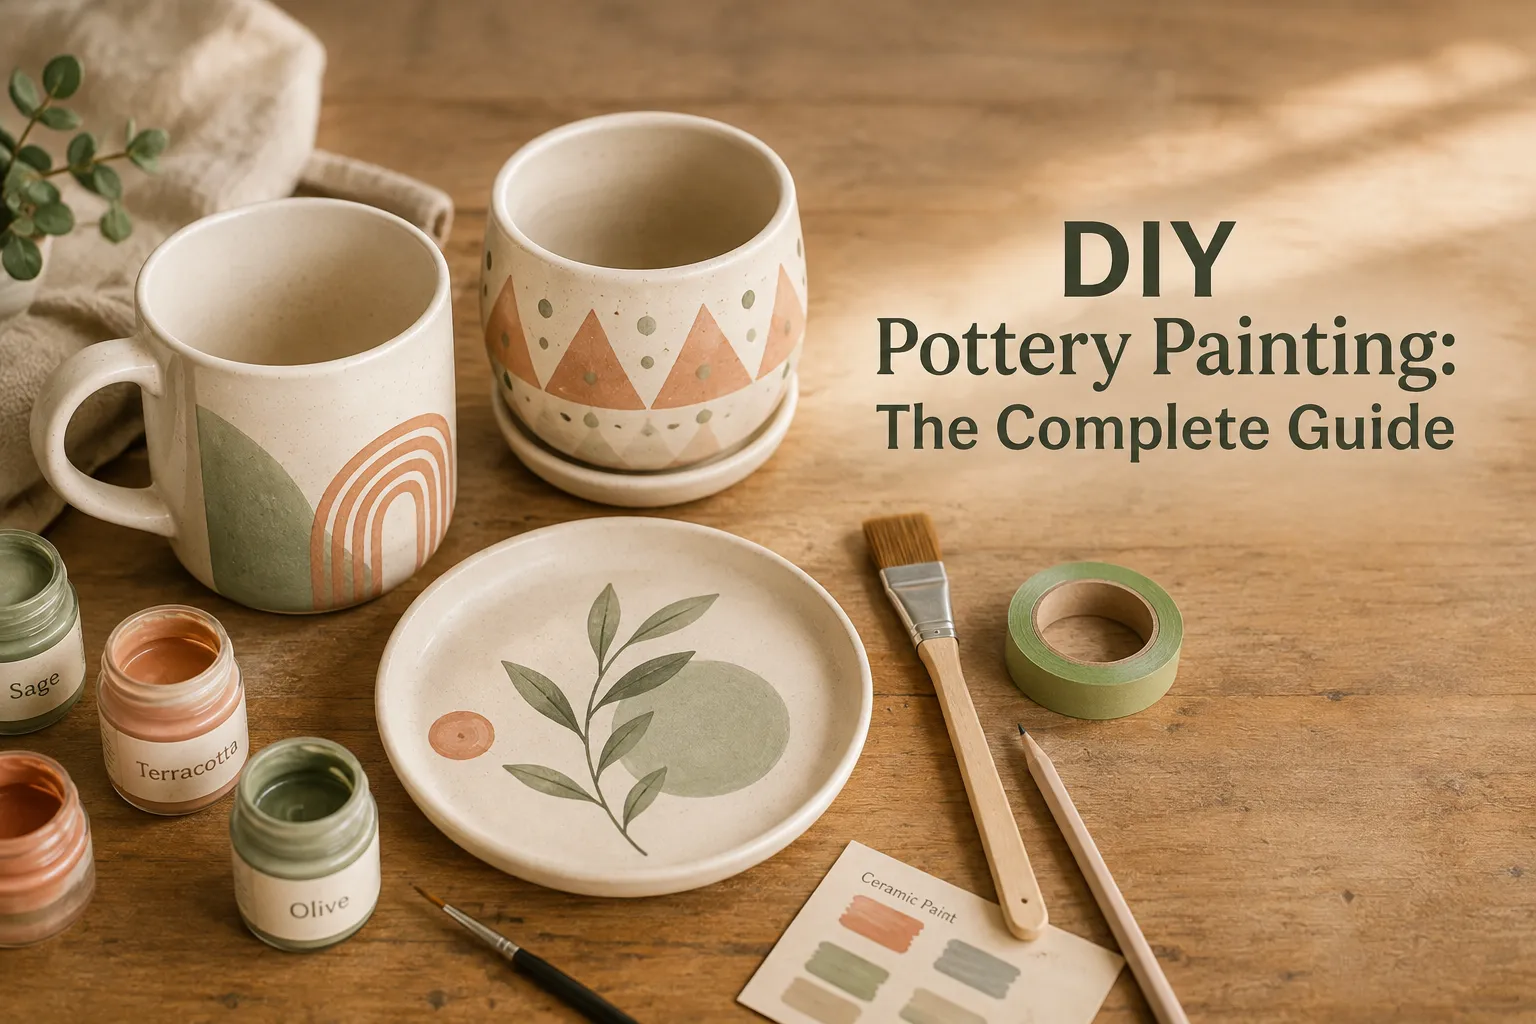
DIY Pottery Painting: The Complete At-Home Guide
You don’t need a pottery studio membership or a kiln in your garage to paint your own pottery. A plain mug from the dollar store, a thrifted plate, or a basic ceramic planter can all become genuinely beautiful, hand-painted pieces with the right paint and a little patience.
The problem is that most DIY pottery painting content picks one lane and stays there. Either you get a gallery of gorgeous design ideas with zero explanation of how to actually paint or seal them at home, or you get one narrow tutorial for one specific paint brand and nothing else.
This guide covers the whole process. What paint to use, how to prep your piece, the actual step-by-step painting process, a range of techniques from beginner to advanced, and how to seal and care for the finished piece — so you walk away with both the how and the what.
What You Need to Know Before You Start
A few decisions upfront will shape your entire project, so it’s worth understanding them before you buy any paint.
Choosing your pottery: bisque, glazed, or thrifted pieces
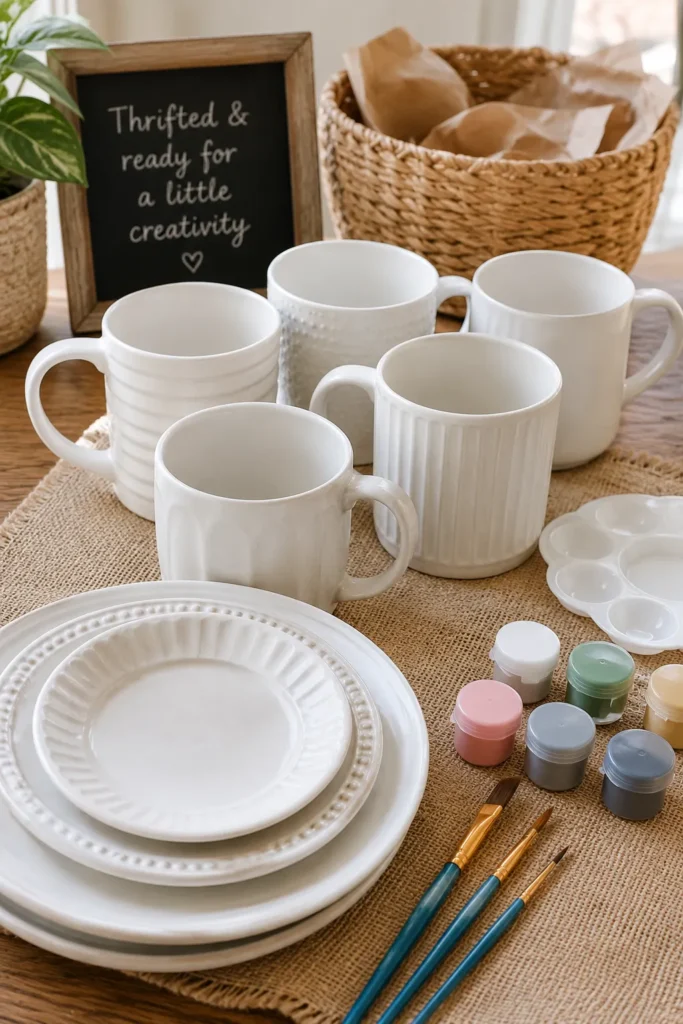
Bisque pottery — fired once but not yet glazed — is what you’ll typically paint at a pottery studio, and it has a slightly porous, matte surface that takes paint differently than a finished piece. For an at-home project, you’re far more likely to be working with an already-glazed, finished ceramic piece, whether that’s new from a craft store, thrifted, or pulled from your own cabinet.
Thrifted and dollar-store ceramics are genuinely great for DIY painting, since they’re inexpensive enough that a less-than-perfect result doesn’t feel like a real loss. Just make sure whatever you choose is clean, free of cracks, and has a smooth enough surface for paint to adhere properly.
Related: 22 Pottery Painting Ideas You’ll Want to Try Next
Fired vs. non-fired: understanding your paint options
Fired ceramic paint (called underglaze) requires a kiln to become permanent and food-safe, which means it’s really only accessible through a pottery studio’s glazing and firing service. Non-fired ceramic paint is designed for exactly the situation this guide is built around — painting at home, then setting the paint with a home oven bake instead of a kiln.
Non-fired paints are not food-safe, even after baking, so pieces painted this way should be treated as decorative rather than something you eat or drink directly from on the painted surface. This is an important distinction to understand from the start, since it shapes both which paint you buy and how you’ll use the finished piece.
Basic supplies for a beginner DIY setup
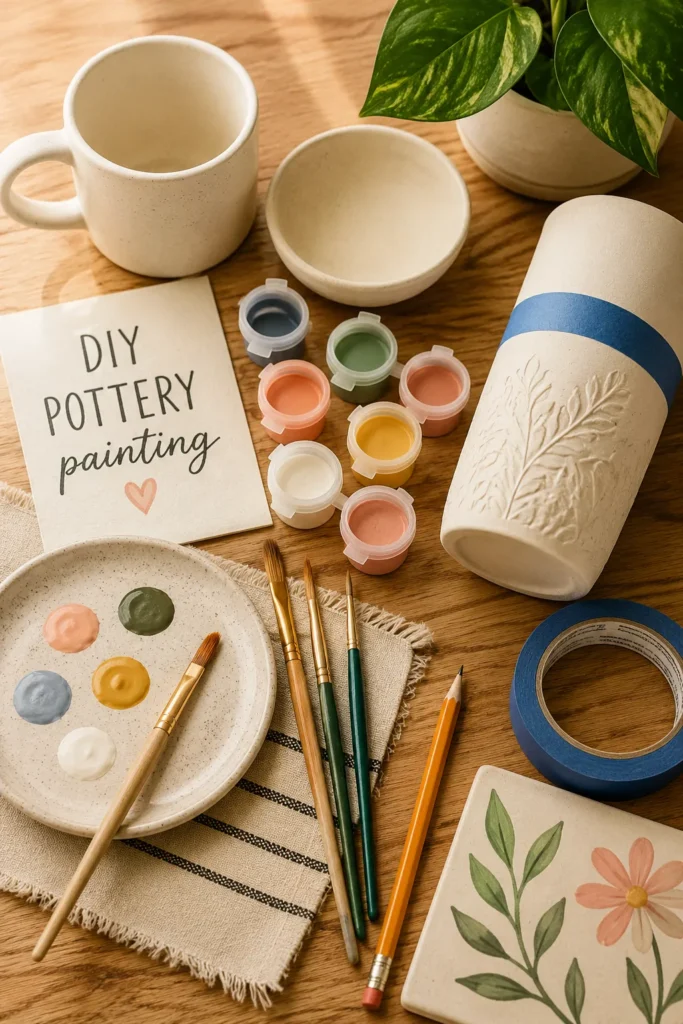
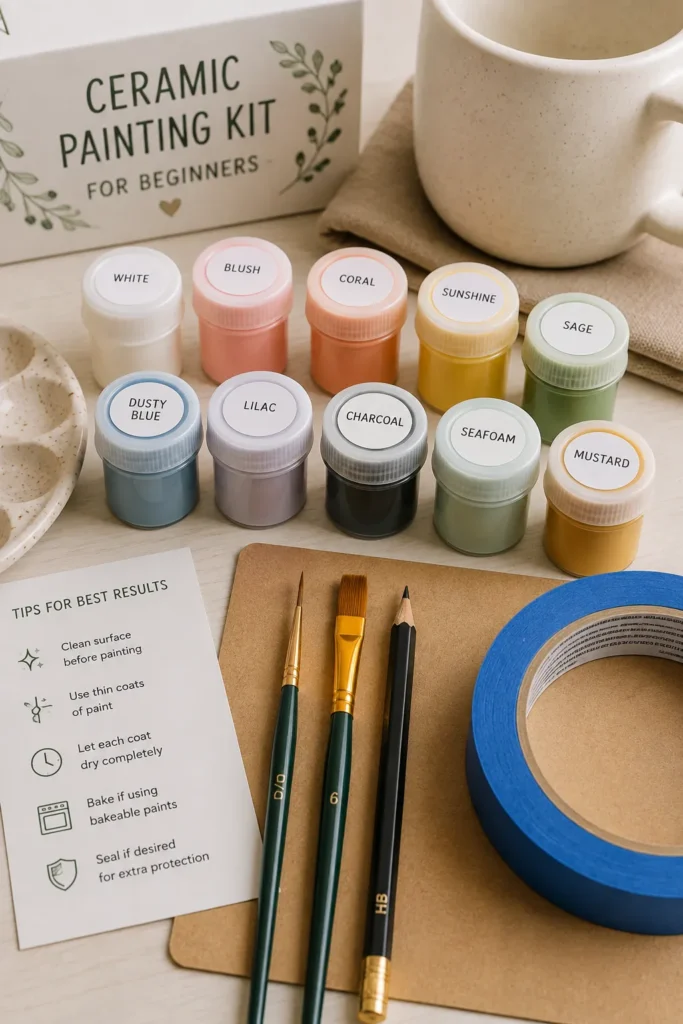
A simple starter kit includes a few colors of non-fired ceramic paint, a fine detail brush, a slightly wider flat brush, a pencil for sketching, and painter’s tape for any design with clean lines. A clear ceramic sealant is worth having on hand too, even for pieces you plan to bake, since it adds an extra layer of durability.
Beyond that, you really just need your ceramic piece, rubbing alcohol or soap and water for cleaning, and a flat, well-ventilated surface to work on.
The Step-by-Step DIY Painting Process
These six steps walk through the actual painting process in order, from a bare ceramic piece to a finished design ready for sealing.
1. Clean and Prep Your Pottery Surface
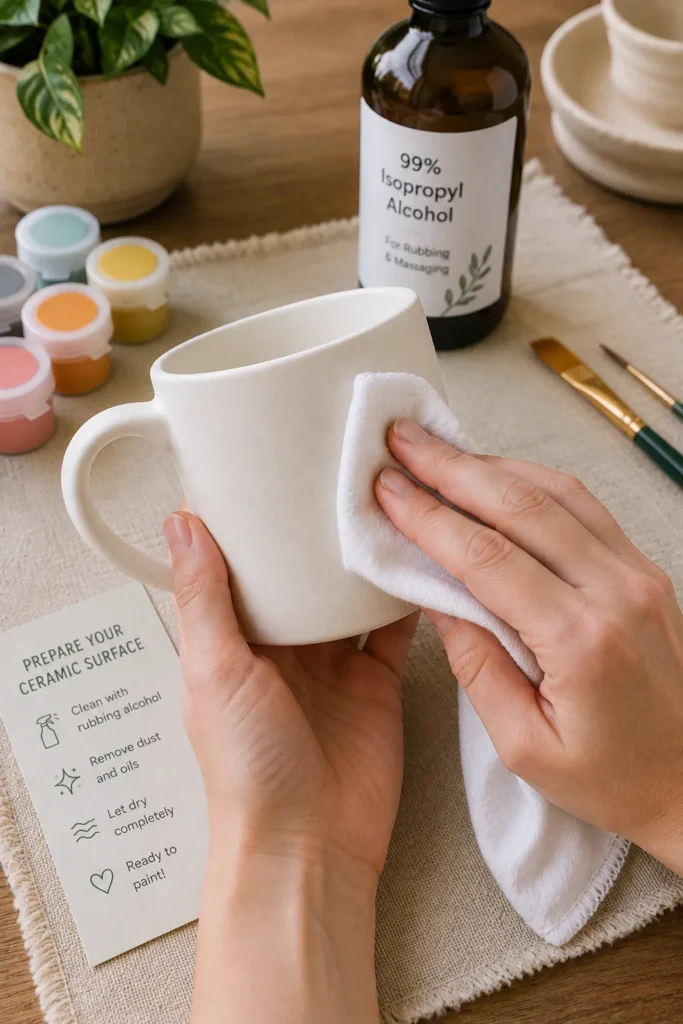
Wash your ceramic piece thoroughly with soap and water to remove any dust, grease, or residue, then wipe it down with rubbing alcohol for a completely clean surface. Paint adheres far better to a genuinely clean surface, and skipping this step is one of the most common reasons DIY paint jobs chip or peel prematurely.
Let the piece dry completely before moving on — even a small amount of leftover moisture can affect how the paint sits.
2. Sketch Your Design in Pencil First
Lightly sketch your design directly onto the ceramic surface with a regular pencil before picking up any paint. Pencil marks on a glazed surface wipe away easily if you change your mind, which makes this step essentially risk-free and a great way to build confidence before committing to paint.
This step matters most for anything with text, symmetry, or a specific layout — freeform abstract designs can often skip straight to paint.
3. Apply Your Base Coat
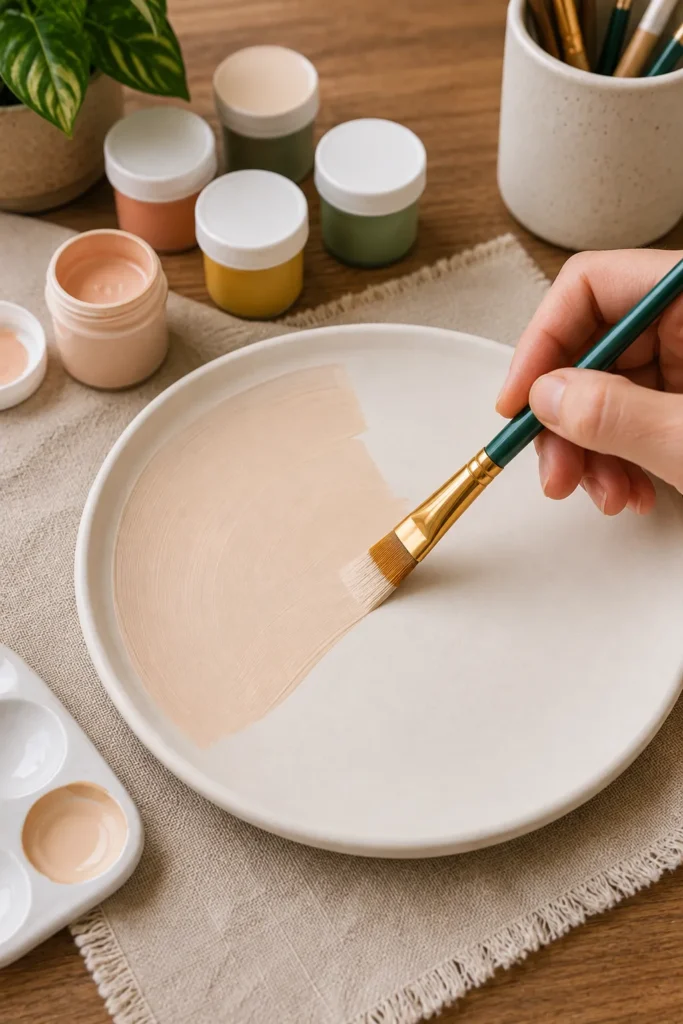
If your design calls for a solid background color, apply this first in one or two thin, even coats rather than one thick one. Thin layers dry more evenly and are less likely to show brush strokes than a single heavy coat.
Let the base coat dry fully before adding any additional layers on top of it, even if the paint feels dry to the touch sooner than that.
4. Layer in Your Main Design Elements
Once your base coat (if any) is fully dry, start building in the main shapes or elements of your design — the flowers, the stripes, the pattern, whatever your specific design calls for. Working from the largest elements down to the smallest keeps the overall composition balanced as you go.
Step back and look at the piece as a whole periodically, rather than only viewing it up close, since spacing issues are much easier to catch from a small distance.
5. Add Detail Work Last
Save fine details — outlines, small dots, text, shading — for the very end, once your main design elements are fully in place and dry. Detail work is also where a fine liner brush becomes genuinely useful, since it gives you far more control than a standard brush for thin lines or small accents.
This sequencing matters because detail work is the hardest to redo if a larger design element accidentally smudges over it.
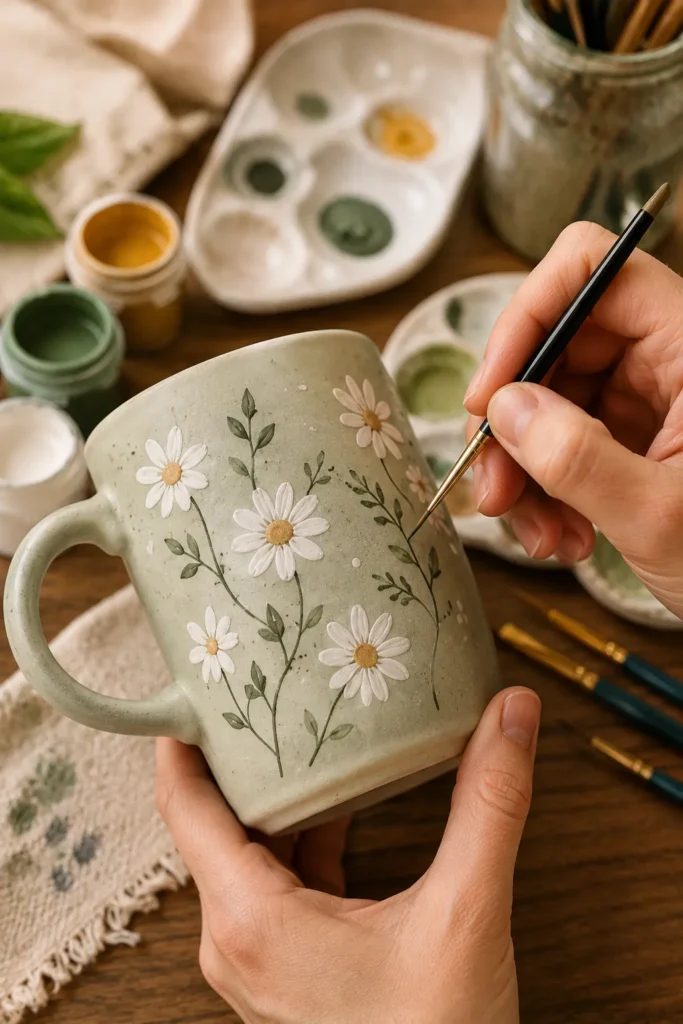
6. Let Each Layer Fully Dry Before Adding More
Resist the temptation to keep working before each layer is genuinely dry, even if it looks set on the surface. Most non-fired ceramic paints need at least 15 to 30 minutes between layers, though this varies by brand, so check your specific paint’s instructions.
Rushing this step is one of the most common causes of muddy colors or smudged lines in DIY pottery painting.
Easy Techniques for Total Beginners
These techniques are the easiest starting points if you’re new to painting pottery, since they’re genuinely hard to get wrong.
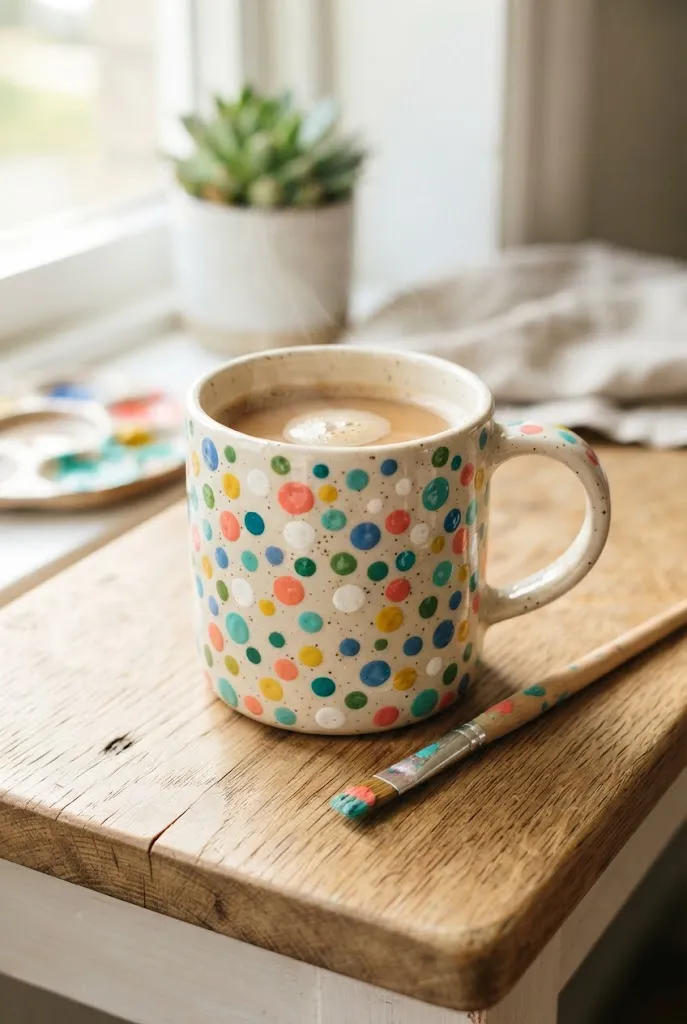
7. Dot-and-Dab Technique
Dip the end of a paintbrush handle, a cotton swab, or even your fingertip into paint and dot it onto the surface for polka dots, tiny flowers, or scattered texture. This technique requires no steady hand or brush control at all, making it one of the most forgiving places to start.
Varying dot size slightly as you go adds visual interest without any extra skill required.
8. Painter’s Tape Straight Lines
Apply painter’s tape in your desired line pattern, paint over the exposed sections, then peel the tape away once the paint is dry to the touch. This technique lets you achieve crisp, professional-looking stripes or borders without needing steady freehand control.
Peeling the tape at an angle, rather than straight up, helps prevent the paint edge from chipping.
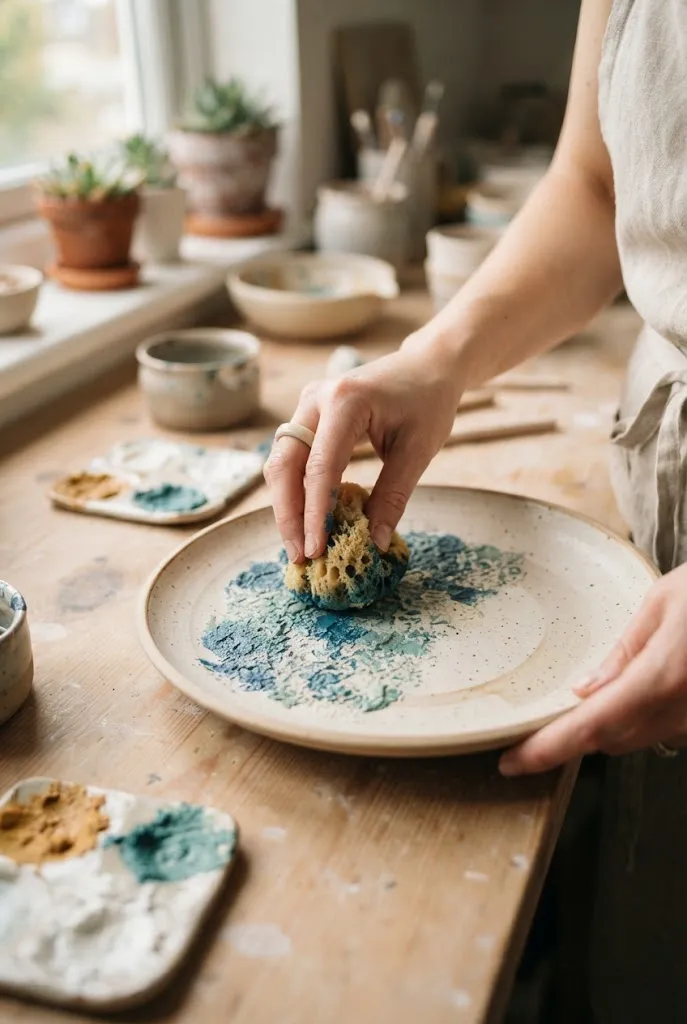
9. Sponge Texture Technique
Dab a small piece of sponge lightly loaded with paint onto the surface for a soft, textured effect that’s much harder to achieve with a brush alone. This works especially well for suggesting foliage, clouds, or an abstract textured background.
Using a nearly-dry sponge, rather than one that’s heavily loaded with paint, gives you better texture and prevents the paint from pooling.
10. Basic Freehand Shapes
Paint simple shapes — hearts, stars, leaves, basic flowers — freehand directly onto the surface, embracing a bit of natural imperfection rather than aiming for machine-perfect symmetry. Simple shapes built from basic curves and lines are far more approachable than they might look, and slight unevenness genuinely adds to the handmade charm.
Practicing the shape a few times on paper first can help build confidence before committing to the actual piece.
11. Fingerprint & Thumbprint Art
Use your own fingerprint or thumbprint as the base shape for a design element, like tiny tree tops, flower petals, or abstract dots, then add small painted details on top once it’s dry. This technique is genuinely foolproof and especially fun for kids painting alongside you.
Mixing a couple of different colors for the prints, rather than sticking to just one, adds depth to the finished design.
More Advanced Techniques to Try Next
Once you’re comfortable with the basics, these techniques bring more control, blending, and finished polish to your pieces.
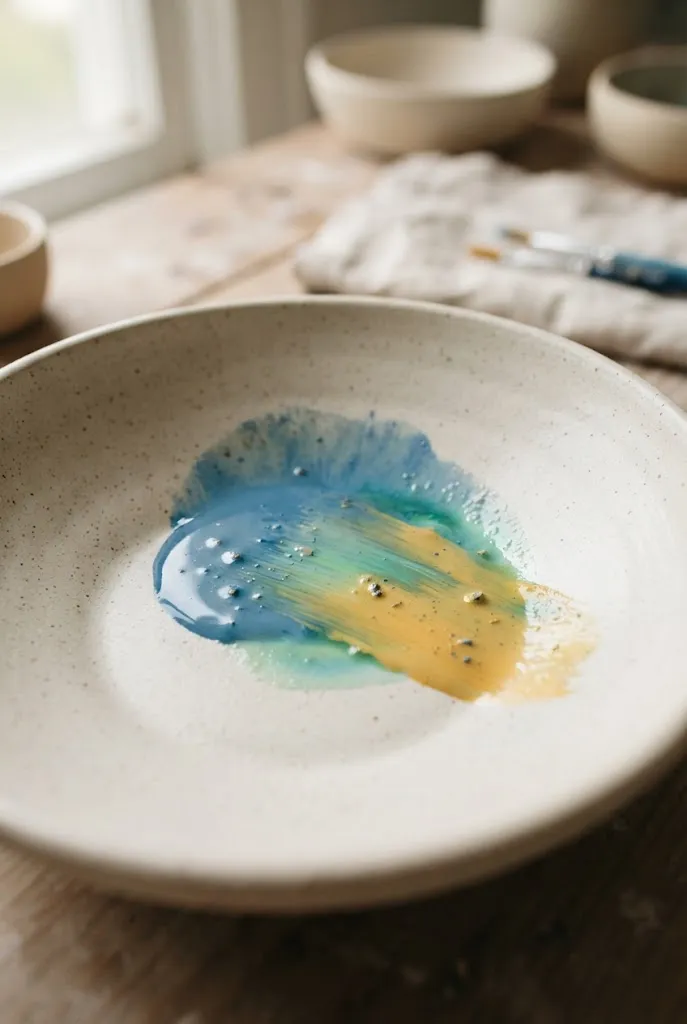
12. Wet-on-Wet Blending
Apply a second color directly next to or slightly overlapping a first color while both are still wet, allowing them to blend naturally into each other at the edges. This technique is the foundation of soft, watercolor-style effects and gradients, and it requires working quickly before either color starts to set.
Practicing on a scrap tile or the underside of your piece first helps you get a feel for how much overlap creates the blend you want.
13. Drybrush Highlighting
Load a brush with a small amount of paint, wipe most of it off on a paper towel, then lightly drag the nearly-dry brush across raised or textured areas of the design. This technique adds subtle highlights and dimension that a fully loaded brush simply can’t achieve.
It works particularly well for adding texture to things like wave foam, cloud edges, or fur-like details.
14. Masking Fluid Resist Technique
Apply masking fluid or painter’s tape in a specific pattern before painting, let it dry, paint over the entire area including the masked sections, then remove the mask once the paint is dry to reveal the original surface underneath in that exact shape. This technique produces genuinely crisp, precise negative-space designs that are difficult to achieve any other way.
This is a great next step once you’re comfortable with basic tape techniques and want more intricate shapes than straight lines alone allow.
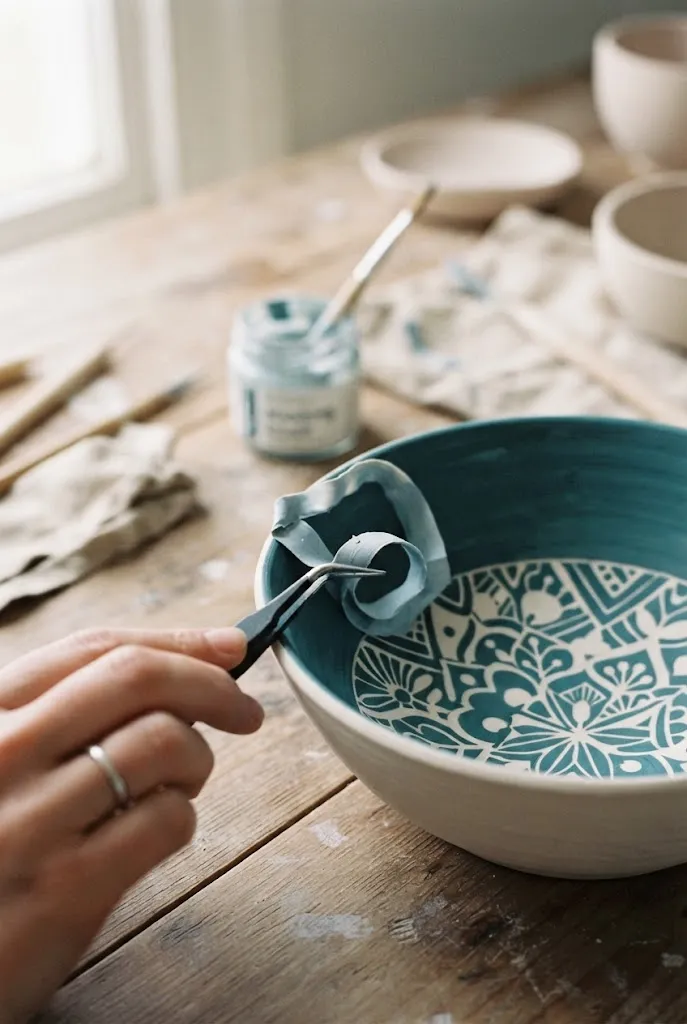
15. Layered Glazing for Depth
Apply several thin, semi-transparent layers of paint over each other, letting each layer dry fully before adding the next, to build up genuine depth and richness of color. This technique takes more patience than a single opaque coat, but the resulting color has a noticeably more dimensional, professional quality.
This works especially well for larger background areas where flat, single-layer color can look a bit lifeless by comparison.
16. Fine-Line Detail Work with a Liner Brush
Use a fine liner brush, which has long, thin bristles designed specifically for controlled thin lines, to add delicate details like veining, text, or intricate linework. A liner brush holds far more paint in a controlled amount than a standard round brush, letting you paint longer continuous lines without constantly reloading.
Practicing consistent pressure on scrap material first helps prevent the line width from varying unintentionally partway through a design.
Sealing, Curing & Caring for Your Finished Piece
The painting itself is only part of the process — how you finish and care for a piece afterward determines how long it actually lasts.
Related: Pottery Painting: The Complete Guide to Getting Started
17. Oven-Baking Non-Fired Paint at Home
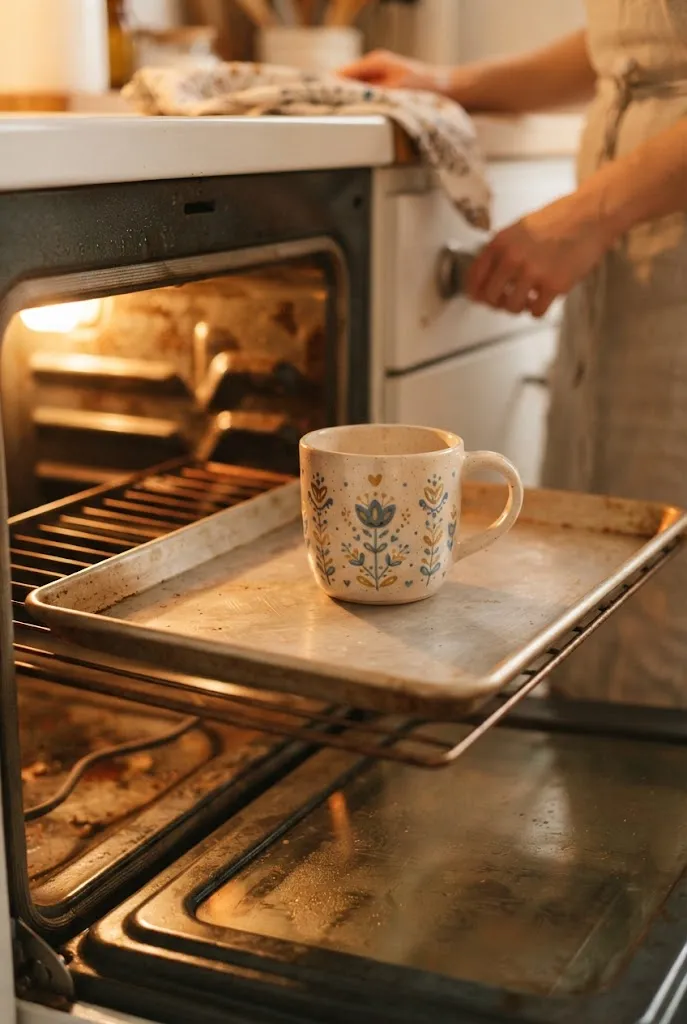
Most non-fired ceramic paints are set by baking the finished, fully dry piece in a home oven, typically around 300°F for roughly 30 to 35 minutes, though this varies by paint brand so always check the specific instructions on your paint. Place the piece in a cold oven and let it heat up gradually together, rather than putting it into an already-hot oven, to reduce the risk of thermal cracking.
Let the piece cool completely inside the oven once the timer ends, rather than removing it while still hot, for the same reason.
18. Choosing a Sealant for Extra Durability
A clear ceramic or acrylic sealant, applied after baking, adds an extra layer of protection against chipping and fading, especially for pieces that will get regular handling. Apply the sealant in thin, even coats, and check whether your specific sealant is meant for indoor or outdoor use if the piece will be displayed outside.
This step is optional but genuinely worthwhile for anything you plan to keep long-term rather than treat as a one-off craft.
19. Washing and Caring for Your Finished Piece
Hand-wash painted, non-fired pottery with a soft cloth and mild soap rather than putting it in the dishwasher, since the heat and abrasion can cause the paint to chip or fade over time. Since this paint isn’t food-safe, keep painted pieces as decorative items, or limit food and drink contact to areas of the piece that remain unpainted, like the interior of a mug.
Treating a DIY-painted piece a bit more gently than a fully glazed, kiln-fired one is simply part of the trade-off for skipping the studio process — and for most decorative projects, it’s a completely worthwhile one.
Frequently Asked Questions
Can you paint pottery at home without a kiln?
Yes — non-fired ceramic paints are specifically designed for this, using a home oven bake instead of a kiln to set the paint permanently onto the surface. The results are genuinely durable for decorative use, though the paint won’t be food-safe the way a properly kiln-fired glaze would be.
What’s the difference between fired and non-fired ceramic paint?
Fired ceramic paint, or underglaze, requires a kiln to become chemically stable and food-safe, and this process is generally only available at a pottery studio. Non-fired paint sets with a much lower-temperature home oven bake, making it accessible for at-home projects, but it remains decorative-use only rather than food-safe.
Is DIY painted pottery food-safe?
No, not when using non-fired, at-home paint methods, even after baking according to the package instructions. If food safety is important for your project, that requires kiln-fired underglaze applied through a professional pottery studio rather than an at-home painting process.
What kind of pottery or ceramic pieces work best for beginners?
Simple, already-glazed pieces with a smooth surface — mugs, plates, small planters, and decorative tiles — are all excellent, accessible options for a first DIY pottery painting project. Thrifted or dollar-store ceramics are especially good for beginners, since the low cost takes the pressure off getting every detail perfect.
How long does DIY painted pottery take to fully cure?
After baking according to your specific paint’s instructions, most non-fired ceramic paint benefits from a full 24 to 72 hours of additional curing time before regular handling or washing, even though it may feel dry and set immediately after baking. Checking your specific paint brand’s packaging is the most reliable way to know the exact recommended curing window.
Final Thoughts
DIY pottery painting sits in that sweet spot of crafts that are genuinely relaxing to do and genuinely rewarding once finished, especially the first time you see a plain, unremarkable ceramic piece transform into something with real personality. The process itself isn’t complicated — it comes down to proper prep, working in patient layers, and giving the paint the time it needs to dry and cure at each stage.
Start with one of the easier beginner techniques on a low-stakes piece, like a thrifted mug, before moving on to more advanced blending or masking techniques. However your first piece turns out, you’ll walk away with a real, transferable skill — and very likely a design idea for the next one already forming.