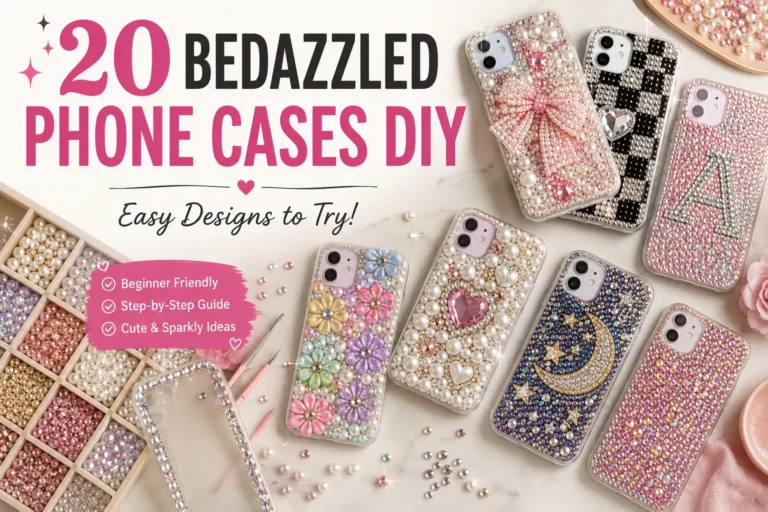
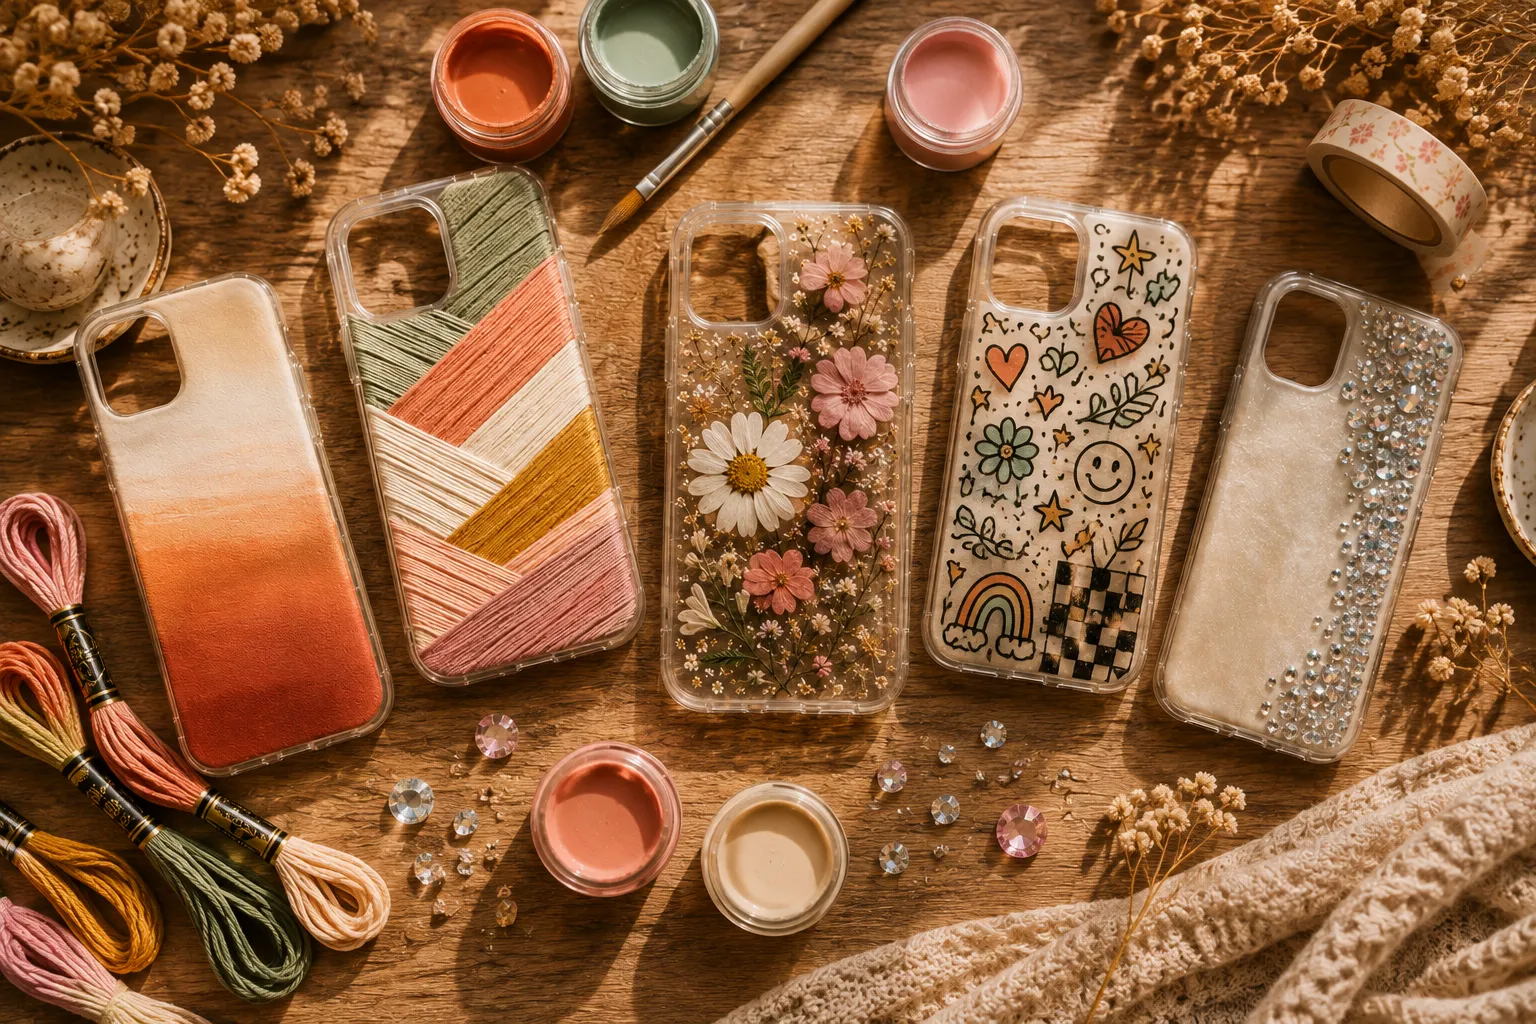
20 DIY Phone Case Ideas Anyone Can Make at Home
A plain DIY Phone Case might be one of the easiest, cheapest things in your life to personalize.
You don’t need a new phone, a fancy tool kit, or any real art background — just a case, an hour of your time, and whatever supplies you’ve already got lying around. Paint, tape, a few beads, or even flowers pressed from your last bouquet can all turn a boring case into something that actually feels like yours.
This list spans a genuinely wide range of techniques — painting, resin, tape, embroidery thread, pressed flowers, and embellishments — with real steps for each one, not just a picture and a vague idea. Wherever your interest (or your junk drawer) leads, there’s something here worth trying.
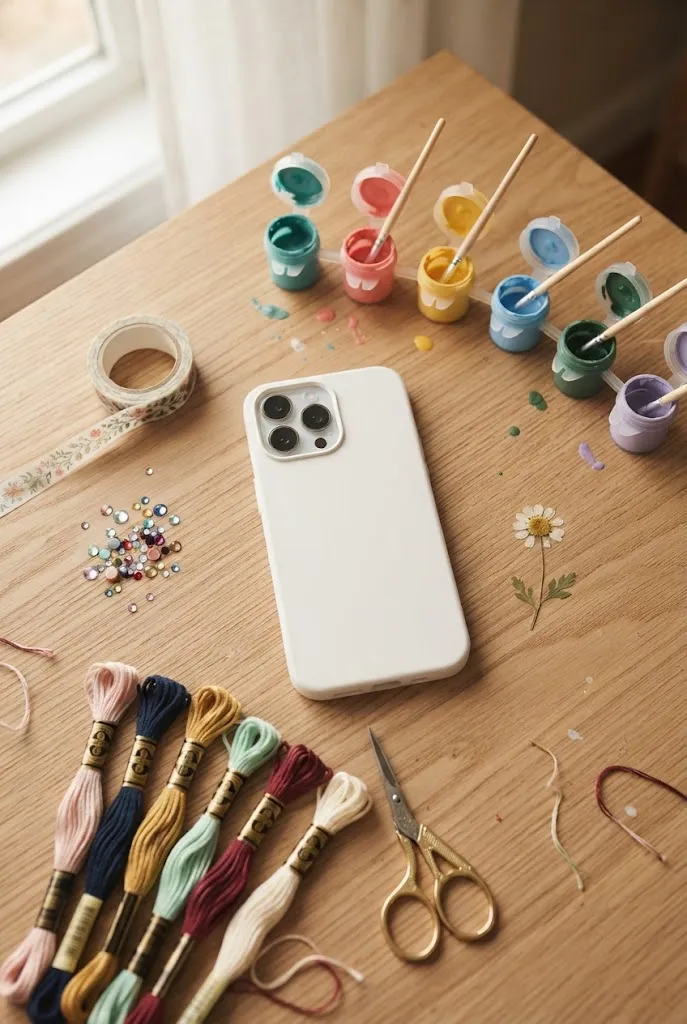
Before You Start: Choosing the Right Case and Supplies
Before diving into designs, it helps to know what kind of case you’re working with, since it changes what techniques will actually hold up.
Hard Case vs. Silicone vs. Clear — Which Works Best for Which Technique
Hard plastic cases are the easiest surface to work with for almost every technique on this list. Paint, resin, and adhesive-based designs all grip a hard, smooth surface far better than they do a flexible one.
Silicone cases flex constantly, which means paint and rigid embellishments like resin or rhinestones are more likely to crack or pop off over time. If silicone is what you’ve got, stick to more flexible techniques like fabric, embroidery thread, or washi tape.
Clear cases are the best choice for anything you want to see through — pressed flowers, collage elements, or photo transfers all rely on that transparency to actually show off the design.
Sealing Your Design So It Actually Lasts
Once your design is finished and fully dry, a clear sealant made for the surface — a spray sealer for painted designs, or a UV or two-part epoxy resin for anything dimensional — adds a protective layer that helps it survive daily handling, pockets, and bags.
Skipping this step is the single biggest reason a great-looking DIY case doesn’t last more than a few weeks, so it’s worth the extra ten minutes no matter which technique you choose.
20 DIY Phone Case Ideas Anyone Can Make at Home
These ideas move from simple tape techniques, through painting methods, into resin and dimensional projects, embellishment and bling, nature and texture-based designs, and finish with a few personalized gift ideas.
1. Washi Tape Geometric Case
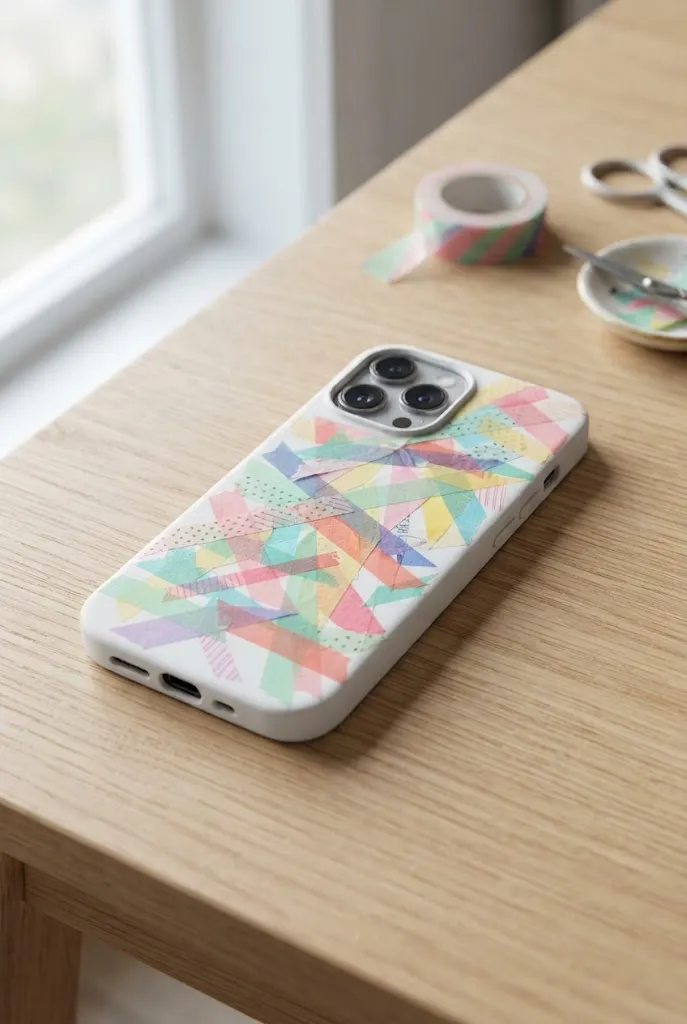
Layer strips of washi tape across the case at different angles, trimming the excess along the edges with a craft knife once you’re done. Overlapping a few patterns and colors creates a layered, collage-like geometric look.
Because washi tape is low-tack and repositionable, this is one of the most forgiving techniques on the list if you want to adjust your design partway through.
2. Two-Tone Color Block Case
A phone case painted in two clean color-block halves, sage green on top and cream on bottom with a crisp dividing line, shot on a minimal styled surface with soft directional light, realistic modern product photography.
Mask off half the case with painter’s tape and paint it a solid, saturated color, leaving the other half bare or a contrasting shade. Peel the tape away once the paint is fully dry for a crisp, clean dividing line.
This design takes only two colors and one straight line, and it still manages to look bold and intentional.
3. Painted Polka Dot Case
Related: 25 Aesthetic Phone Case DIY Ideas for Every Style
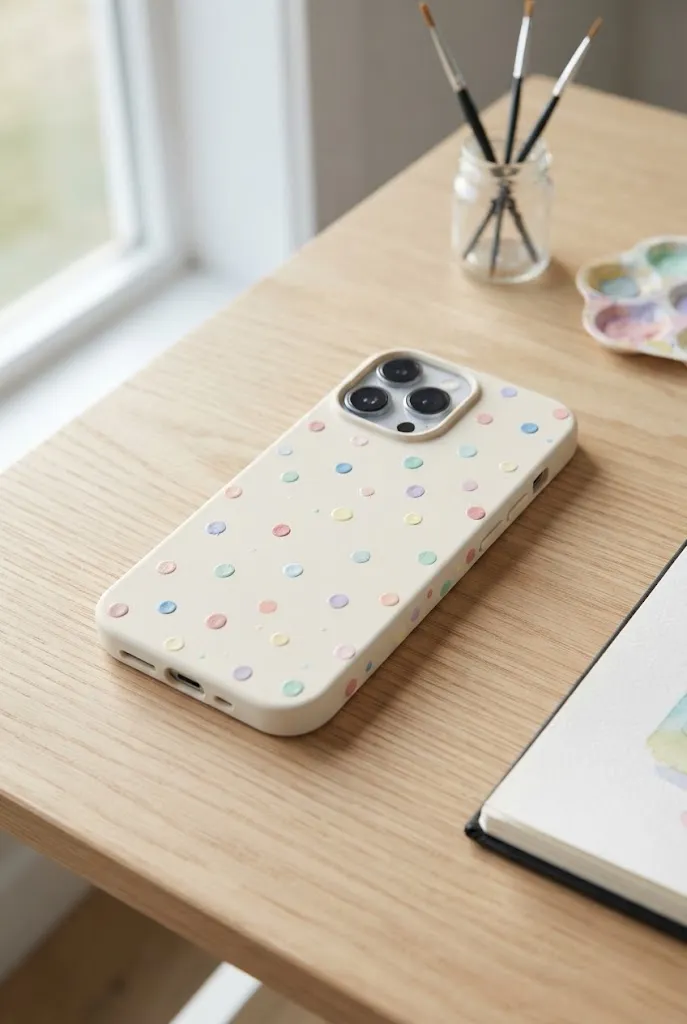
Dip the end of a paintbrush or a pencil eraser into acrylic paint and stamp dots across the case. Vary the spacing slightly so it reads as scattered rather than gridded.
This is a genuinely forgiving design, since a little unevenness in the dots only adds to the charm.
4. Marbled Nail Polish Case
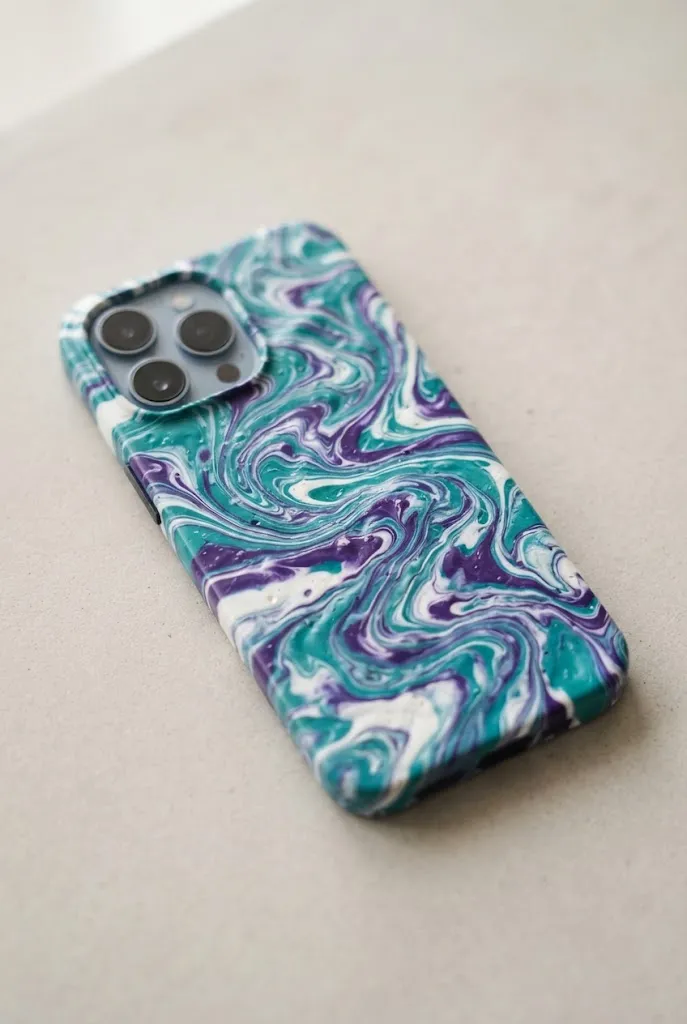
Fill a cup with room-temperature water, drop in a few colors of nail polish, and swirl them together with a toothpick before dipping the case in and pulling it back out. The polish clings to the case’s surface in a marbled pattern that’s different every single time.
This technique has a bit of a learning curve with the dipping motion, but even an imperfect first attempt tends to look striking.
5. Splatter Paint Case
Load a brush with thinned acrylic paint and flick it across the case’s surface for a lively, colorful splatter effect. Work over newspaper or outside, since this technique does get a little messy.
There’s no way to control exactly where the splatters land, which makes this one of the easiest and most foolproof designs on the list.
6. Ombre Gradient Paint Case
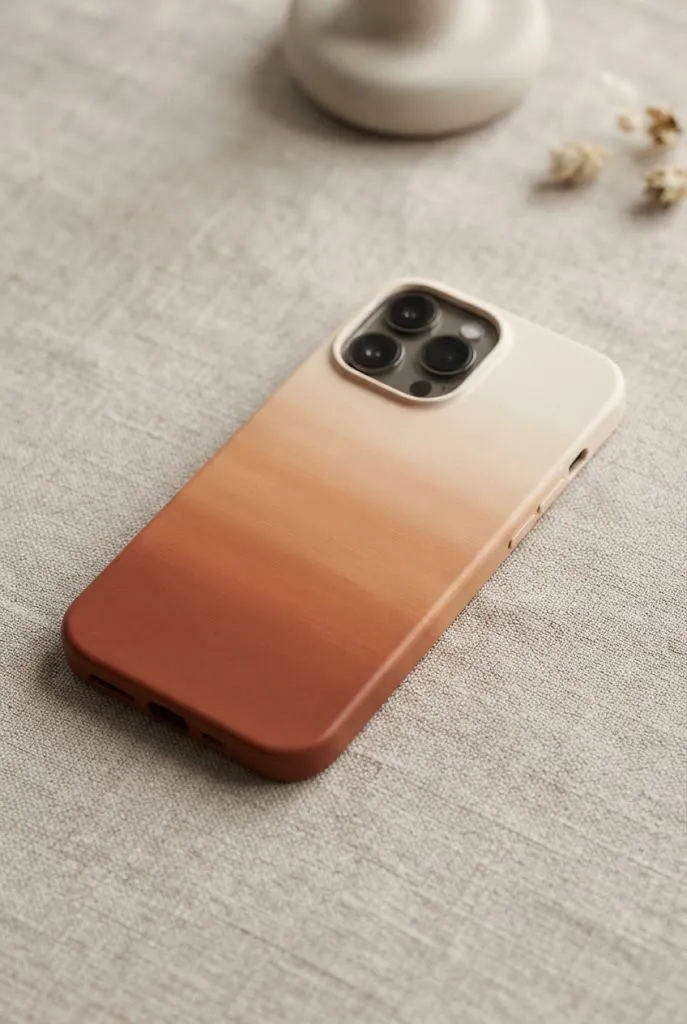
Start with a deep, saturated color at the bottom of the case and gradually add more water to your paint as you move upward, blending each transition while it’s still wet. The color should fade smoothly from bold to nearly clear by the top.
A phone case’s narrow, elongated shape actually makes it a great surface for this technique, since there’s enough length for the gradient to unfold properly.
7. Puffy Paint Doodle Case
Puffy fabric paint, the kind that dries raised and textured, works beautifully on phone cases for simple doodles, initials, or small shapes. Because it comes in a squeeze bottle, there’s no brush control needed at all.
This is a great option for anyone who wants a tactile, dimensional design without touching resin or anything that requires curing time.
8. Resin Drip Case
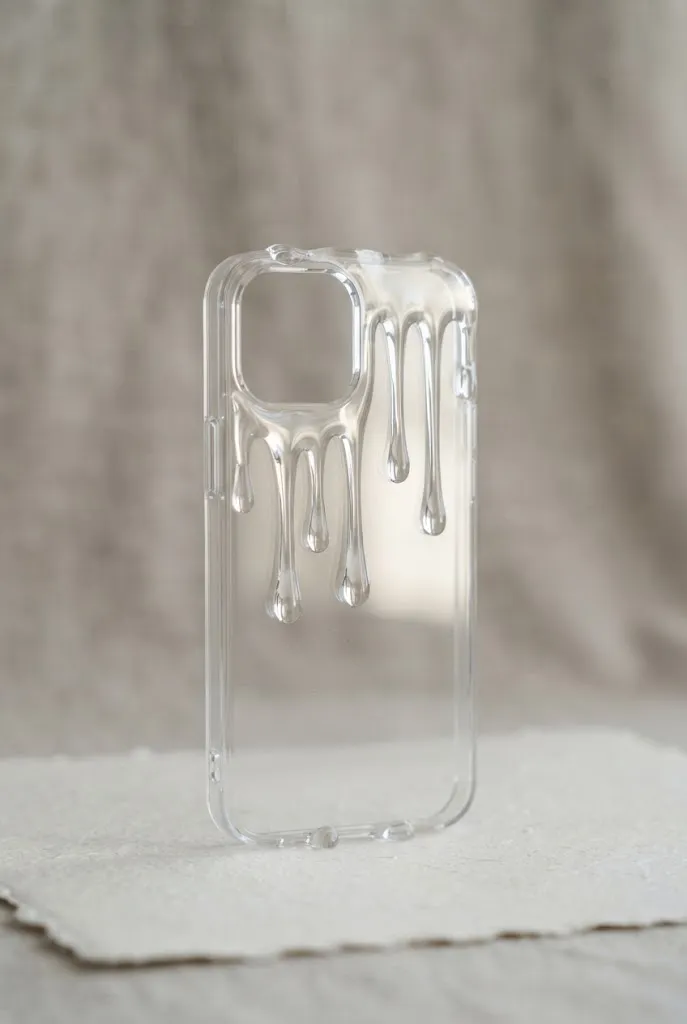
Mix a small batch of clear UV or two-part resin, tint it if you’d like, and let it drip naturally along the top edge of the case before curing. The drips create an organic, glossy texture that catches the light beautifully.
Because resin is more rigid once cured, this technique holds up best on a hard case rather than a flexible silicone one.
9. Pressed Flower Resin Case
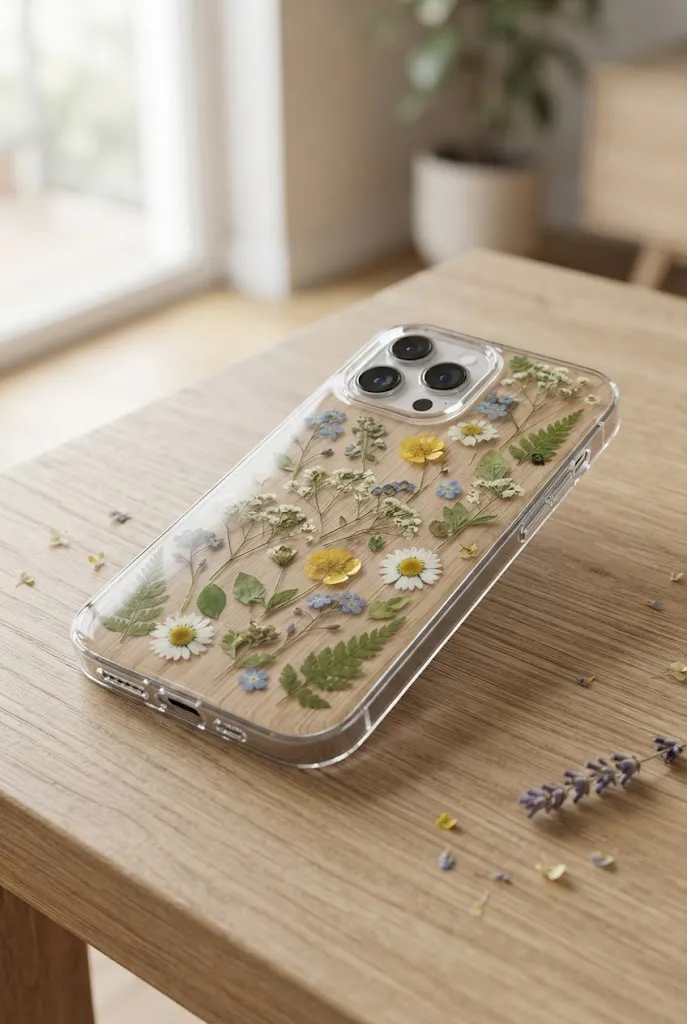
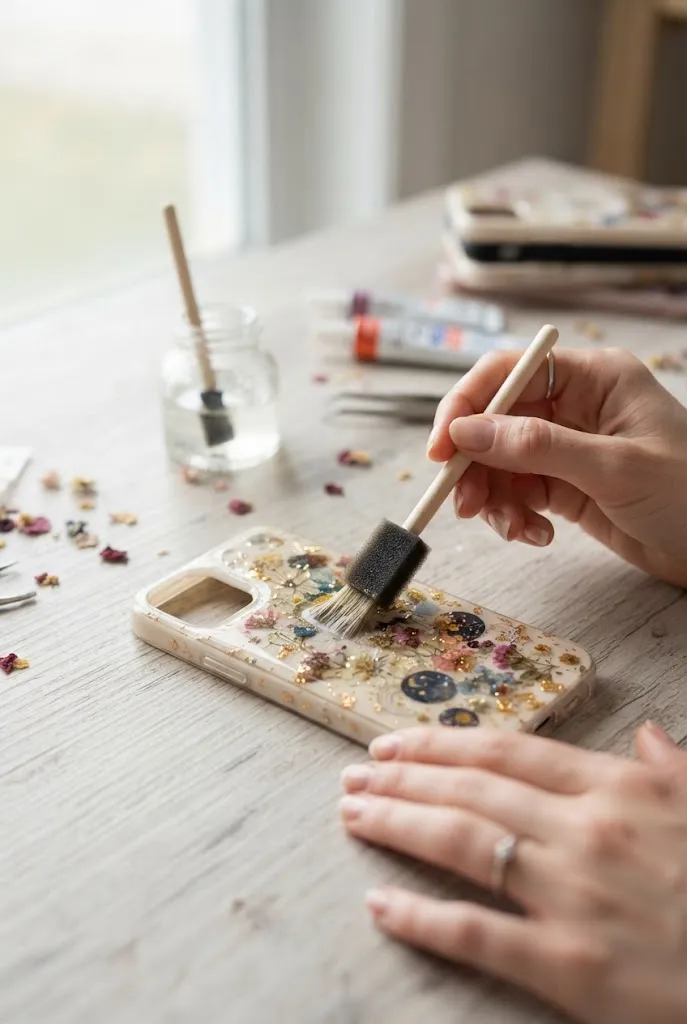
Arrange dried, pressed flowers and leaves on the back of a clear case, then seal them in place with a thin layer of resin poured over the top. Small, flat flowers like pansies or baby’s breath tend to work best since they sit flush against the case.
This design turns real flowers, maybe even from a bouquet with sentimental value, into something you carry with you every day.
10. Glitter Epoxy Case
Mix fine glitter directly into clear epoxy resin and pour a thin, even layer over the case’s back, tilting it gently to spread the mixture evenly before it cures. The glitter suspends throughout the resin for a shimmering, dimensional finish rather than sitting flat on the surface.
This technique gives a noticeably more polished, professional look than simply gluing glitter on top of a case.
11. Rhinestone Corner Accent Case
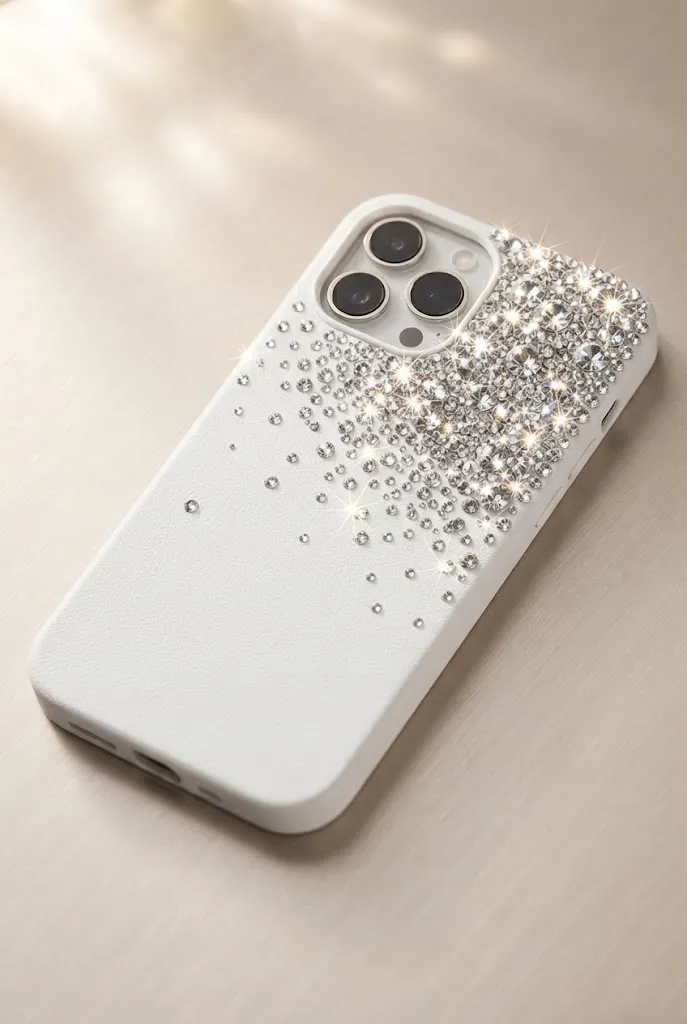
Rather than covering the whole case, cluster rhinestones in just one corner using a strong jewelry adhesive, tapering the design outward with a few scattered stones. This creates a sparkly focal point without weighing down the entire case.
Keeping the bling concentrated in one area also makes the case easier to hold and less likely to lose stones from everyday wear.
12. Pearl Trim Case
Glue small flat-back pearls along just the edge or rim of the case, working in a continuous line all the way around. This adds a subtle, elegant detail without covering the case’s main surface at all.
Pearls tend to hold up especially well on the go, since a trim placement means they see less direct friction than a fully covered design would.
13. Embroidery Thread Wrap Case
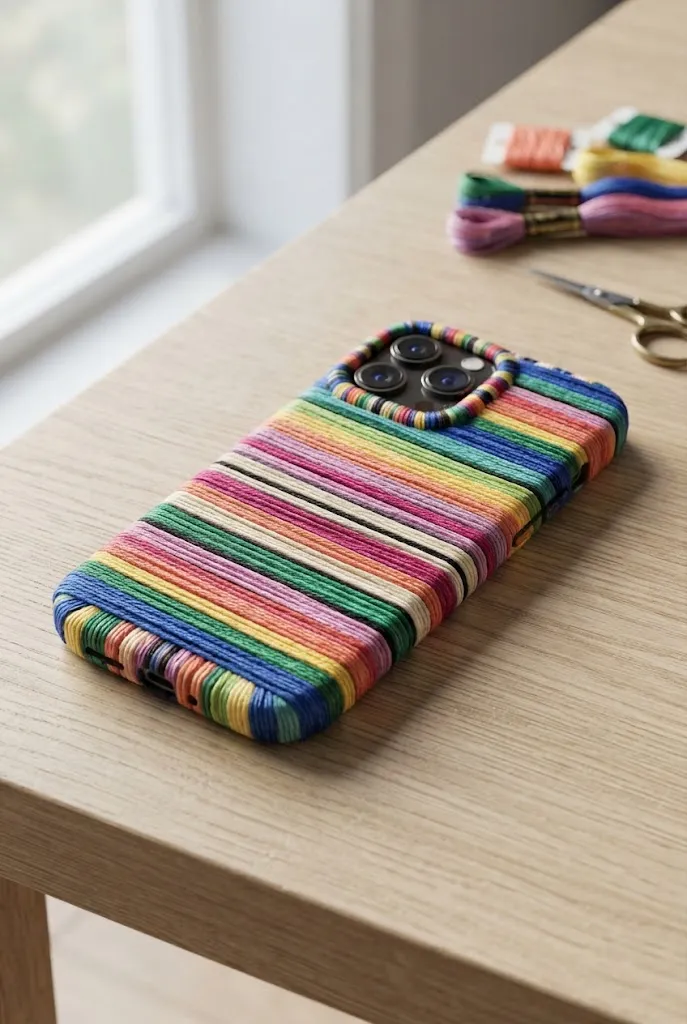
Using strong fabric glue, wrap embroidery floss around the case in tight, even rows, switching colors every so often to create stripes or a gradient effect. This technique gives a woven, textile-like texture that’s genuinely unique among phone case designs.
Because thread is flexible, this is one of the better embellishment options for a silicone case that other rigid techniques wouldn’t suit.
14. Decoupage Collage Case
A phone case decorated with an overlapping collage of cut-out magazine images and scrapbook paper, sealed with a glossy decoupage finish, styled on a creative workspace with scissors and paper scraps nearby, natural light, realistic crafting photography.
Cut out images from magazines, scrapbook paper, or printed photos, and adhere them to the case using decoupage glue, brushing a final protective layer over the top once everything is placed. Overlapping the pieces slightly creates a cohesive, collaged look rather than isolated cutouts.
This is a great technique for anyone who wants a genuinely one-of-a-kind design built from things that already mean something to them.
15. Fabric Scrap Patchwork Case
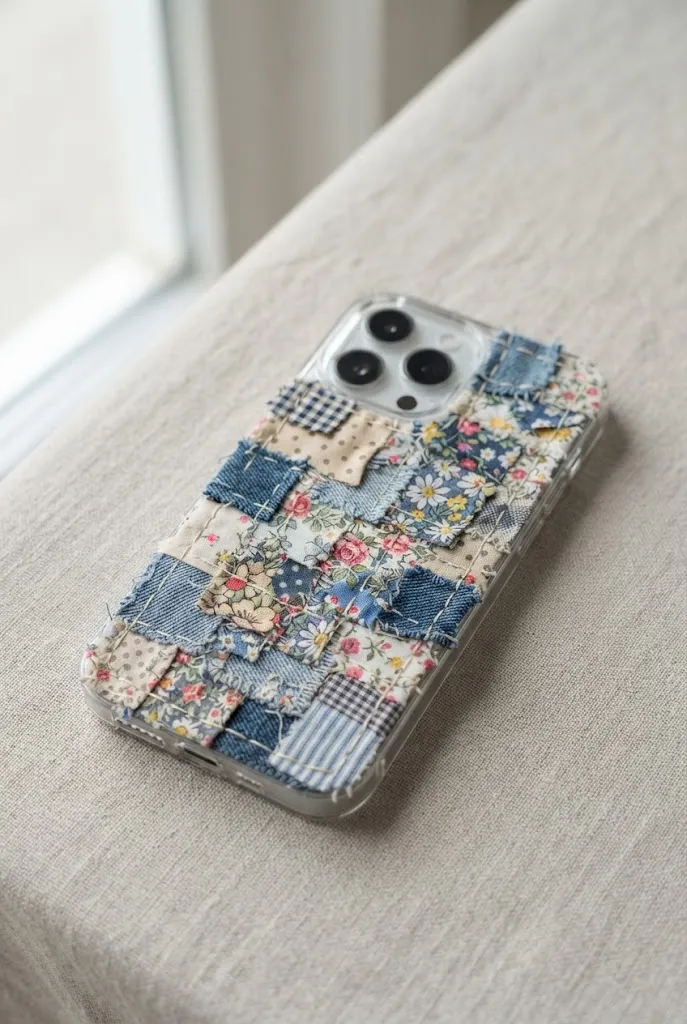
Cut small pieces of fabric into simple shapes and glue them onto a clear case in a patchwork pattern, sealing the edges down firmly with fabric glue. Mixing patterns and textures, like denim next to a floral print, adds visual interest.
This technique is a great way to repurpose fabric scraps left over from other sewing or craft projects.
16. Sharpie Doodle Case
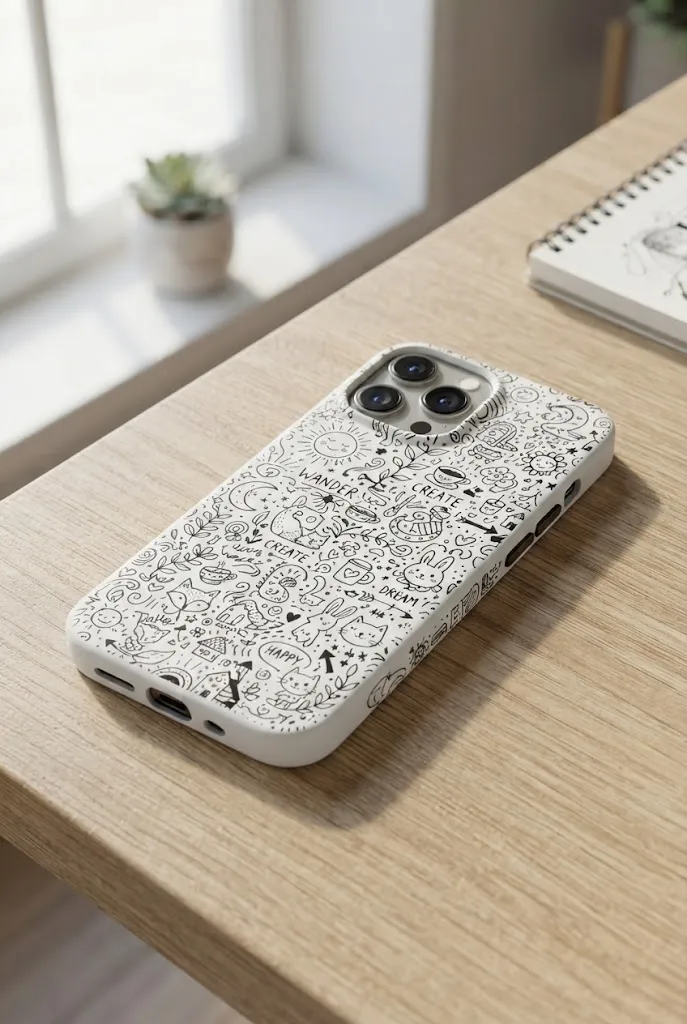
Using an oil-based paint marker or permanent marker made for the surface, freehand simple doodles, patterns, or line art directly onto the case. Because there’s no paint drying time involved, this is one of the fastest techniques on the entire list.
Keep the lines loose and playful rather than trying for precision — a slightly imperfect doodle almost always looks more charming than a stiff one.
17. Stamped Initial Case
Use a small rubber stamp and permanent ink, or a paint pen for a freehand version, to add a single initial centered on the back of the case. This is one of the quickest ways to make a plain case feel personal.
It’s also an easy way to tell cases apart in a household where more than one person has a similar model.
18. Photo Transfer Case
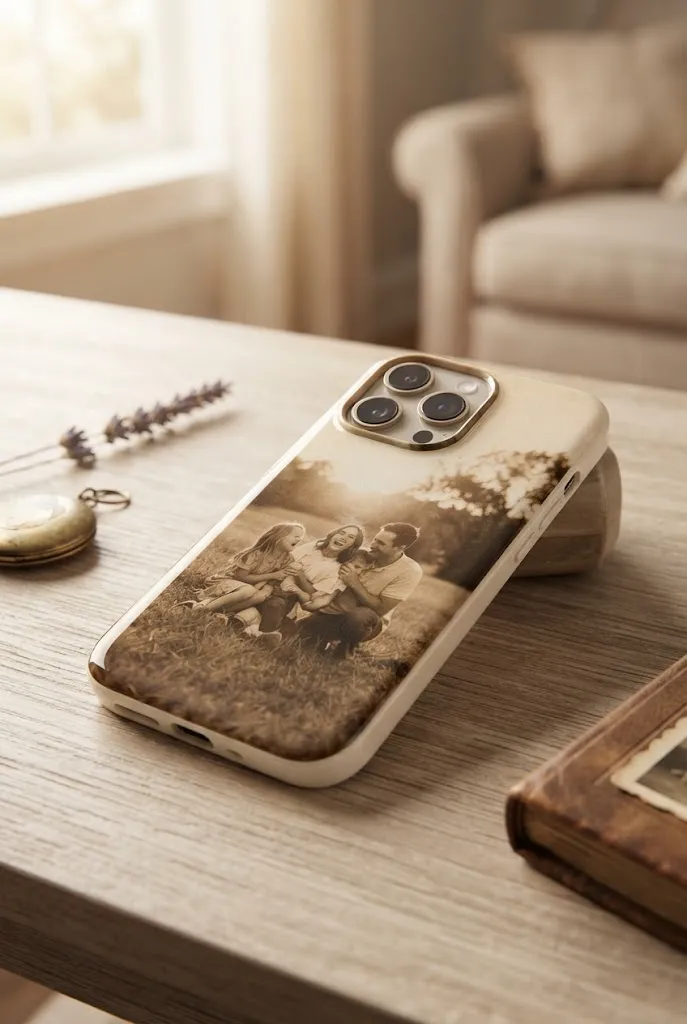
Print a photo using transfer paper made for the printer type you have, then follow the paper’s instructions to transfer the image onto the case’s surface, usually with heat or a gentle burnishing process. Once transferred, seal the design with a clear topcoat to protect it from scratching.
This technique turns a favorite photo into something you see and hold every day, which makes it a genuinely meaningful project.
19. Charm Dangle Case
A phone case featuring a small ring adapter with three or four colorful mixed charms dangling and catching the light, styled on a light surface with soft natural lighting, realistic playful lifestyle photography.
If your case has a small hole or loop, or you add one with a case ring adapter, attach a few small charms with jump rings for a design that moves and catches light as you use your phone. Mixing charm shapes and sizes adds personality without needing any glue at all.
This is one of the easiest techniques to swap out and update whenever you want a change, since the charms simply unclip.
20. Custom Quote or Name Case
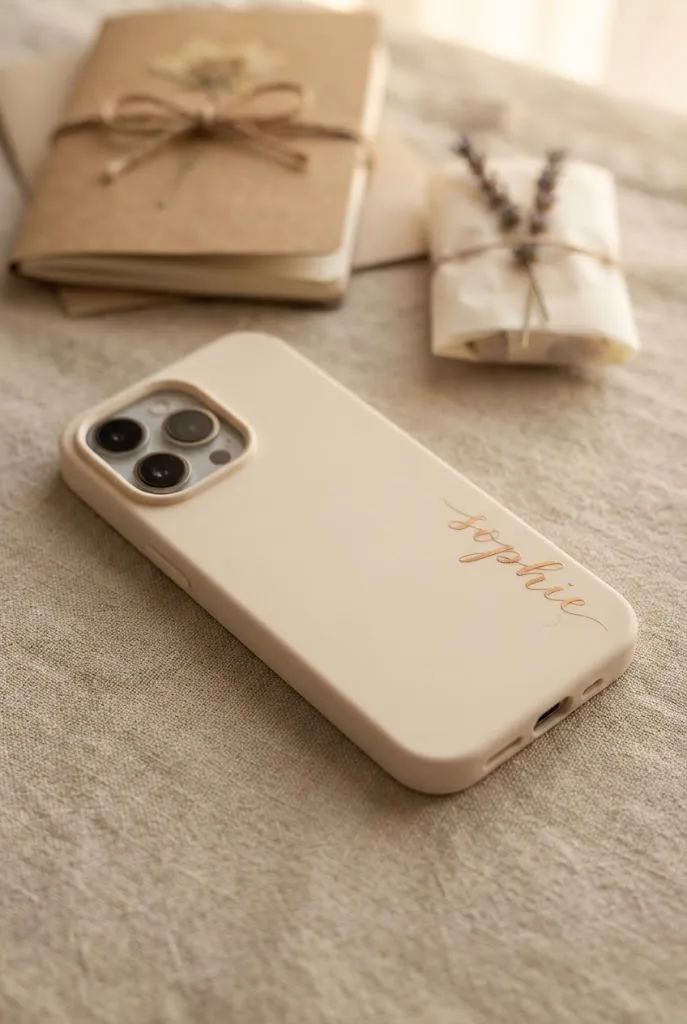
Using a paint pen or fine brush, write a short name, date, or meaningful phrase across the case, keeping the wording brief so it stays legible on a small, curved surface. A single word or short phrase reads far more cleanly than a long sentence.
This is one of the simplest ways to turn a DIY case into a genuine keepsake, whether it’s for yourself or as a handmade gift.
Tips for Making Your DIY Phone Case Last
Related: DIY Phone Case Ideas: Your Complete Guide to Customizing Your Case
Common Mistakes That Cause Designs to Peel or Crack
The most common mistake is skipping surface prep entirely. A quick wipe with rubbing alcohol before you start removes oils and dust that would otherwise keep paint or adhesive from bonding properly.
Applying paint or resin too thickly is a close second — thin, even layers dry and cure far more reliably than one heavy coat, which is more prone to cracking once it’s finished. And rushing the curing or drying time, especially with resin, tends to leave a tacky or uneven surface that never fully hardens correctly.
Giving each layer the full time it needs before moving on to the next step is the single easiest way to make sure your finished design actually survives daily use.
Frequently Asked Questions
What’s the easiest DIY phone case idea for a beginner?
Techniques like washi tape, splatter paint, or a sharpie doodle are the most forgiving starting points, since they don’t require precise lines or specialized materials like resin.
What glue or adhesive works best for phone case crafts?
A strong jewelry or multi-surface adhesive works well for rhinestones, pearls, and charms, while fabric glue is better suited for thread, fabric scraps, and other soft materials.
Will a DIY design still let my phone charge and use the camera properly?
Yes, as long as you keep your design away from the charging port, camera opening, and speaker holes, which most techniques on this list naturally avoid since they focus on the flat back surface.
Can I decorate a silicone phone case the same way as a hard case?
Not exactly — silicone flexes constantly, so techniques like embroidery thread, washi tape, or fabric work better than rigid materials like resin or heavy rhinestone clusters, which are more likely to crack or pop off.
How do I make my design waterproof or long-lasting?
Sealing your finished design with a clear spray sealant or a resin topcoat, depending on the technique, is the most reliable way to protect it from daily wear, moisture, and scratching.
What’s a good DIY phone case idea to do with kids?
Simple, low-mess techniques like polka dots, sharpie doodles, or a stamped initial work well for kids, since they don’t involve resin, heat, or anything that needs close supervision.
Final Thoughts
A DIY phone case is proof that you don’t need much to make something in your everyday life feel a little more like you. Sometimes it really is just a paint pen and ten free minutes.
Start with one technique that matches the supplies you already have on hand, whether that’s a quick sharpie doodle or a more involved resin drip design. Once you’ve got the hang of it, trying a second technique is a great way to build a whole rotation of cases that actually feel personal.