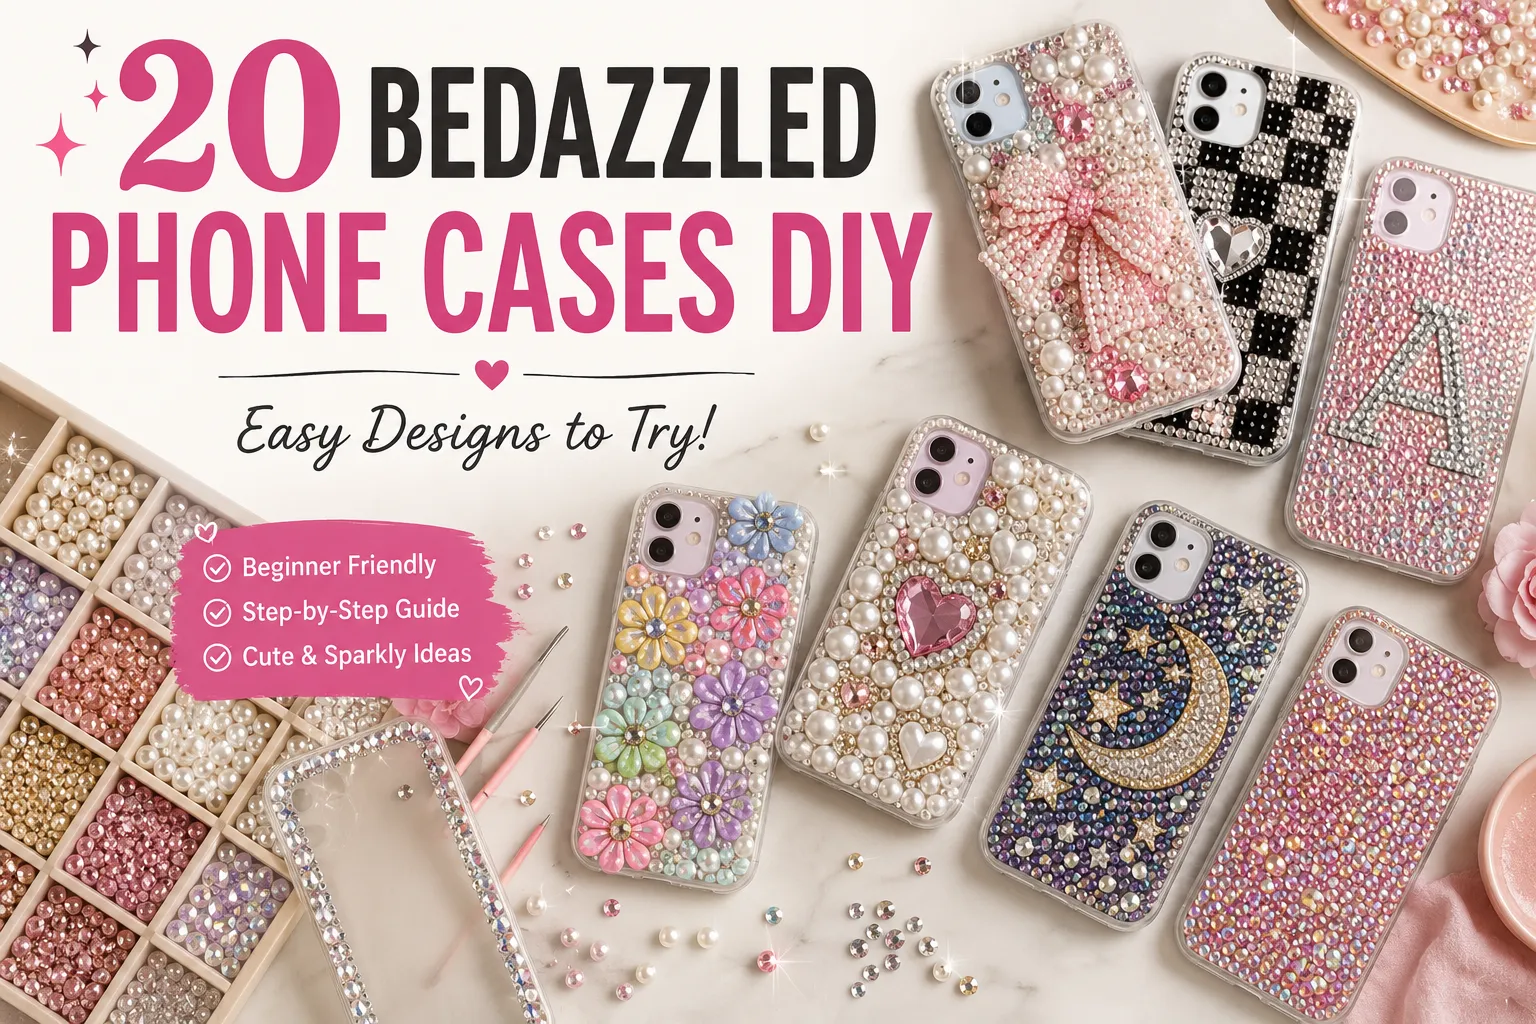
Bedazzled Phone Cases DIY: 20 Easy Designs to Try
There’s something instantly fun about a bedazzled phone case. A plain case can become a sparkling accessory with rhinestones, crystals, pearls, charms, or other small embellishments.
The best part? You don’t need advanced crafting skills to make one. You can go all-out with crystals covering nearly the entire case, or keep things simple with a small heart, border, initial, or pop of color.
This guide covers everything you need to make bedazzled phone cases DIY style, from choosing the right case and planning your design to creating 20 different looks you can recreate at home.
What Is a Bedazzled Phone Cases DIY?
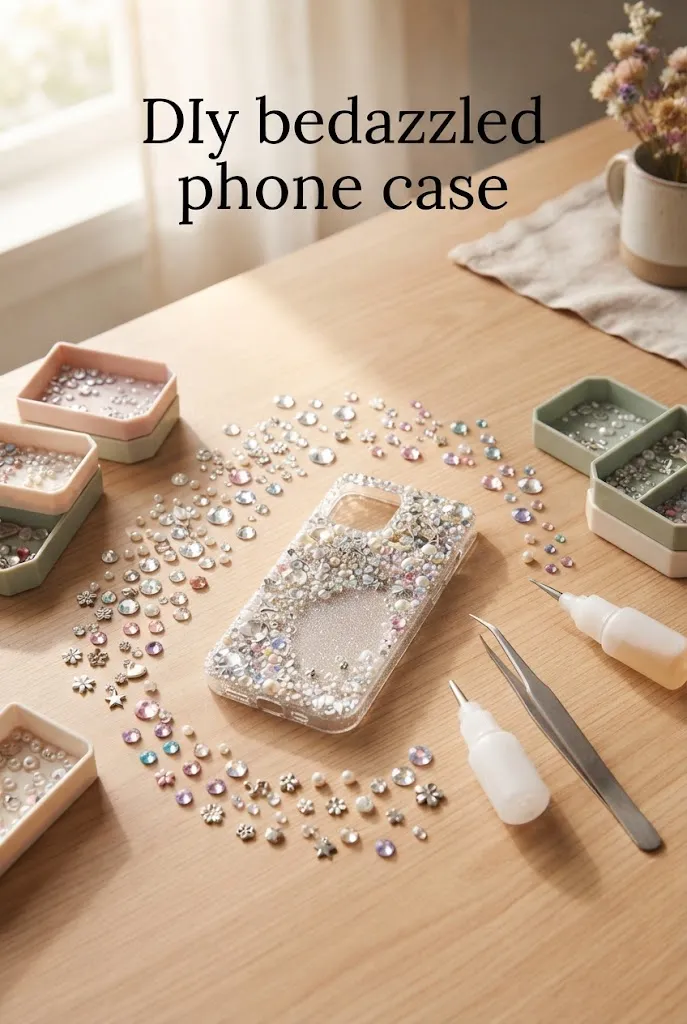
A bedazzled phone case is a phone case decorated with rhinestones, crystals, pearls, charms, or other small embellishments. The decorations can be arranged into patterns, letters, shapes, borders, or an all-over design.
Unlike a printed phone case, a bedazzled case has a raised, textured finish. That makes every piece feel more personal and handmade.
You can also choose how dramatic you want the finished case to be. A few crystals around the camera can create a subtle accent, while hundreds of rhinestones can turn a basic case into a full glam statement piece.
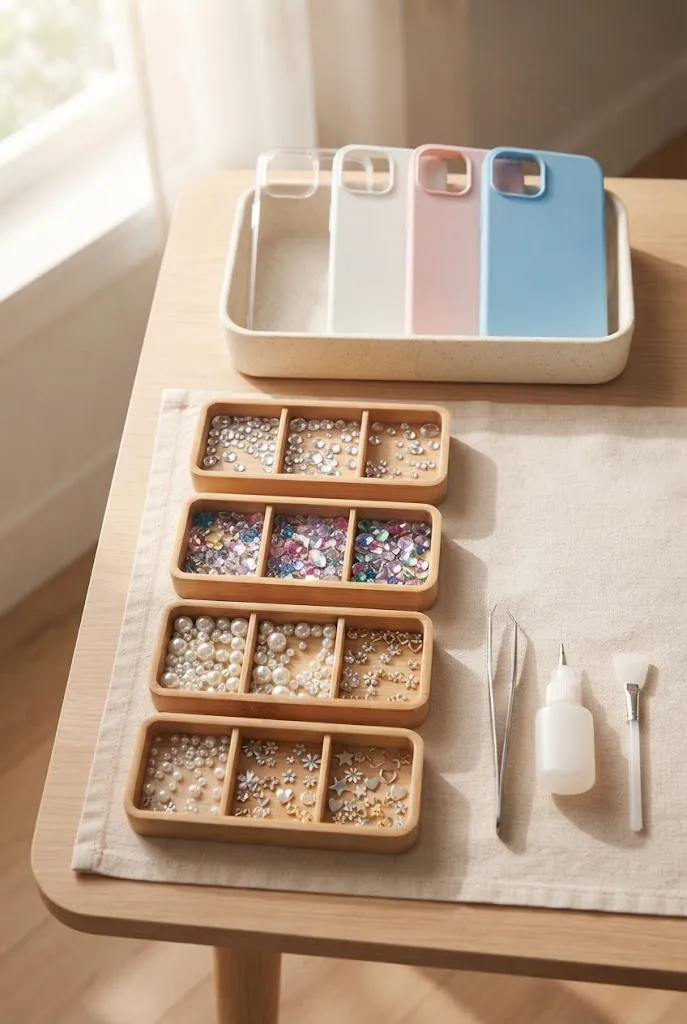
What You’ll Need to Make a Bedazzled Phone Case
Before you start gluing anything, gather your supplies and decide what kind of finish you want.
Choose the Right Bedazzled Phone Cases DIY
A sturdy, relatively flat phone case is usually the easiest surface to decorate.
Hard plastic or rigid cases work especially well because they provide a stable surface for placing small embellishments. A clear case is also a great choice if you want the original phone color to show through between the decorations.
Look for a case with:
- A reasonably flat back
- A snug fit around the phone
- A clearly defined camera opening
- Enough surface area for your design
- A material compatible with your chosen adhesive
Very soft or flexible cases can be trickier because the surface bends while you’re working. That movement can make carefully positioned rhinestones harder to keep in place.
Rhinestones, Crystals, Pearls & Charms
You don’t have to use only one type of embellishment.
Clear rhinestones give you classic sparkle, while colored crystals can create patterns and gradients. Pearls add a softer look, and small charms can become focal points.
For a polished design, try combining different sizes. Larger pieces can create the main shapes, while smaller stones fill the spaces around them.
If you’re making a detailed design, sorting your embellishments by size and color before starting will save a surprising amount of time.
Choosing the Right Adhesive
The adhesive is one of the most important parts of the project.
Choose a craft adhesive that is designed for the materials you’re working with and is suitable for the case surface. Different cases, rhinestones, plastics, and embellishments can require different adhesives, so always follow the manufacturer’s directions.
Avoid assuming that more glue means a stronger case. Too much adhesive can squeeze out around the rhinestones and make the finished design look messy.
It’s better to apply small amounts precisely and give the adhesive enough time to cure.
How to Make a Bedazzled Phone Cases DIY
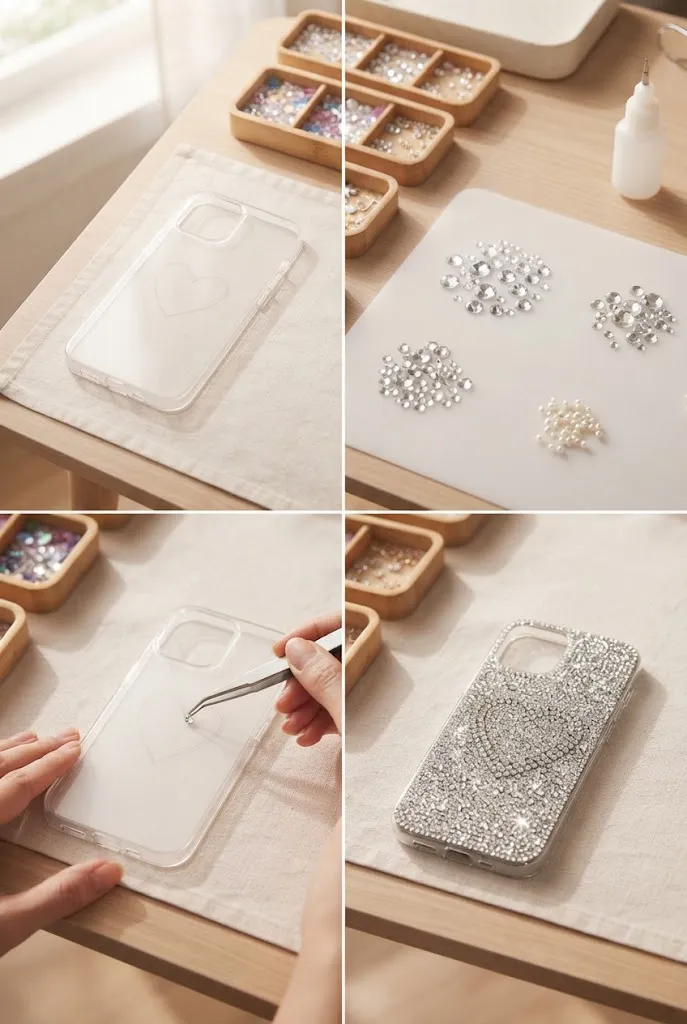
Once your supplies are ready, the actual process is fairly simple. The key is to slow down during the planning and placement stages.
1. Clean and Prepare the Case
Start with a completely clean, dry case.
Remove dust, fingerprints, oils, and other residue from the surface. Follow the cleaning instructions appropriate for your case material and adhesive.
Let the surface dry completely before you begin.
This small step matters because leftover oil or dirt can interfere with adhesion.
2. Sketch or Plan Your Design
Don’t start gluing randomly unless you’re intentionally going for a scattered look.
For patterns, lightly sketch your idea on paper first. You can draw a heart, initial, checkerboard, flower, border, or other shape and use it as a reference while working.
For an all-over design, decide where your largest stones will go first.
3. Test the Rhinestone Layout
Place some rhinestones on the case without glue.
This lets you experiment with spacing, colors, and proportions before committing to the design.
It’s especially helpful for symmetrical patterns. If you’re creating an initial or geometric design, you can move pieces around until everything looks balanced.
4. Apply Adhesive in Small Sections
Work on a small area at a time instead of covering the entire case with adhesive.
Small sections give you more control and prevent the adhesive from becoming difficult to work with before you’ve placed your rhinestones.
Use only enough adhesive to secure each embellishment according to the product’s directions.
5. Place the Rhinestones
Carefully position each rhinestone where you want it.
Tweezers can make this much easier, particularly when working with tiny stones. A simple wax or pickup tool can also help you handle small embellishments without constantly touching them with your fingers.
For detailed designs, start with the larger focal pieces and work outward.
6. Fill Small Gaps
Once your main design is in place, look closely at the spaces between the larger stones.
This is where smaller rhinestones can make a big difference.
Instead of trying to make every gap identical, use different sizes where necessary. The goal is a balanced appearance rather than perfect uniformity.
7. Let the Case Fully Cure
Resist the temptation to put your phone in the case immediately.
Allow the adhesive to cure according to the manufacturer’s instructions. Depending on the product, this may take several hours or longer.
A case can feel dry on the surface while the adhesive underneath is still curing.
Giving it enough time before regular use can help prevent pieces from shifting or falling off.
8. Inspect the Finished Case Before Using It
Before putting your phone inside, inspect the entire case.
Check the edges, corners, camera opening, and any areas where rhinestones might interfere with the phone’s fit.
Gently check that the embellishments are secure and that nothing is positioned where it could scratch your phone or interfere with buttons, cameras, or charging.
Once everything looks good, your custom case is ready to use.
20 Bedazzled Phone Case Ideas
Now for the fun part. These designs range from subtle and simple to completely covered in sparkle, so you can choose a style that fits your personality.
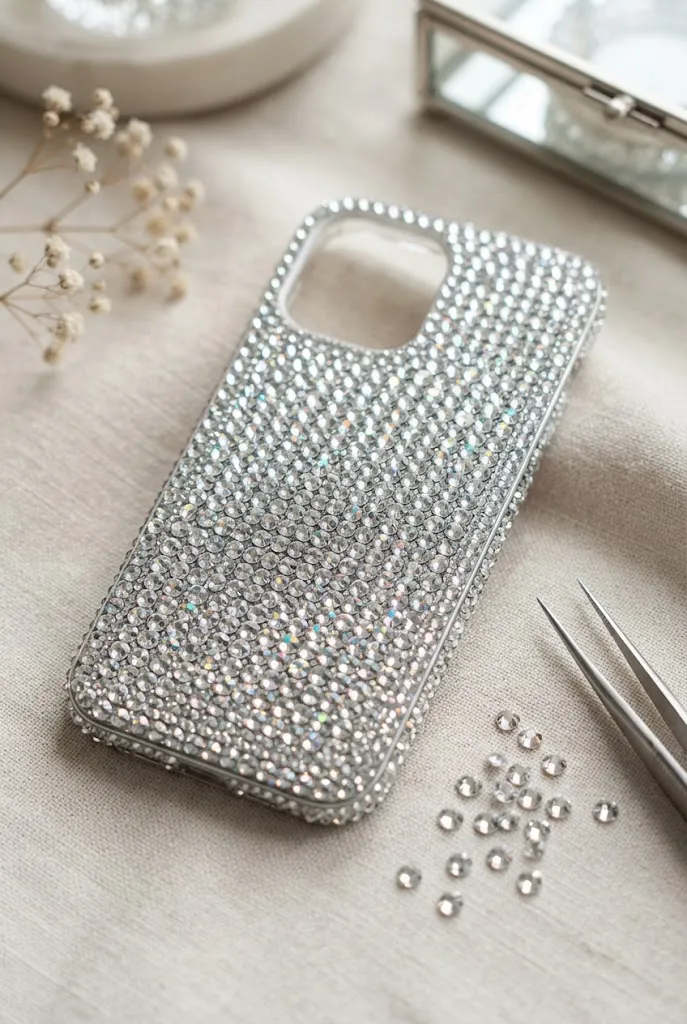
1. Full-Coverage Crystal Case
For maximum sparkle, cover most of the back of the case with rhinestones.
Use one crystal color for a clean, luxurious look, or mix several shades for more personality. Start with larger stones and use smaller ones to fill the remaining spaces.
This design works particularly well when you want the case itself to become a statement accessory.
Related: 20 DIY Resin Phone Case Ideas That Are Cute & Easy to Make
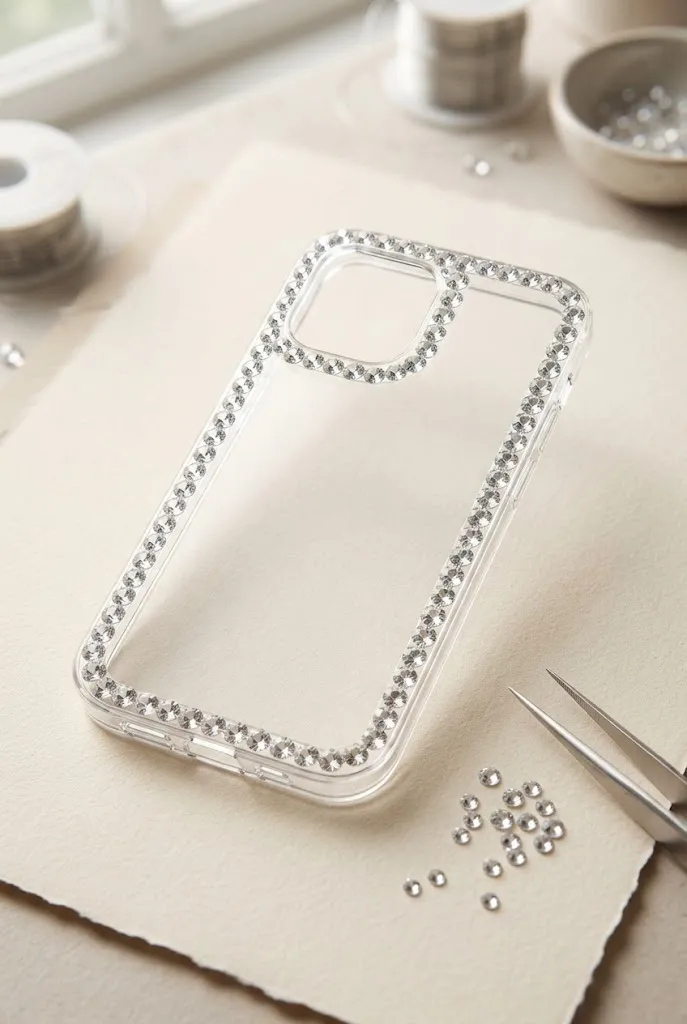
2. Crystal Border Phone Case
You don’t have to cover the entire case to get a glamorous result.
Create a border around the outside edge using clear or colored rhinestones while leaving the center relatively simple.
This is a good beginner design because you have a clearly defined area to follow. It also gives you plenty of room to show off a colorful or transparent case underneath.
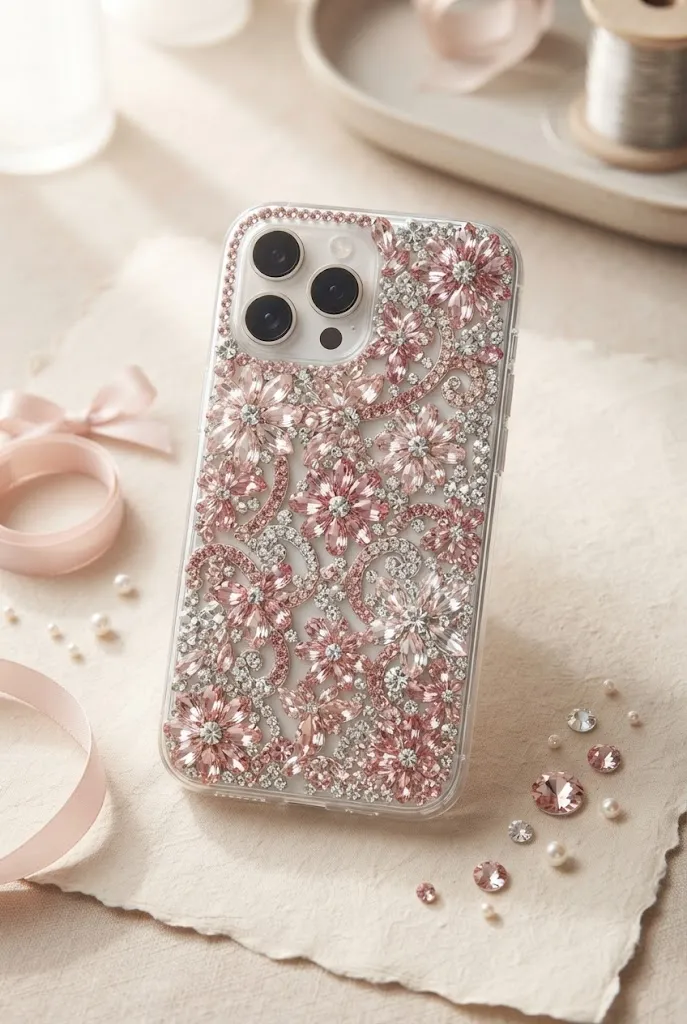
3. Pink and Clear Girly Glam Case
Pair pink rhinestones with clear crystals for a soft, feminine design.
Use the pink stones as the main accents and clear rhinestones around them to add extra sparkle without overwhelming the color palette.
Try different shades of pink if you want more depth, such as combining pale pink with a slightly brighter rose tone.
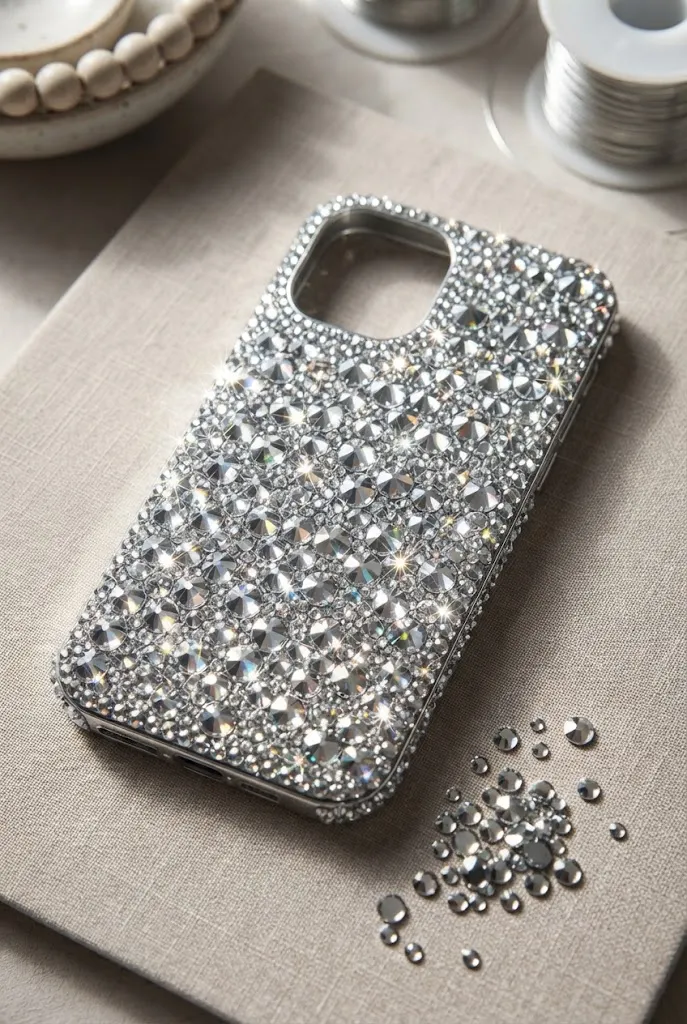
4. Silver Mirrorball Case
Create a dazzling silver-inspired case using clear and silver-toned rhinestones.
Keep the stones closely spaced so light reflects across the surface from different angles.
This design has a fun party feel and works especially well when you want your phone case to look bold rather than delicate.
5. Pearl and Rhinestone Mix
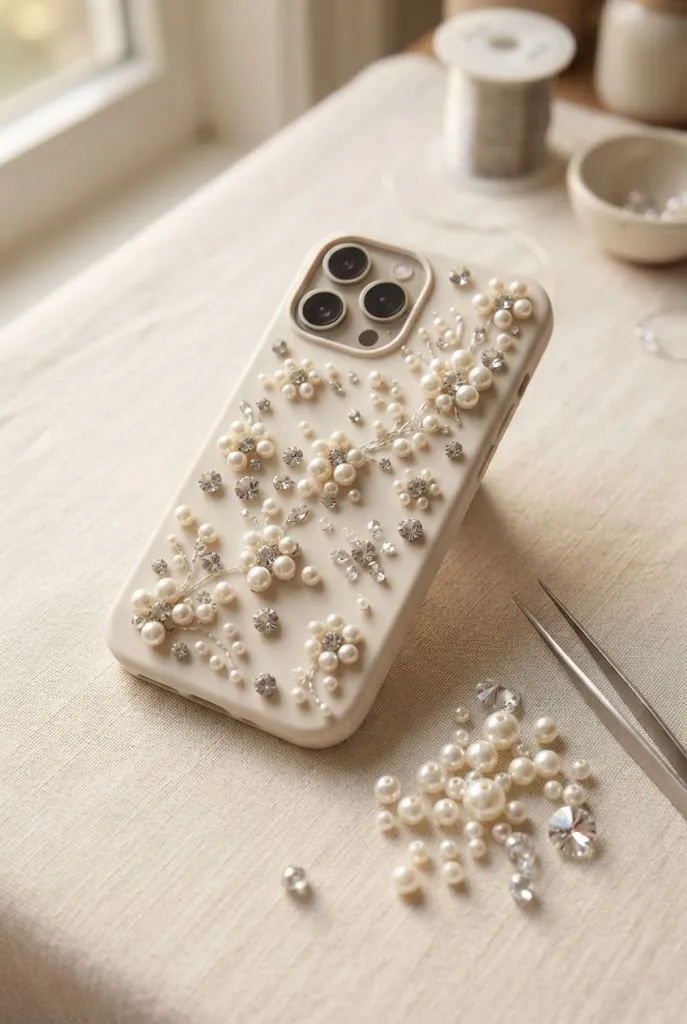
For a softer take on bedazzling, combine small pearls with clear rhinestones.
Use pearls as the main decorative elements and place crystals between them for sparkle.
You can create a scattered pattern, a floral motif, or a border. The combination gives the case more texture and makes it look different from a traditional all-rhinestone design.
6. Initial or Monogram Case
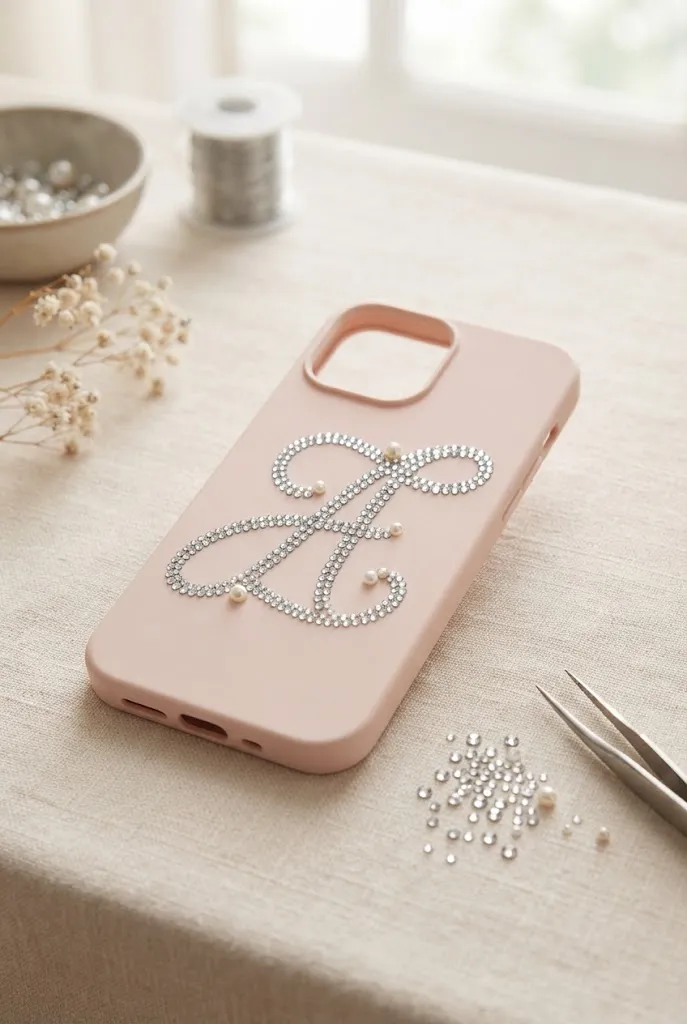
Personalize your case with a large initial.
Choose one letter and map it out on the case before applying adhesive. Use contrasting rhinestones so the letter stands out clearly from the background.
For example, a silver initial on a pink case creates an obvious focal point without requiring an elaborate pattern.
7. Heart-Shaped Rhinestone Design
Create one large heart in the center of the case or scatter several smaller hearts across the surface.
For a simple version, outline the heart rather than filling it completely.
You can also use one color for the heart and another for the surrounding details. This is an easy design to personalize for a gift or romantic-inspired accessory.

8. Starburst Crystal Case
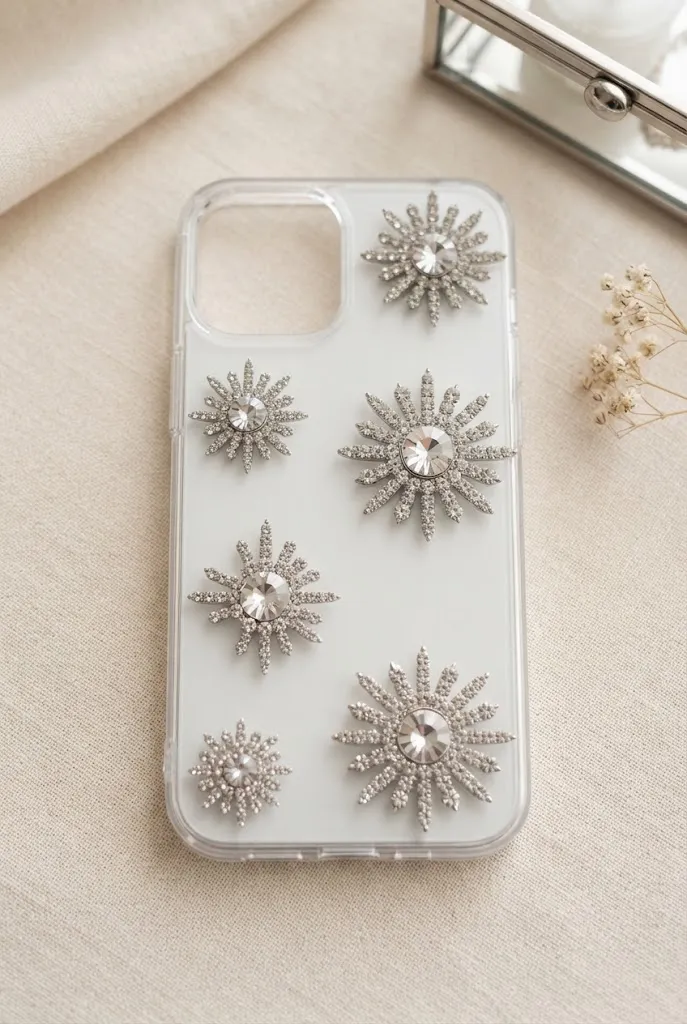
Arrange rhinestones so they radiate outward from several points.
Use larger crystals near the center of each starburst and smaller ones toward the ends. Leave some of the case visible between the shapes so the pattern remains easy to see.
This creates movement across the case without requiring a complicated illustration.
9. Checkerboard Bedazzled Case
A checkerboard pattern gives you a structured design that is easy to plan.
Choose two contrasting rhinestone colors and alternate them in rows.
You don’t have to make every square identical. Slight variations in stone size can give the finished case a handmade quality while still keeping the checkerboard pattern recognizable.

10. Rainbow Rhinestone Case
Create a colorful case by arranging rhinestones in rainbow order.
You can use distinct rows of color or gradually blend one shade into the next.
For a cleaner appearance, repeat the same color sequence across the entire case. This design is especially fun with clear stones mixed into the transitions.

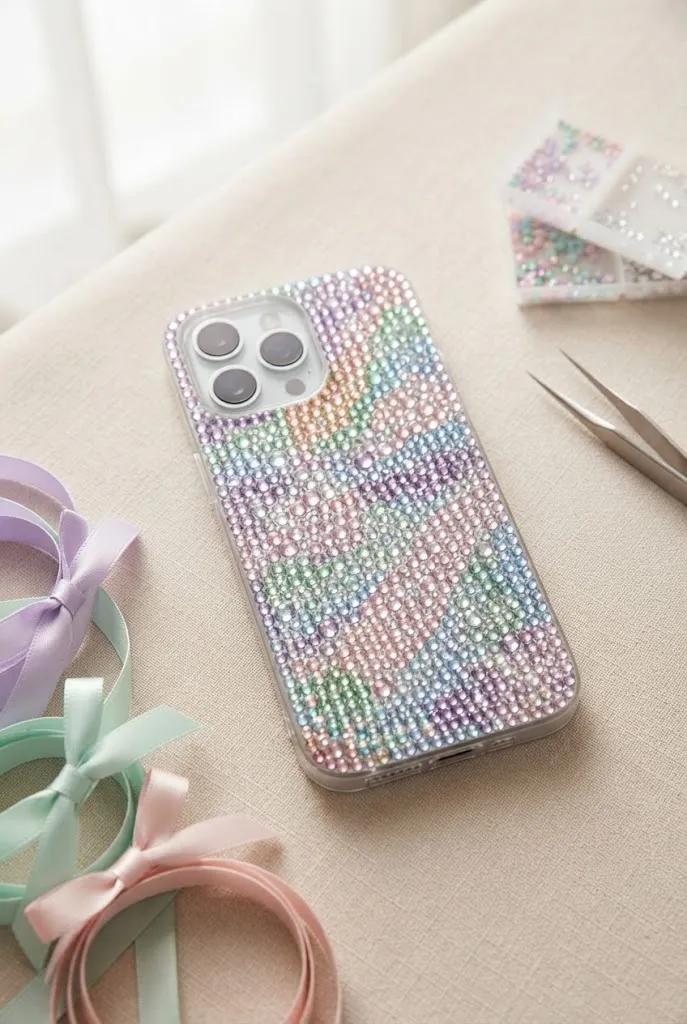
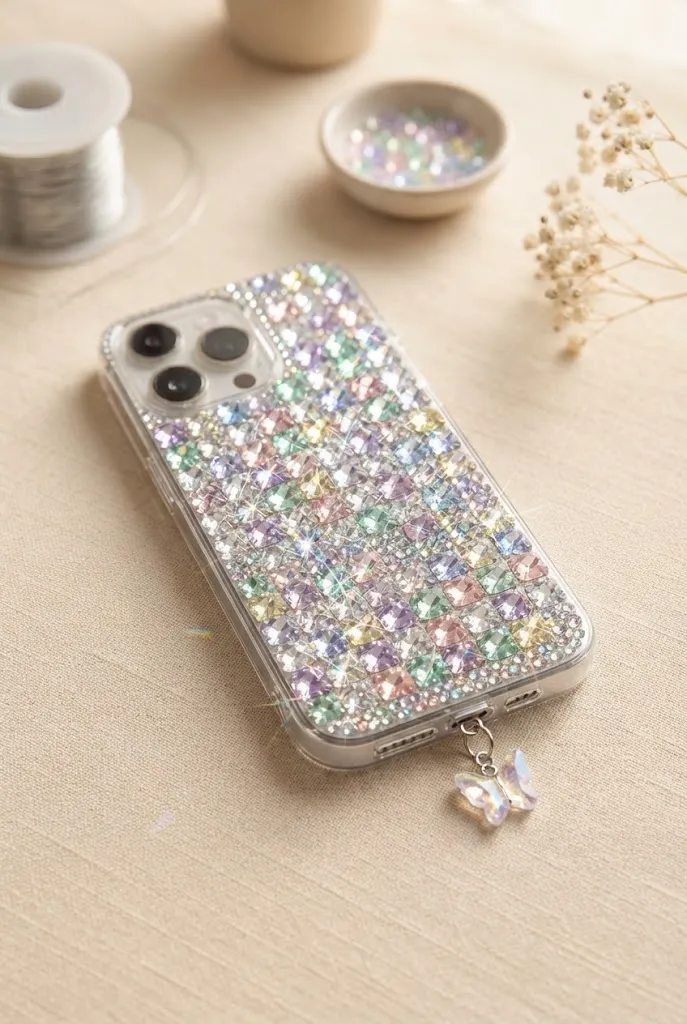
11. Pastel Crystal Case
Use a combination of lavender, pale pink, mint, baby blue, and clear rhinestones.
Instead of creating a strict pattern, scatter the colors across the case in a balanced way.
Keep the colors soft and relatively consistent in brightness for a dreamy pastel effect.
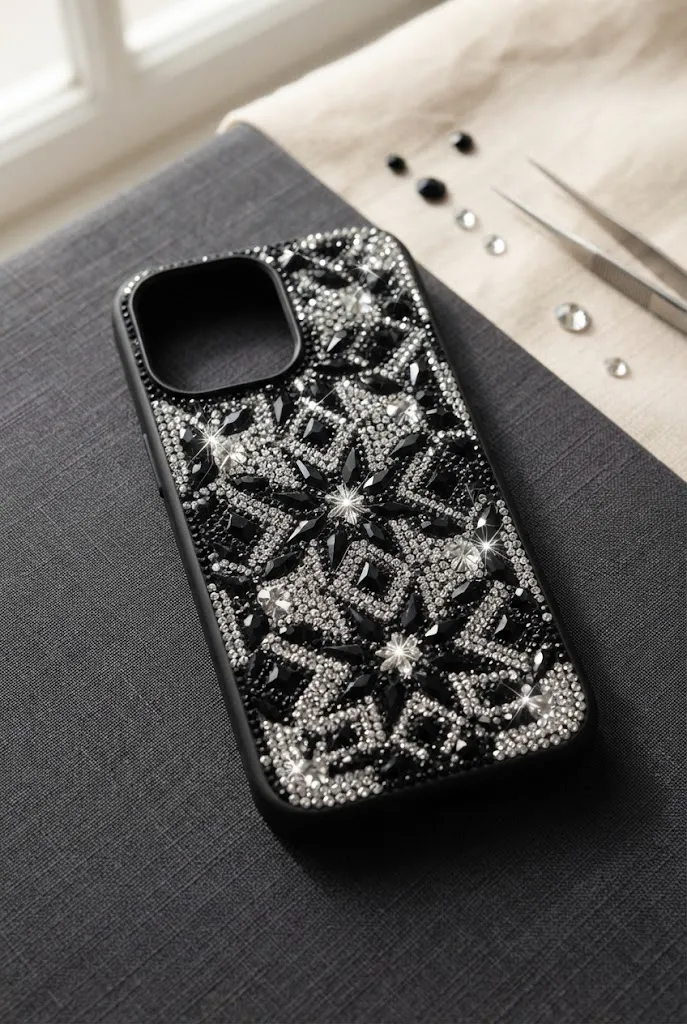
12. Black and Silver Glam Case
For something more dramatic, combine black embellishments with silver or clear crystals.
Use black rhinestones as the main pattern and silver stones as highlights.
A black-and-silver palette works especially well for geometric designs, borders, initials, and symmetrical patterns.
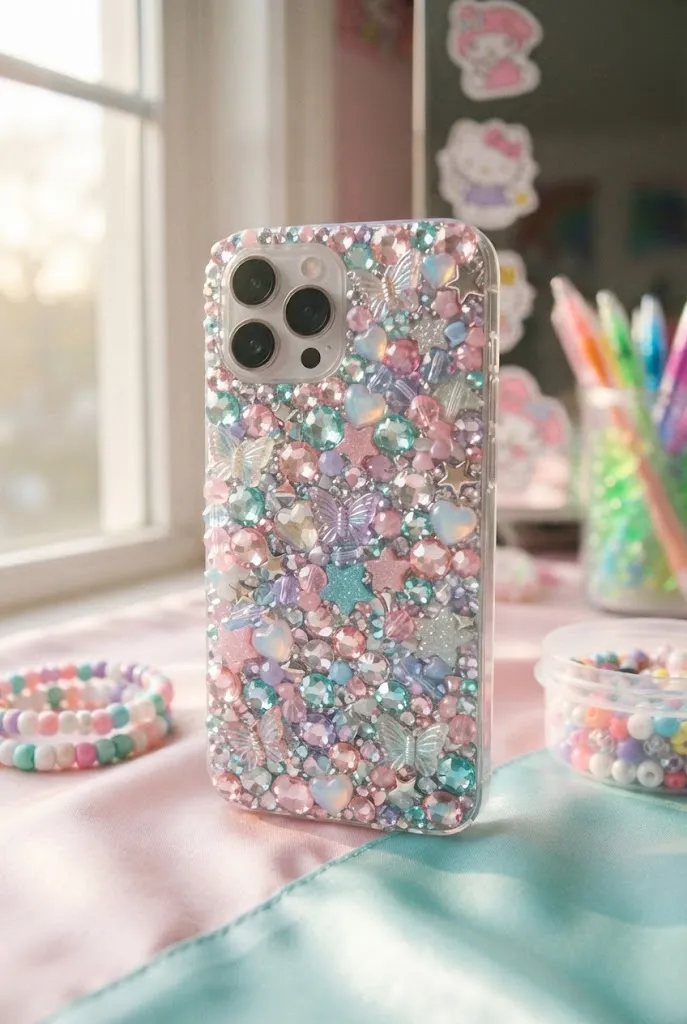
13. Y2K-Inspired Bling Case
Go playful with bright colors and nostalgic motifs.
Think butterflies, stars, hearts, colorful rhinestones, and tiny charms arranged together. You can mix several bright shades rather than sticking to one palette.
The key is to make the design intentionally maximalist. A little visual chaos is part of the appeal.
14. Minimal Corner Sparkle Case
If a completely bedazzled case feels like too much, decorate just one corner.
Create a small cluster of crystals near the bottom corner, around the camera area, or along one edge.
This gives you the sparkle of a customized case without covering the entire surface.
It’s also one of the quickest designs to make.

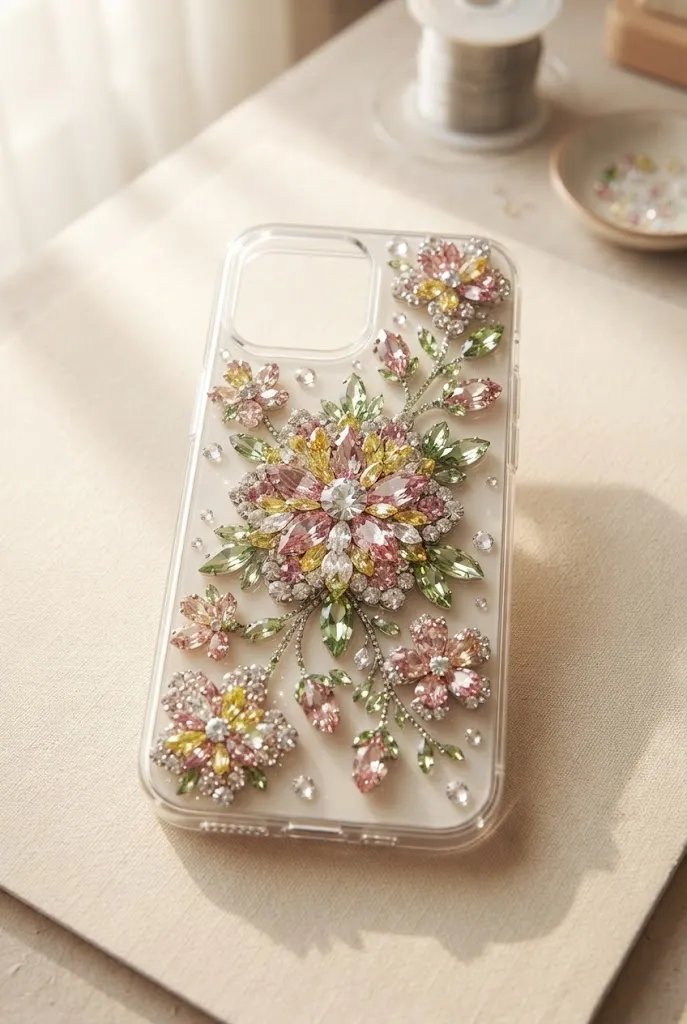
15. Floral Rhinestone Case
Build simple flowers using different colored rhinestones.
Use one larger stone as the center and arrange smaller stones around it as petals. Repeat the flowers across the case or keep one larger flower as the focal point.
Try pastel colors for a delicate look or bold contrasting colors for something more playful.
16. Checkerboard + Charm Case
Combine a structured rhinestone pattern with one or two larger charms.
Start with a simple checkerboard or grid design, then add a small decorative charm as the focal point.
Keeping the charm count low prevents the case from becoming visually crowded while still giving it a personalized finish.
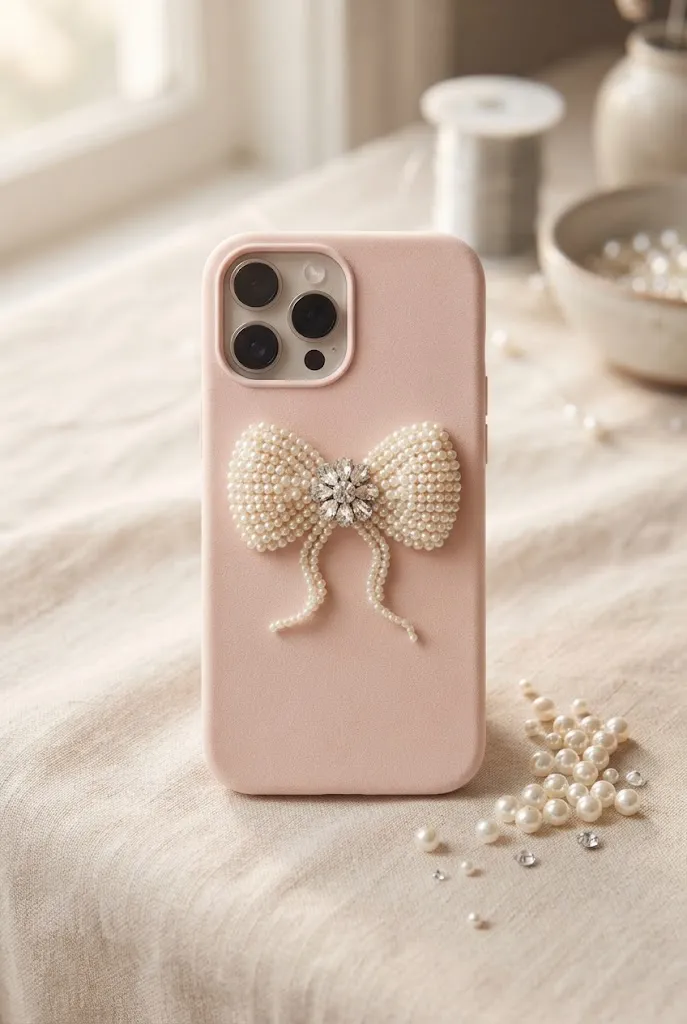
17. Pearl Bow Phone Case
Create a bow shape from small pearls and use rhinestones to highlight the center.
You can place the bow in the middle of the case or slightly off-center for a more casual look.
A soft cream, blush, or pale pink palette works particularly well with this design.
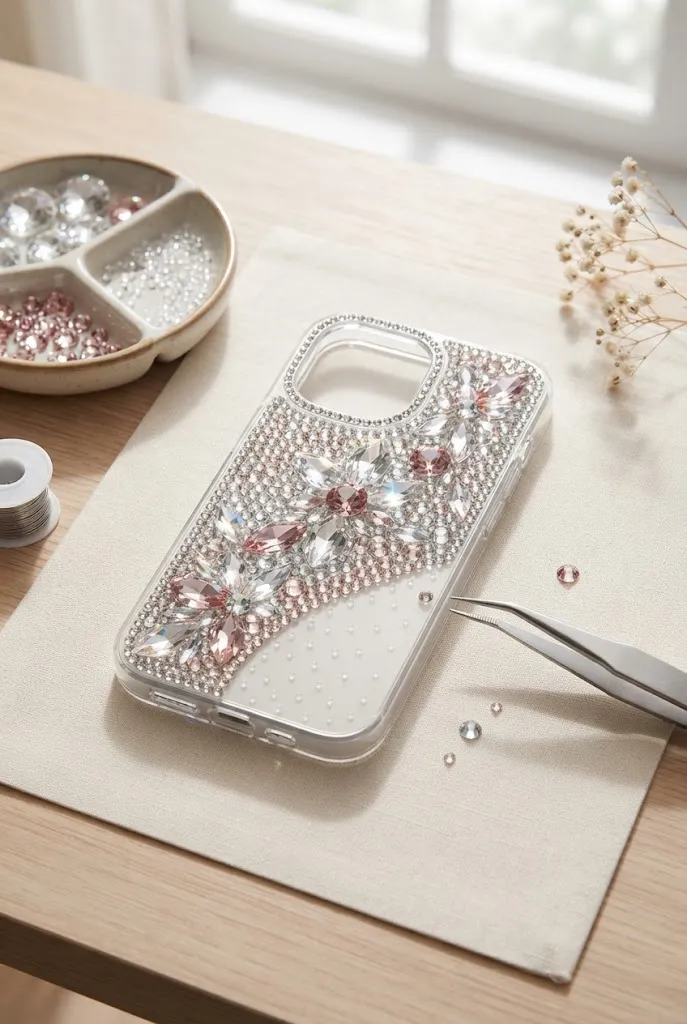
18. Ombre Rhinestone Case
Create a gradual transition from one rhinestone color to another.
For example, start with pale pink at one end and gradually move toward deeper pink. You can also transition between completely different colors, such as lavender and blue.
The trick is to blend the transition rather than creating an abrupt color line.

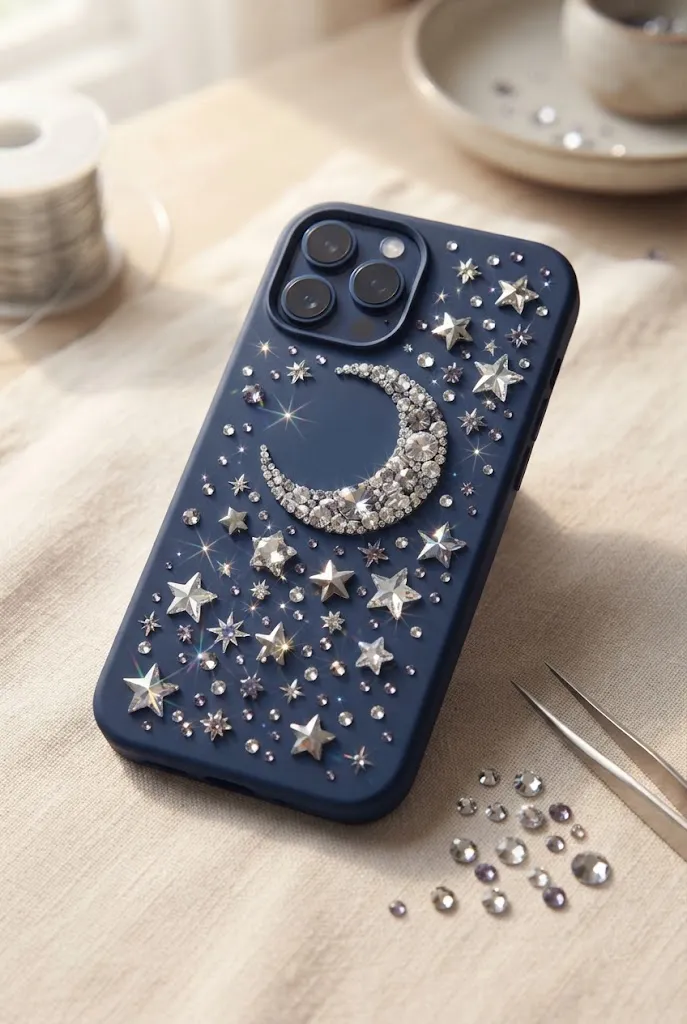
19. Celestial Moon and Stars Case
Create a night-sky-inspired design with a crescent moon and scattered stars.
Use one larger shape for the moon and smaller rhinestones for the stars.
Dark blue, silver, clear, and purple embellishments can create a beautiful celestial palette, but the same design also works on a clear or pastel case.
20. Personalized “Junk Case” Style
For the most customized look, combine different types of embellishments.
Mix rhinestones with pearls, tiny charms, hearts, stars, bows, and other decorative pieces. Arrange them in a deliberately layered composition rather than following a strict repeating pattern.
This style is perfect if you have leftover craft supplies and want your phone case to feel completely one-of-a-kind.

Related: DIY Phone Case Ideas: Your Complete Guide to Customizing Your Case
How to Make Your Bedazzled Case Look More Expensive
A beautiful bedazzled phone case isn’t necessarily the one with the most decorations. Small design choices can make a homemade case look much more polished.
Mix Rhinestone Sizes
Using one size throughout can make a design look flat.
Try using larger pieces for focal points and smaller rhinestones around them. This creates variation and helps you fill awkward spaces without forcing everything into a rigid grid.
Stick to a Limited Color Palette
Too many unrelated colors can make a case look cluttered.
Choose two or three main colors and, if needed, add clear or neutral stones as supporting accents.
For example, pink, clear, and silver can create a cohesive glam palette without requiring dozens of colors.
Plan the Edges Before the Center
The outer edges of the case are highly visible, so decide how you want them to look before filling the middle.
A clean border can make the entire design appear more intentional.
Also pay attention to the camera opening. Keeping that area neat can make the finished case look much more professional.
Use One Main Focal Design
Give the eye somewhere to land.
An initial, heart, flower, bow, or central cluster can become the main feature, while smaller rhinestones support it.
Without a focal point, a highly decorated case can sometimes look visually busy.
Keep Glue Neat
Visible blobs of adhesive can take away from an otherwise beautiful design.
Work with small amounts and avoid applying more adhesive than necessary. If you accidentally use too much, deal with it according to the adhesive manufacturer’s instructions rather than spreading it around the case.
How to Keep Rhinestones From Falling Off
The biggest factor is choosing an adhesive that works with both your phone case material and your embellishments.
Start with a clean surface and avoid handling the case unnecessarily while the adhesive cures.
Working in small sections also helps because you’re able to position each rhinestone carefully before moving on.
Once you’re finished, allow the case to cure fully according to the adhesive instructions. Don’t assume that a surface that feels dry is ready for everyday handling.
It’s also smart to keep a few extra rhinestones from your original design. If one eventually comes loose, you’ll be able to replace it without having to redesign the area.
Common Bedazzled Phone Case Mistakes
Using Too Much Glue
More adhesive isn’t automatically better.
Excess glue can spread beyond the rhinestones and leave visible residue. Apply small amounts and follow the adhesive manufacturer’s instructions.
Skipping the Design Plan
Random placement can work for a deliberately scattered design, but it can make geometric or symmetrical patterns frustrating.
A quick sketch or dry layout can prevent you from reaching the end of the case and discovering that your pattern doesn’t fit.
Choosing a Very Flexible Case
A case that bends significantly can make rhinestone placement more difficult.
If you’re new to this craft, a firm case with a relatively flat back is usually easier to work with.
Making the Camera Area Too Bulky
Avoid placing large embellishments where they could interfere with the camera, flash, buttons, or the way the phone sits inside the case.
Keep the camera opening clear and check the fit before using the finished case.
Handling the Case Before the Adhesive Cures
It’s tempting to pick up your new case as soon as the last rhinestone goes on.
Give it time.
Moving the case too early can shift carefully placed pieces or weaken the bond before it has fully cured.
Using Too Many Colors at Once
A rainbow design can look fantastic when it is planned carefully, but random colors can quickly become overwhelming.
If you’re unsure, start with two or three colors and add a neutral crystal such as clear or silver to tie them together.
Frequently Asked Questions About Bedazzled Phone Cases
What is the best phone case for bedazzling?
A firm, relatively flat phone case is generally easiest to decorate. Hard plastic or other sturdy cases can provide a stable surface for rhinestones and other embellishments. Always make sure the adhesive you choose is compatible with the case material.
What glue should I use for rhinestones on a phone case?
Use a craft adhesive that is suitable for both the phone case material and the type of embellishment you’re applying. Follow the adhesive manufacturer’s instructions for application, ventilation, drying, and curing rather than relying on a one-size-fits-all recommendation.
How do you get rhinestones to stay on a phone case?
Start with a clean surface, use a compatible adhesive, apply small amounts carefully, and allow the finished case to cure for the recommended amount of time. Avoid excessive handling while the adhesive is curing.
Can you bedazzle a silicone phone case?
You can decorate some silicone-style cases, but flexible surfaces can be more challenging because they bend and move. Check that your chosen adhesive is specifically suitable for the material before starting. A firmer case is generally easier for beginners.
How long should a bedazzled phone case dry?
Drying and curing times depend on the adhesive you use. Follow the product’s instructions and give the adhesive sufficient time to fully cure before putting the case into regular use.
How many rhinestones do I need for a phone case?
It depends on the size of the rhinestones and how much of the case you want to cover. A small corner design may need only a handful, while a full-coverage case can require hundreds. Buying a little extra is useful for filling gaps and making future repairs.
Can I use pearls and charms on a rhinestone phone case?
Yes. Pearls and charms can add texture and create a more personalized design. Keep larger charms away from areas where they could interfere with the camera, buttons, or the phone’s fit.
How do I make a rhinestone phone case without making it messy?
Plan the design before gluing, work in small sections, use minimal adhesive, and place rhinestones carefully. Tweezers or a small pickup tool can also make handling tiny pieces much easier.
Can I bedazzle a clear phone case?
Yes. Clear cases can make excellent bases for bedazzled designs because the case itself becomes part of the look. You can leave sections uncovered or use the transparent background to create contrast between clusters of rhinestones.
How do I fix rhinestones that fall off?
If a rhinestone comes loose, clean the area if necessary and reattach it using the appropriate adhesive according to the product instructions. Keeping spare rhinestones from your original project makes small repairs much easier.
Final Thoughts
Making bedazzled phone cases DIY style is an easy way to turn an ordinary phone accessory into something that actually feels like yours.
You don’t need to cover every inch of the case to make an impact. A crystal border, tiny heart, monogram, pastel pattern, or small corner cluster can be just as effective as a full-coverage design.
Start with a sturdy case, plan your design, use the right adhesive, and give everything plenty of time to cure. Then have fun experimenting with colors, shapes, pearls, charms, and different rhinestone sizes.
Whether you want subtle sparkle or a completely over-the-top Y2K-inspired case, there’s plenty of room to make the design your own.