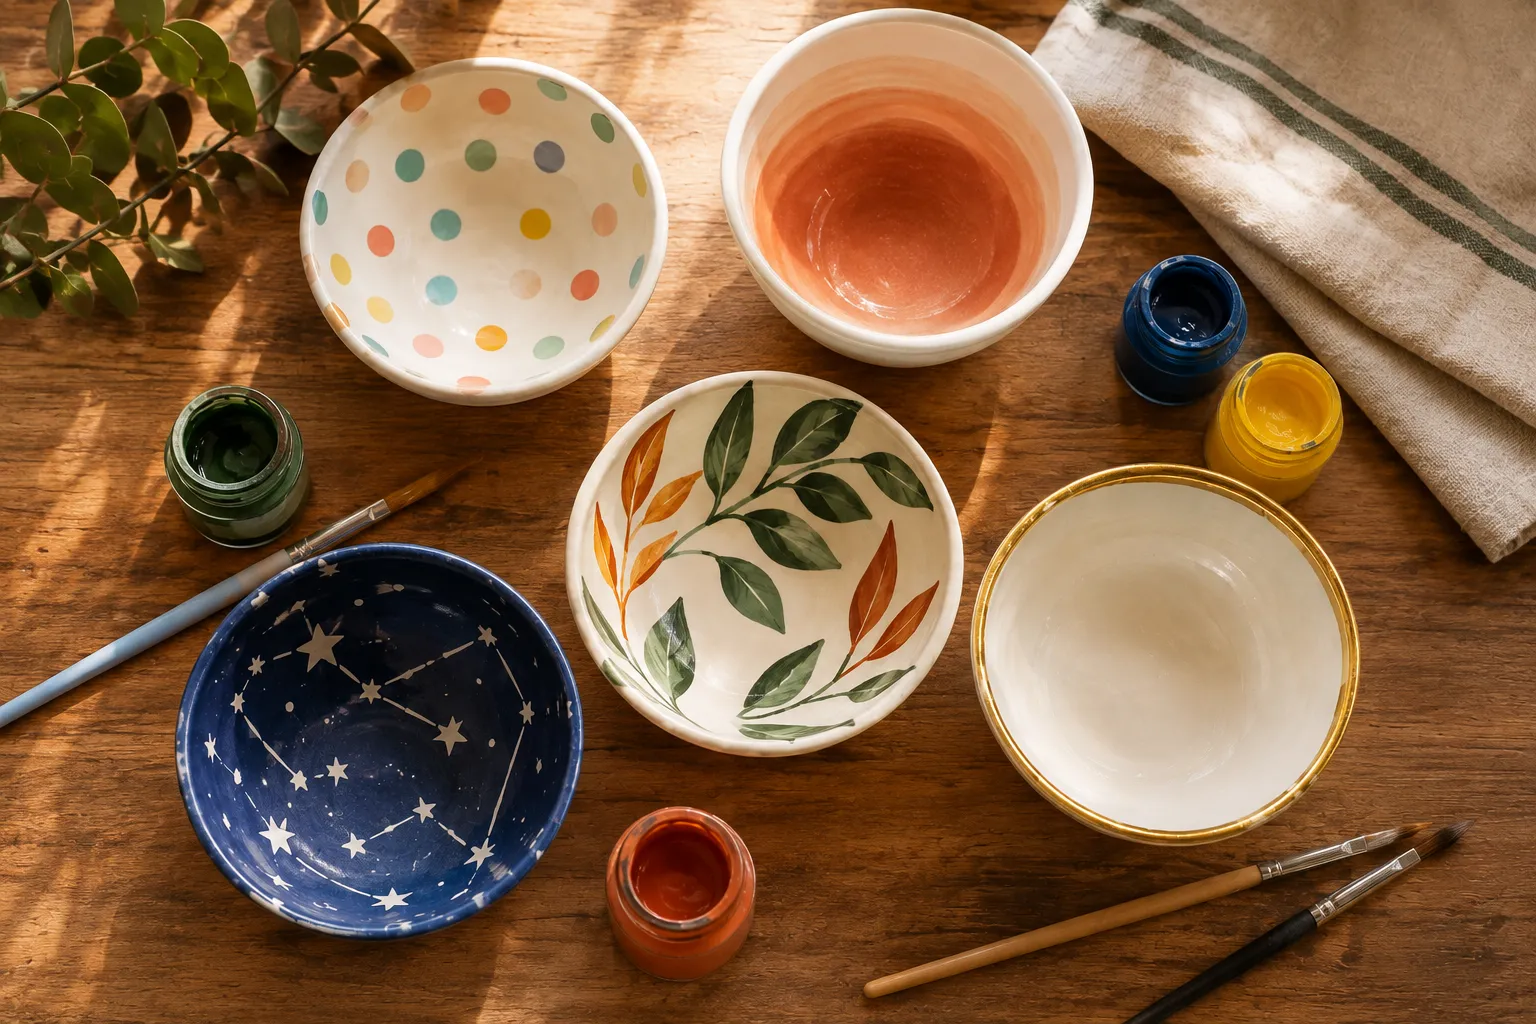
25 Pottery Painting Ideas for Bowls You’ll Want to Recreate
A blank ceramic bowl might be one of the most forgiving things you’ll ever paint.
There’s no pressure to get it perfect, no blank canvas anxiety, and even a slightly wobbly line ends up looking intentional once it’s glazed or sealed. That’s part of why pottery painting has become such a popular weekend activity, whether you’re at a paint-your-own-pottery studio, working with bisqueware at home, or just decorating a plain bowl you already own and more Pottery Painting Ideas for Bowls.
This list runs from genuinely easy first-timer designs all the way up to more detailed showpieces, across a mix of styles — botanical, geometric, whimsical, and elegant. Wherever your skill level lands, there’s something here worth trying.
Before You Start: Choosing Your Painting Approach
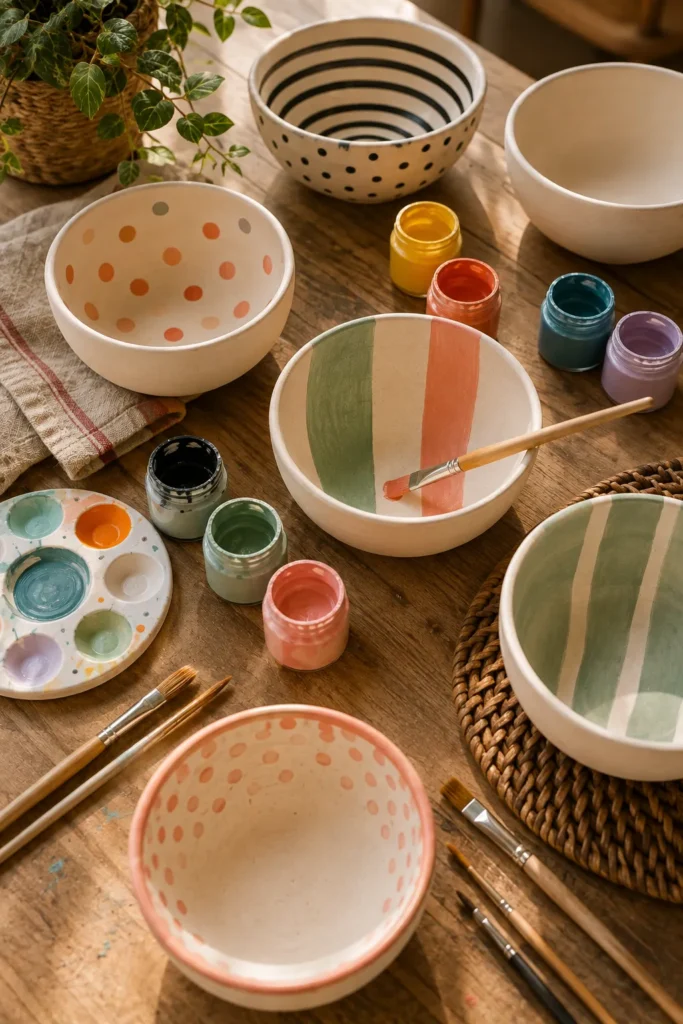
Before jumping into designs, it helps to know what you’re actually painting with, since it changes what’s realistic to attempt.
Acrylic Paint vs. Underglaze vs. Paint Pens
If you’re painting at a pottery studio, you’re most likely working with underglaze on bisqueware, which gets sealed with a clear glaze and fired — this gives the most durable, glossy, food-safe finish, but it does require kiln access.
If you’re painting at home without a kiln, ceramic acrylic paint is the easiest option. It goes on like regular acrylic, dries without firing, and can be sealed with a food-safe topcoat for light use (though it’s best kept to decorative pieces rather than daily dishwasher-heavy bowls).
Paint pens made for ceramics are a great in-between option — they’re beginner-friendly, great for fine lines and lettering, and require no special equipment beyond a bake-to-set step in a home oven for some brands.
Keep your setup in mind as you look through the ideas below, since most of them work with any of these three methods.
25 Pottery Painting Ideas for Bowls You’ll Want to Recreate
These ideas move from the simplest beginner designs, through nature-inspired and pattern-based looks, into whimsical and character pieces, and finish with a few color-technique and elegant gift-worthy options.
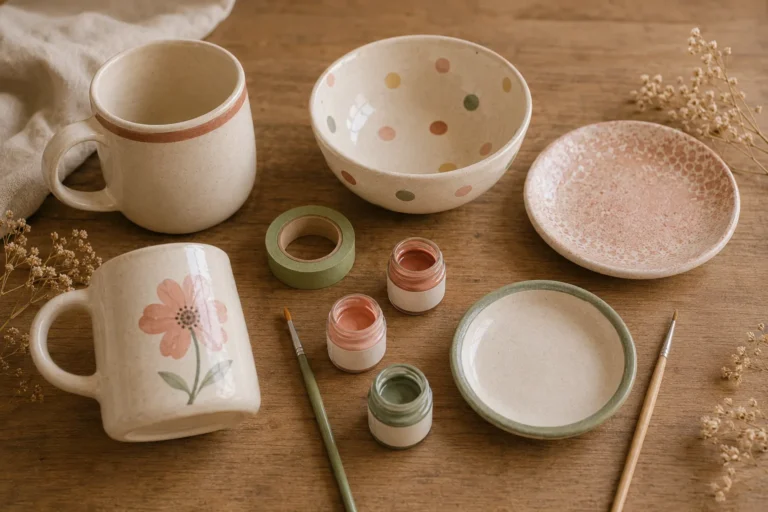
1. Simple Polka Dot Bowl
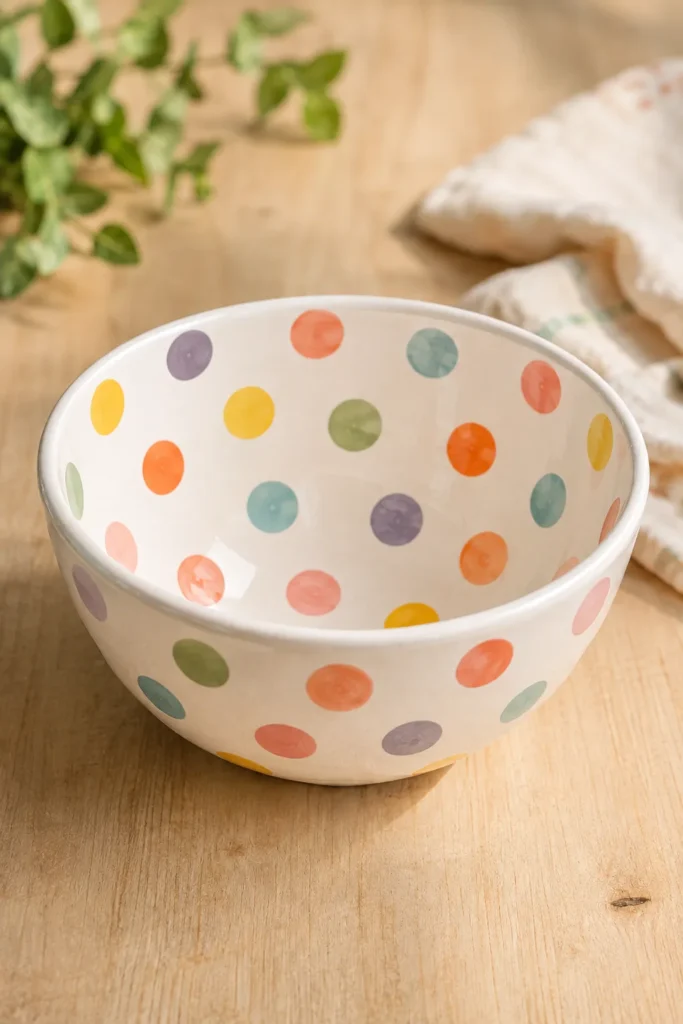
This is the easiest place to start if you’ve never painted pottery before. Dip the end of a paintbrush or a dotting tool into your paint and stamp evenly spaced dots across the bowl’s exterior or rim.
Stick to one or two colors for a clean look, or scatter dots in a rainbow of shades for something more playful. Because the dots don’t need to be perfectly even, this design is nearly impossible to mess up.
2. Single Stripe Rim Accent
A single painted stripe along the rim is one of the fastest ways to make a plain bowl look finished. Use painter’s tape to mask off a clean line, paint inside it, and peel the tape away once it’s dry.
This works especially well in a bold color against a plain white or cream bowl, and it’s a great option if you want something simple enough to do on a whole matching set.
3. Ombre Dip-Dye Effect Bowl
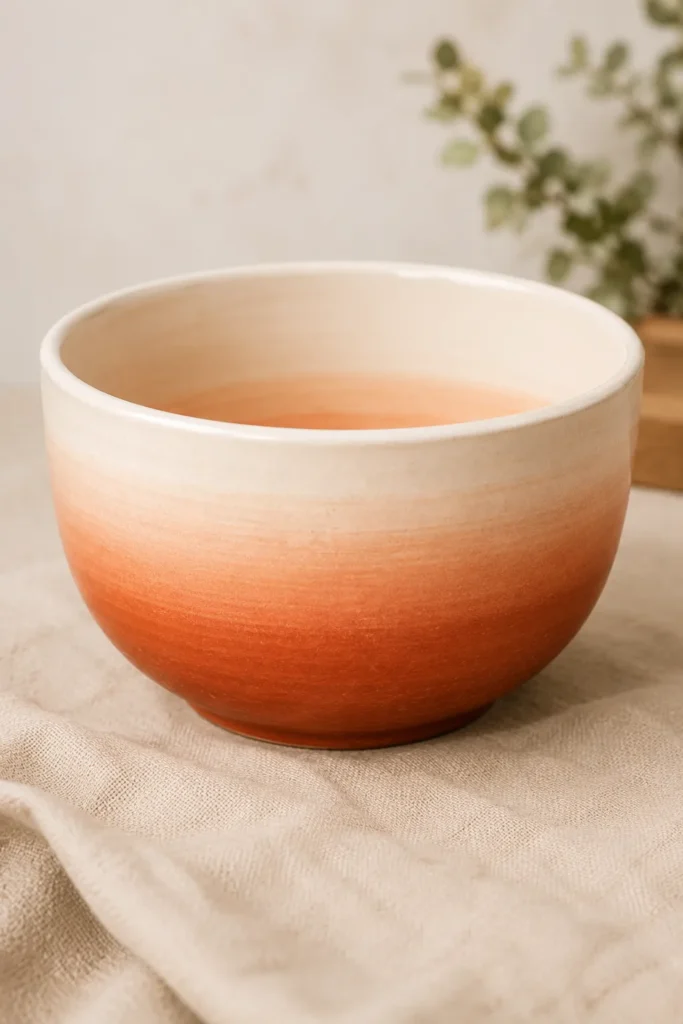
An ombre design creates a gradient that fades from deep color at the base to nearly white near the rim. Thin your paint with a little water for the lighter sections, and layer on more pigment as you work downward.
Blend each transition while the paint is still slightly wet so the color shifts smoothly instead of banding. This technique looks impressive but really just comes down to controlling how much water you mix in at each stage.
4. Watercolor Wash Bowl
For a soft, artistic look, thin your paint down significantly and apply it in loose, overlapping washes rather than solid coverage. Let colors bleed into each other slightly for a dreamy, painterly effect.
This design is genuinely more forgiving than it looks — uneven color and soft edges are part of the charm here, not a mistake to fix.
5. Botanical Leaf Silhouette Bowl
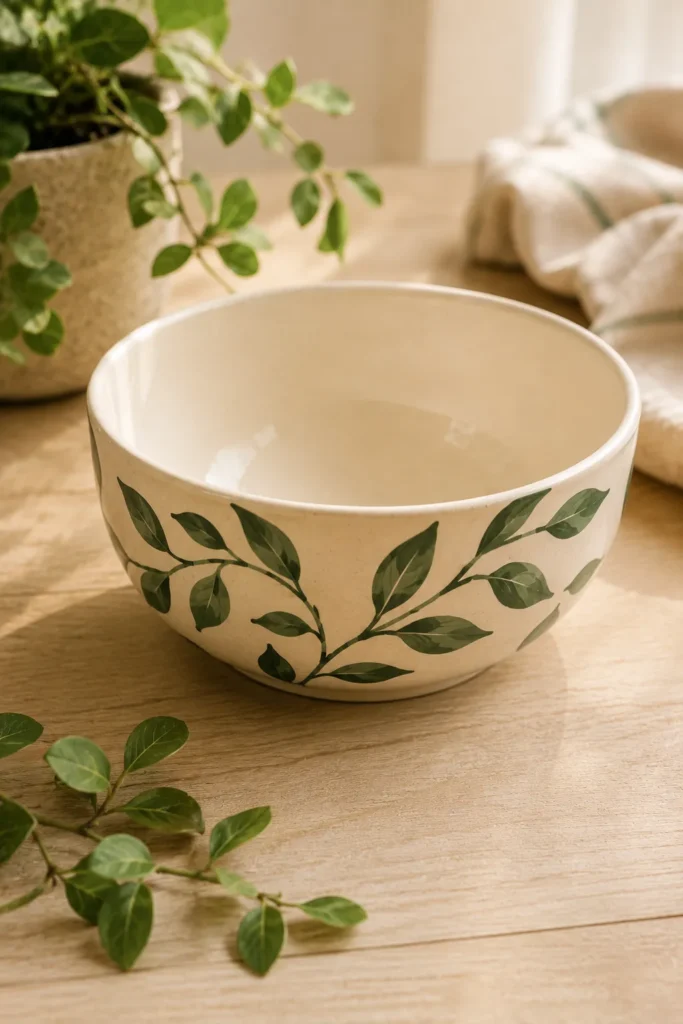
Paint simple leaf shapes in a single solid color around the bowl’s exterior, either scattered individually or connected in a loose vine pattern. Eucalyptus-style rounded leaves or elongated fern shapes both work well and don’t require much detail to look intentional.
Because you’re painting one flat shape at a time, this is a great next step once you’re ready to move beyond dots and stripes.
6. Wildflower Scatter Bowl
Dot small five-petal flowers across the bowl using a fine brush, mixing in a few different colors so it reads as a real wildflower mix rather than a single repeated pattern. Add tiny green stems connecting a few of the blooms for extra realism.
Keep the flowers loose and slightly imperfect — a wildflower meadow was never meant to look uniform, which takes the pressure off getting every petal identical.
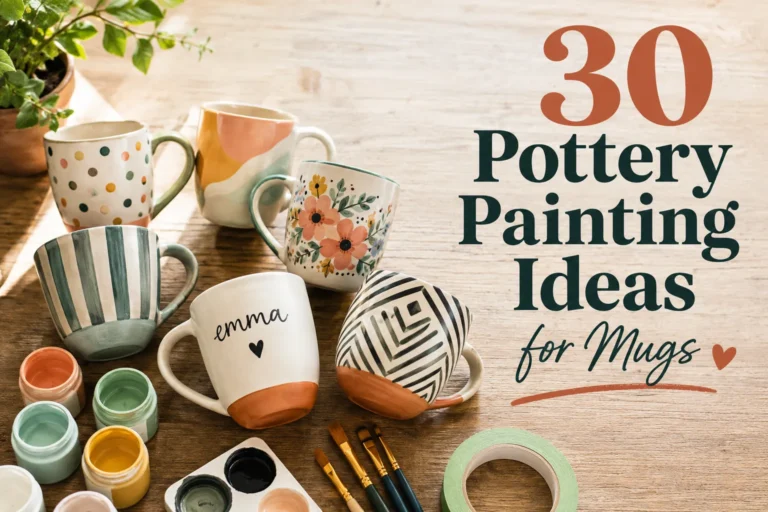
Related : 30 Pottery Painting Ideas for Mugs Anyone Can Paint
7. Citrus Slice Bowl
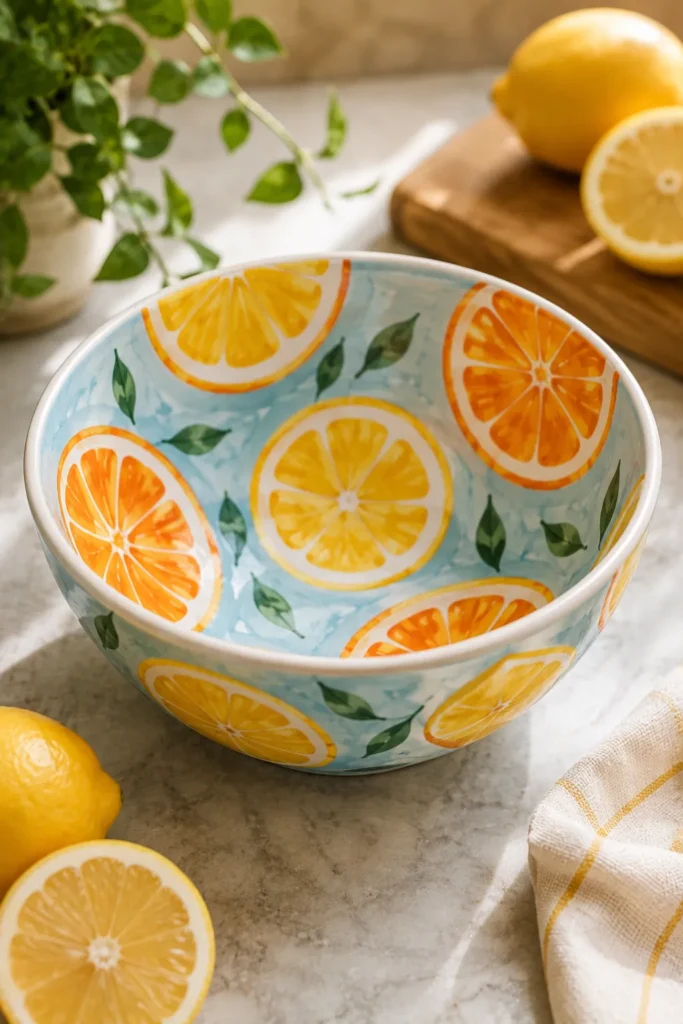
Paint simple round citrus slices — lemon, orange, or lime — around the bowl’s interior or exterior using a base circle with thin lines radiating from the center like segments. A dot border in white or yellow around the edge finishes the citrus look.
This design has a cheerful, kitchen-ready feel and works particularly well on bowls meant for actual food use.
8. Mushroom & Forest Floor Bowl

Paint small mushroom caps in warm reds or browns scattered along the base of the bowl, with a few simple fern fronds or grass blades filling in the gaps. Add tiny white dots to the mushroom caps for a classic toadstool look.
This woodland theme has become a favorite in cottagecore-style decor, and it’s an easy design to build up gradually, one mushroom at a time.
9. Herringbone Pattern Bowl

Paint short diagonal lines in a repeating V-shaped pattern around the bowl to create a herringbone texture. Using painter’s tape to mask each row keeps the lines crisp and evenly spaced.
This is a more structured, geometric option for anyone who prefers clean patterns over freehand painting, and it looks especially sharp in a single bold color against white.
10. Checkerboard Rim Bowl
A checkerboard border along just the rim, rather than the whole bowl, keeps this graphic pattern from feeling overwhelming. Mask off small even squares with tape and alternate two contrasting colors.
This design pairs well with a solid-colored bowl interior, letting the checkerboard rim act as a defined accent rather than competing for attention.
11. Concentric Circles Bowl
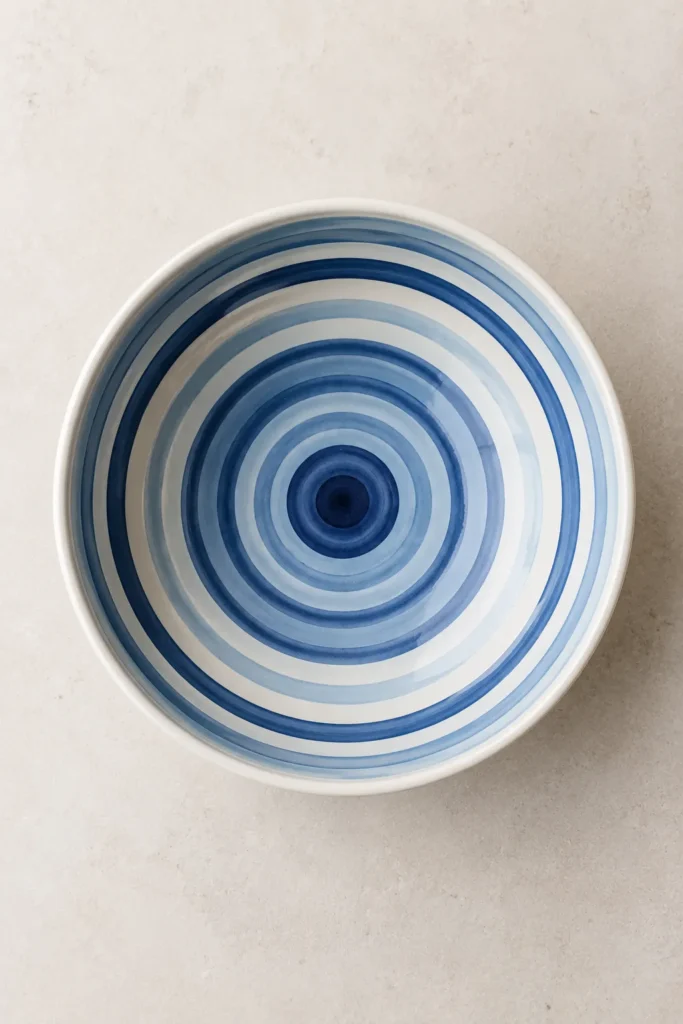
Starting from the center of the bowl’s interior, paint a series of rings outward in alternating or gradually shifting colors. A turntable or lazy Susan makes it much easier to keep the circles even as you rotate the bowl.
This design has a calm, meditative rhythm to paint and looks especially striking when the colors move gradually from cool to warm tones.
12. Abstract Squiggle Line Bowl
Free-flowing squiggle lines in one or two colors give a bowl a playful, modern-art feel without requiring any planning. Vary the thickness of your brushstrokes as you go for added visual interest.
This is one of the most relaxing designs on the list to paint, since there’s no pattern to match or symmetry to maintain.
13. Color-Block Half-and-Half Bowl
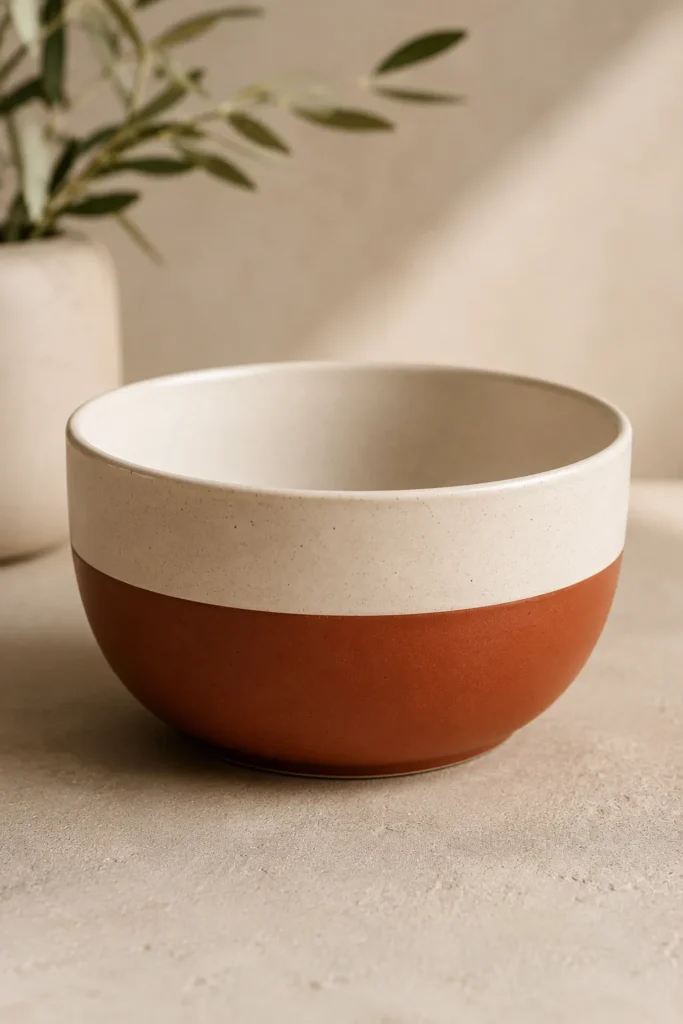
Divide the bowl into two clean sections — often top and bottom, or an offset diagonal split — and paint each half a different solid color. Mask the dividing line with tape for a crisp edge.
This design is bold, modern, and genuinely quick to execute, making it a good option when you want a striking result without a lot of detail work.
14. Constellation & Night Sky Bowl
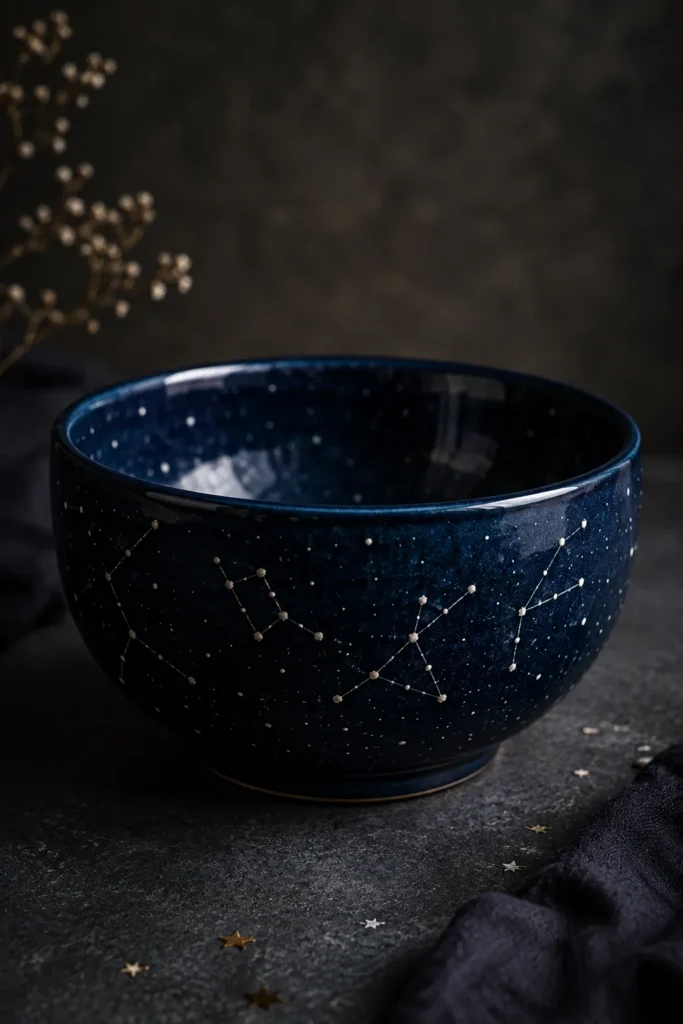
Paint a deep navy or black base, then add tiny white dots connected by thin lines to form simple star constellations. A few larger dots with a soft halo of white around them mimic bright stars.
This design has a quiet, dreamy quality and makes a lovely gift for anyone who loves stargazing or astronomy themes.
15. Ocean Wave Bowl
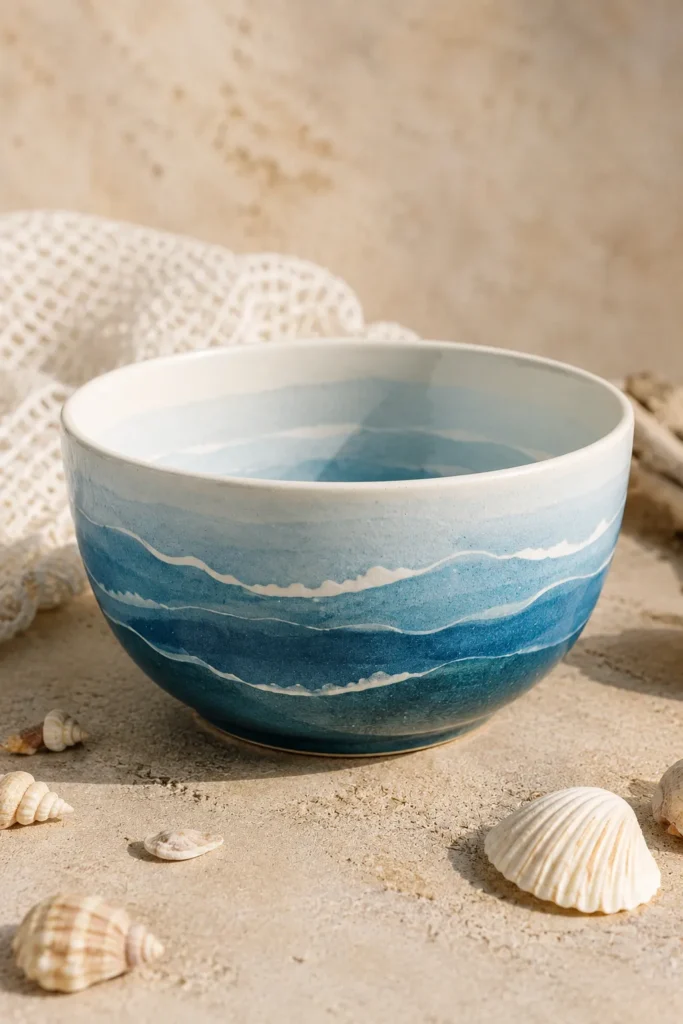
Layer several shades of blue in flowing horizontal bands, then add thin white lines along the top of each wave to mimic foam. Let the bands overlap slightly rather than staying perfectly separated for a more natural water effect.
This design brings a coastal feel to a bowl and works beautifully whether you keep it soft and pale or go bold with deep ocean blues.
16. Sunset Gradient Bowl
Blend warm oranges, pinks, and purples in horizontal bands from the rim down to the base, similar to the ombre technique but using multiple colors instead of one. Soften the transitions between bands while the paint is still workable.
This design brings genuine warmth to a piece and looks particularly good displayed where it catches natural light.
17. Cat or Dog Silhouette Bowl
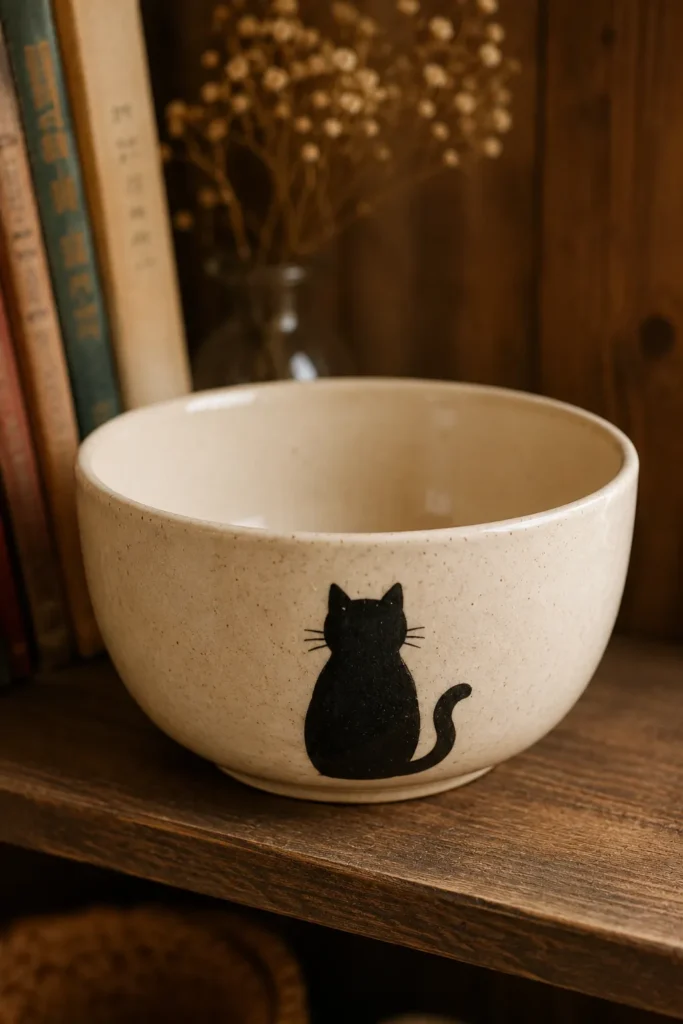
Paint a simple pet silhouette — a cat’s arched back or a dog’s floppy-eared profile — in a single solid color on the side of the bowl. Keep the shape simplified rather than trying to capture fine detail, since a clean silhouette reads more clearly than an overly detailed sketch.
This is a genuinely thoughtful gift idea for any pet lover, and it’s easy to personalize further by matching the silhouette to a specific breed.
18. Smiley Face / Happy Icon Bowl
A simple smiley face, heart, or star painted on the inside base of the bowl adds a hidden little surprise that shows up once the bowl is empty. This design is especially popular for kids’ bowls and cereal bowls.
Because the shapes are so simple, this is a great project to let kids attempt themselves with adult supervision.
19. Personal Initial or Monogram Bowl

A single painted letter, initial, or short monogram in the center of the bowl or along the rim turns a plain piece into something that feels made specifically for one person. Use a paint pen for the cleanest lettering if freehand brushwork feels intimidating.
This is one of the easiest ways to make a bowl feel like a genuine keepsake rather than a generic craft project.
20. Fingerprint & Handprint Keepsake Bowl

Press a painted fingertip or small handprint onto the bowl’s surface, then add simple details afterward — turning fingerprints into little animals, or framing a handprint with a painted border and date. This is a classic keepsake project for parents and grandparents.
Because it captures something that changes as kids grow, this design tends to become one of the most sentimental pieces in a painted pottery collection.
21. Speckled Splatter Bowl
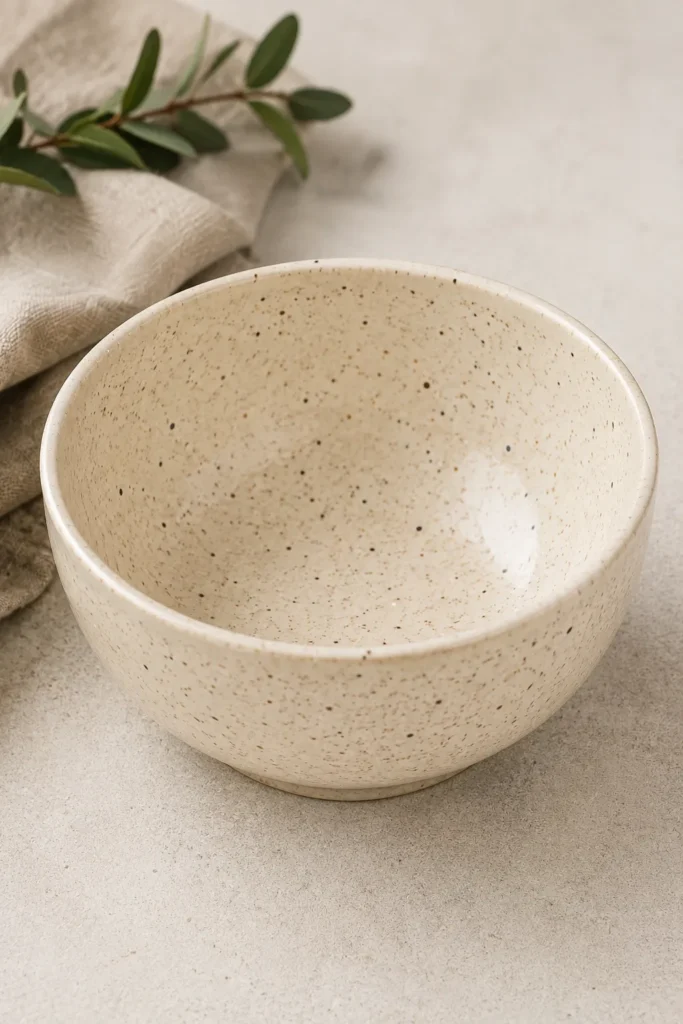
Load a brush with thinned paint and flick it across the bowl’s surface for a natural, organic speckle effect, similar to the look of stoneware speckle glazes. Use a single color for a subtle texture, or layer two or three for more depth.
This is one of the fastest designs on the list and works well as a base layer that other simple designs, like a stripe or monogram, can be layered on top of.
22. Metallic Rim Accent Bowl
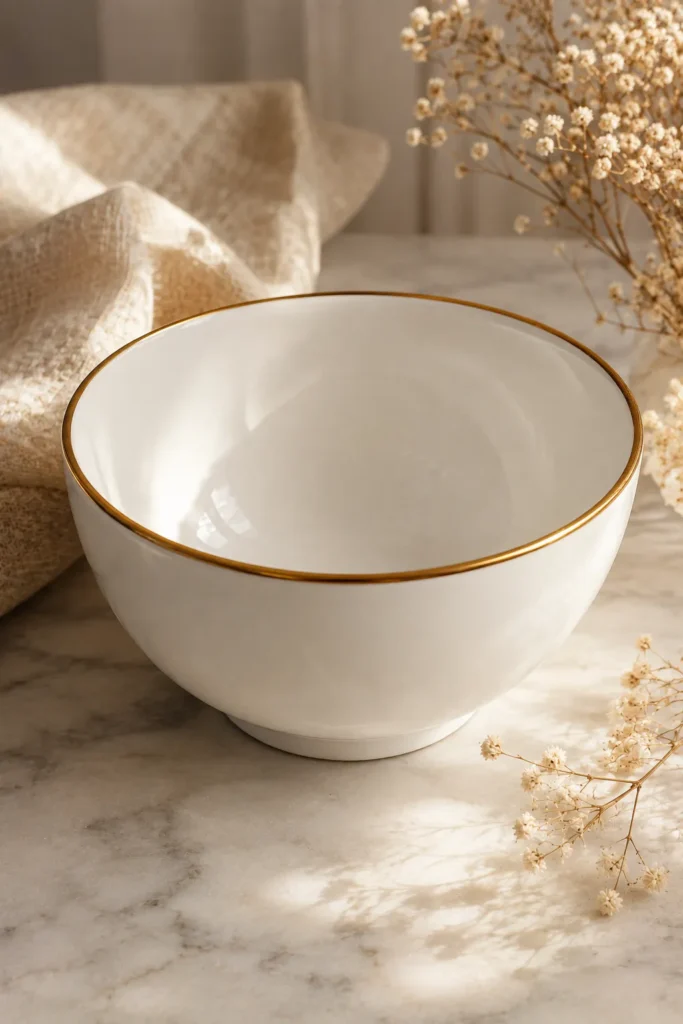
A painted metallic rim — gold, silver, or copper — instantly elevates even the simplest bowl design. Apply the metallic paint last, once the rest of the design is fully dry, using a steady hand or a fine detail brush along the very edge.
This small addition adds a polished, slightly formal touch that works well for bowls intended as gifts or special-occasion pieces.
23. Marbled Paint Swirl Bowl
Swirl two or three colors of paint together directly on the bowl’s surface using a toothpick or the tip of a brush, blending them just enough to create a marbled effect without fully mixing. Work in small sections so the paint doesn’t dry before you can swirl it.
No two marbled bowls ever turn out exactly the same, which is part of what makes this design feel special every time.
24. Mandala Pattern Bowl

Starting from a center point, paint a symmetrical pattern of dots, petals, and lines radiating outward in rings, similar to a mandala design. Light pencil guidelines before painting help keep the sections evenly spaced.
This is one of the more detailed designs on the list, but it’s also one of the most rewarding to complete, especially for anyone who enjoys slow, meditative craft projects.
25. Custom Message or Quote Bowl
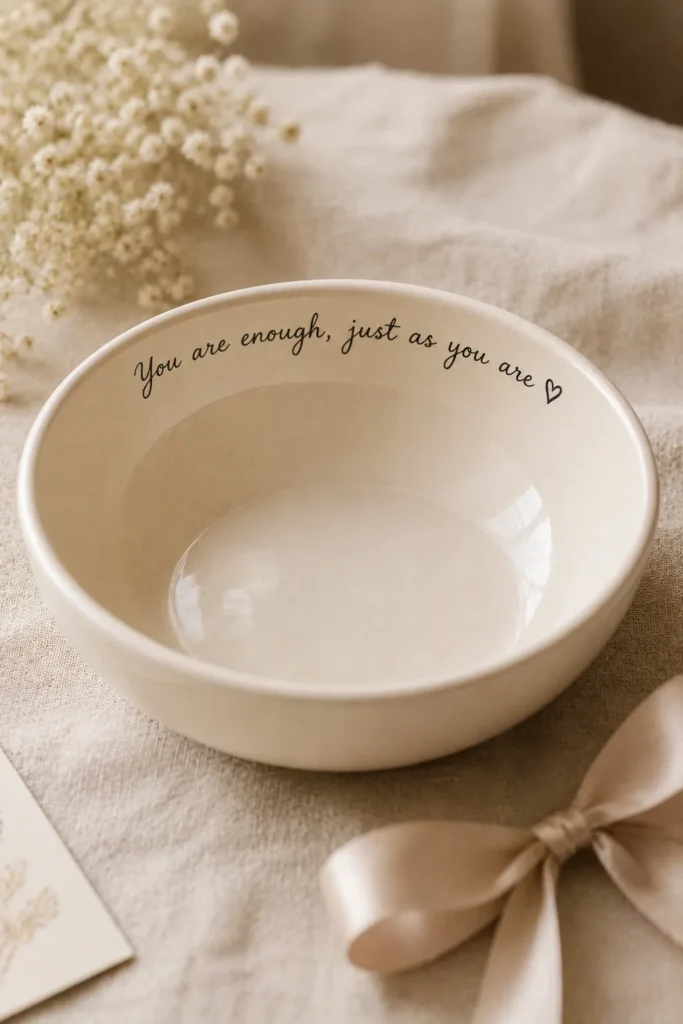
Paint a short, meaningful word or phrase around the bowl’s rim or across its base using a paint pen or fine brush for clean lettering. Keep the message short — a name, a date, or a single word works better than a long sentence on a curved surface.
This design turns a bowl into a genuine keepsake gift, whether it’s for a wedding, a new baby, or simply someone who’d appreciate something made with their words in mind.
Tips for Making Your Painted Bowl Last
Related: Pottery Painting: The Complete Guide to Getting Started
Sealing and Caring for Your Finished Design
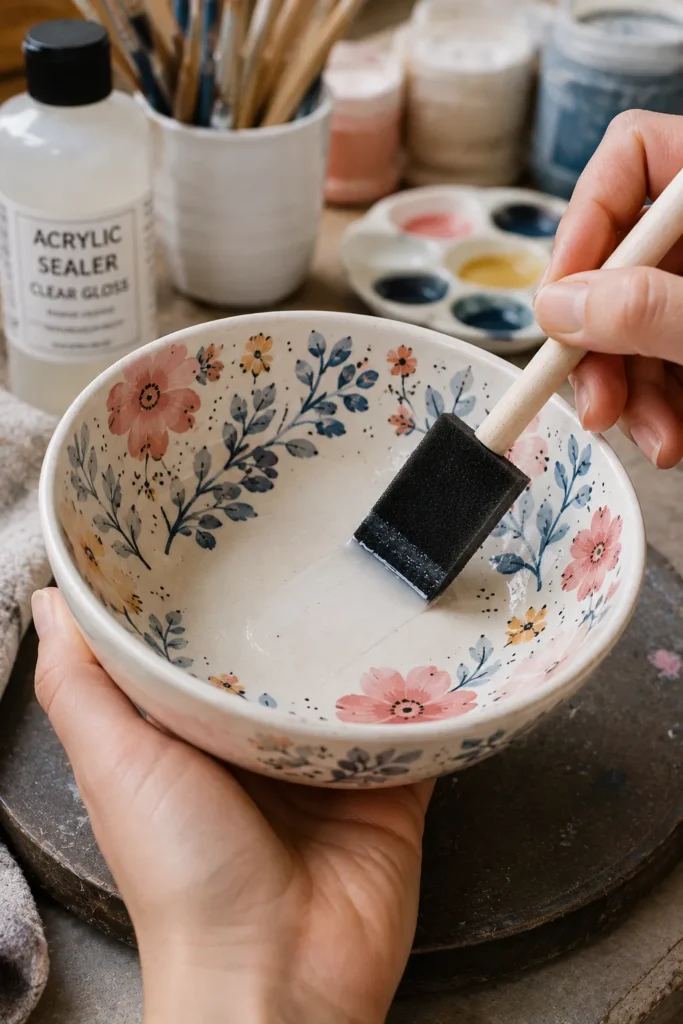
If your bowl was painted with underglaze and professionally fired, it’s already sealed and food-safe as long as the studio confirms the glaze used is rated for that. If you painted with acrylic or paint pens at home without firing, seal the design with a clear, food-safe topcoat once the paint is fully dry.
Hand wash acrylic-painted or sealed bowls rather than putting them in the dishwasher, and avoid using them for hot liquids if you’re not certain the sealant is heat-safe. Treating a home-painted bowl as decorative rather than a daily-use dish is the safest way to keep the design looking good for years.
Frequently Asked Questions
What paint should I use to paint a pottery bowl?
Underglaze is the standard choice at pottery studios since it’s fired for durability, while ceramic acrylic paint or ceramic paint pens work well for painting at home without a kiln.
Do I need a kiln to paint a bowl at home?
No — ceramic acrylic paint and paint pens don’t require firing, though the finished design will be more decorative than food-safe or dishwasher-durable compared to a kiln-fired piece.
Are painted pottery bowls food safe?
Only if they’re painted with food-safe underglaze and properly glazed and fired, or sealed with a paint manufacturer’s food-safe topcoat; otherwise, treat home-painted bowls as decorative rather than for eating directly out of.
What’s the easiest pottery painting design for beginners?
Simple designs like polka dots, a single rim stripe, or a speckled splatter effect are the most forgiving starting points, since they don’t require even lines or fine detail work.
How long does paint take to dry or cure on a bowl?
Ceramic acrylic paint typically dries to the touch within an hour but benefits from curing for a few days before use, while underglaze needs to go through a kiln firing to fully set.
Can I paint a bowl I already own, or does it need to be unglazed?
A previously glazed, glossy bowl is harder for paint to adhere to permanently, so unglazed bisqueware or a lightly sanded surface will hold a home-painted design much better over time.
Final Thoughts
Pottery painting is one of those crafts where even a simple design ends up looking genuinely handmade and special, which is exactly why a plain bowl and a few colors of paint go so far.
Pick one idea from this list that matches your current skill level and the supplies you already have, whether that’s a five-minute polka dot bowl or a slower mandala design for an afternoon well spent. Save this list for your next pottery studio visit or at-home craft session, and let your painting get more detailed as you go.