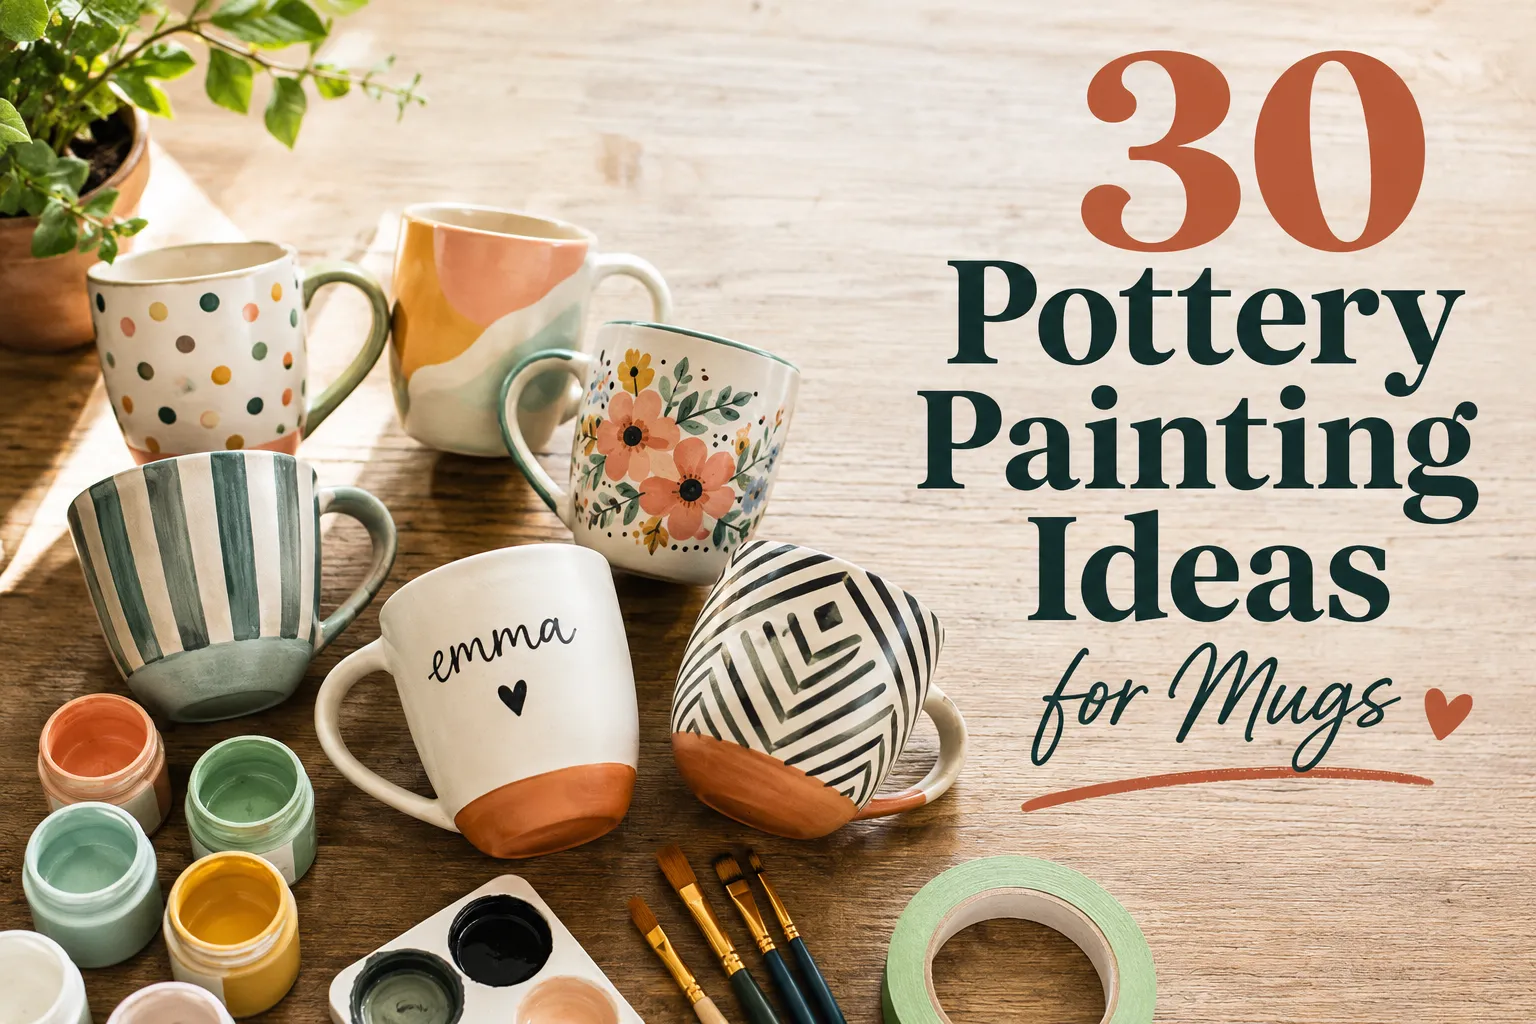
30 Pottery Painting Ideas for Mugs Anyone Can Paint
There’s a reason mugs are usually the first thing people reach for at a paint-your-own-pottery studio. They’re small enough to finish in one sitting, useful enough to actually get displayed on a shelf or used every morning, and forgiving enough that a first-timer can still walk away with something that looks intentional and more Pottery Painting Ideas for Mugs.
The catch is that most mug painting inspiration online stops at pretty pictures. You end up with a mental image of what you want, but no real sense of how to actually get paint to cooperate once you’re sitting in front of a blank mug.
This list covers both. Thirty designs, organized by style, each one paired with an actual technique tip so you’re not just picturing the mug — you’re walking out with one.

Pottery Mug Painting Basics Before You Start
A couple of quick basics make a real difference in how your finished mug turns out, no matter which design you choose.
Bisque vs. glazed: what you’re actually painting on
Most paint-your-own-pottery studios have you painting on bisque — pottery that’s been fired once but not yet glazed, which means it’s a bit porous and soaks up paint slightly differently than a smooth glazed surface. If you’re painting a mug at home with ceramic paint or paint pens, you’re usually working on an already-glazed, finished mug instead.
The technique is largely the same either way, but bisque tends to be more forgiving of layering and blending, while a glazed mug can feel slicker under the brush. Knowing which one you’re working with going in helps set the right expectations for how the paint will behave.
Paint and tool options for beginners
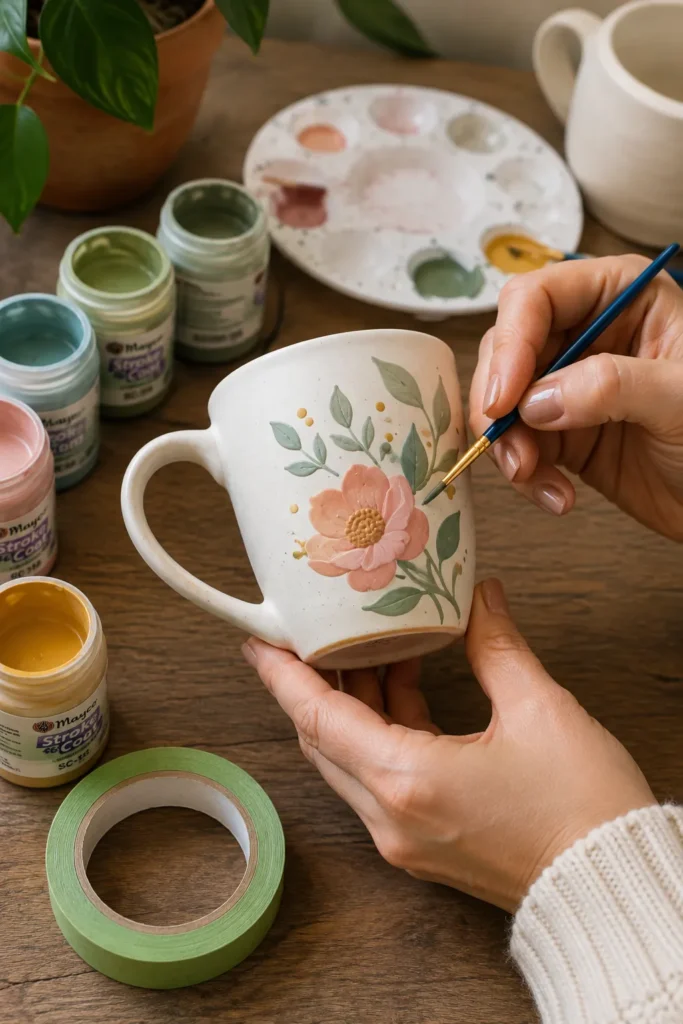
Underglaze paints (used at pottery studios, then sealed with a clear glaze and fired) give the most vibrant, permanent results but require a kiln, so they’re studio-only. For at-home projects, dishwasher-safe ceramic paint pens or acrylic enamel paint (often baked in a home oven to set) are the most beginner-friendly options.
A basic beginner kit really just needs a few paint colors, a fine detail brush, a wider flat brush for filling larger areas, and painter’s tape for anything with clean, straight lines.
Simple & Beginner-Friendly Mug Designs
These are the designs to start with if you’re new to painting pottery or just want something low-stress and quick to finish.
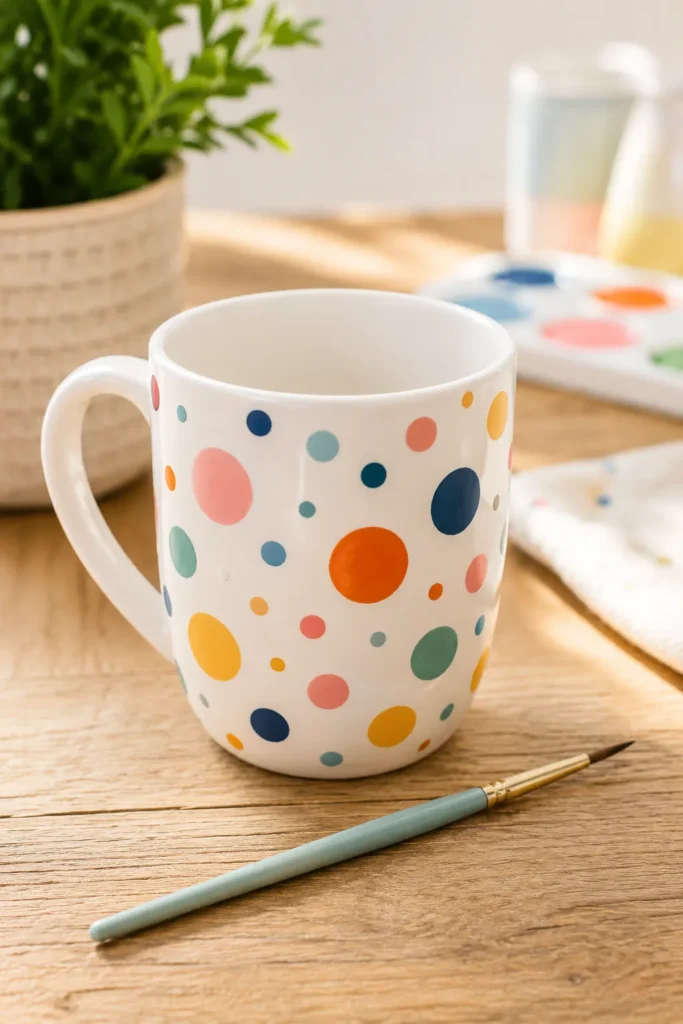
1. Simple Polka Dot Mug
Dip the end of a paintbrush handle or a pencil eraser into paint and dot it evenly across the mug for a clean, consistent polka dot pattern. Varying the dot size slightly as you go gives the design a bit more visual interest than perfectly uniform spacing.
This is one of the easiest designs to start with, since a little unevenness actually reads as charming rather than like a mistake.
Related: 20 Easy Pottery Painting Ideas Anyone Can Do
2. Ombre Dip-Dye Effect Mug
Paint the bottom third of the mug in your darkest color, then blend upward into progressively lighter shades (or straight into the mug’s base color) while the paint is still wet. A slightly damp brush helps soften the transition line between colors so it looks like a gradient rather than distinct stripes.
Working quickly before the first layer dries is the key here — ombre effects are much harder to blend once paint starts to set.
3. Single Stripe Border Mug
Apply a strip of painter’s tape in a straight horizontal line near the rim or base of the mug, paint over and slightly past the edge of the tape, then peel it away once the paint is dry to the touch. This gives you a crisp, professional-looking stripe without needing a steady freehand line.
Peeling the tape at a 45-degree angle, rather than straight up, helps prevent the paint edge from chipping or smudging.

Related : 25 Pottery Painting Ideas for Bowls You’ll Want to Recreate
4. Speckled Splatter Mug
Load a paintbrush with thinned paint and flick it toward the mug from a short distance, or tap a loaded brush against your finger over the surface for a controlled speckle effect. Cover your work area well before starting, since this technique sends small drops in every direction.
Layering two or three speckle colors on top of each other creates more depth than sticking to just one.
5. Two-Tone Half-and-Half Mug
Tape a straight vertical line down the center of the mug and paint each half a different solid color, creating a clean, modern two-tone look. This design reads as far more polished than the effort it actually takes, since the tape does most of the precision work for you.
Choosing two colors from the same family, like a light and dark blue, keeps the contrast interesting without feeling jarring.

6. Simple Heart Scatter Mug
Paint a scattering of small, simple hearts across the mug in varying sizes and a mix of colors, leaving plenty of open space between them. Hearts are one of the easiest shapes to paint freehand, since minor asymmetry just adds to the handmade charm.
This design works especially well as a quick gift mug, since it feels personal without requiring any advanced painting skill.
Pattern & Geometric Mug Designs
Once you’re comfortable with basic techniques, these designs bring in cleaner lines and more structured patterns.
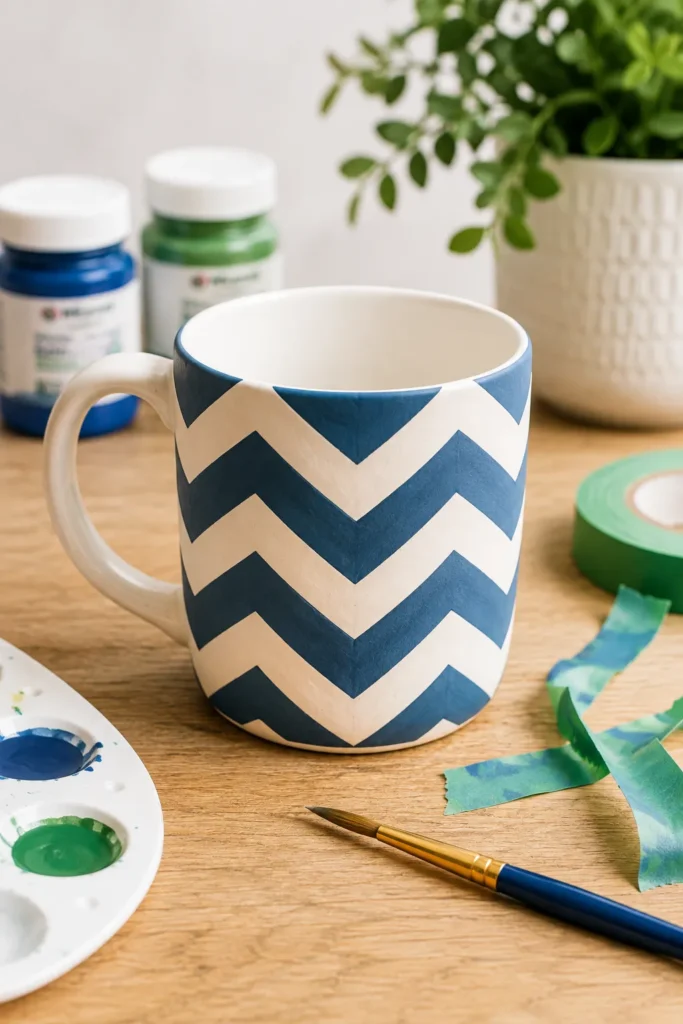
7. Painter’s Tape Chevron Mug
Layer strips of painter’s tape at matching diagonal angles across the mug, alternating direction to form a zigzag chevron pattern, then paint over the exposed sections. This technique relies entirely on tape placement, so take your time lining up the angles evenly before you start painting.
Removing the tape while the paint is still slightly tacky (not fully dry) tends to give the cleanest edge.
8. Classic Gingham Check Mug
Paint a grid of evenly spaced horizontal and vertical lines in one color, then fill in every other intersection square with the same color to create the layered look of gingham fabric. A ruler or straight-edge tool helps keep the initial grid lines consistent before you start filling in squares.
This design has a timeless, classic feel that works well for both casual and gift-worthy mugs.

9. Minimalist Line Art Mug
Using a fine-tipped paint pen, draw a simple continuous-line illustration — a face profile, a plant, a basic shape — in one unbroken stroke where possible. This style leans into imperfection, so slightly wobbly lines actually suit the aesthetic rather than working against it.
Practicing the design on paper first helps you commit to a confident, single continuous line on the actual mug.
10. Color Block Panel Mug
Divide the mug into a few large geometric sections using painter’s tape, then paint each section a different solid color for a bold, modern color-block effect. Rectangular or triangular sections tend to look cleaner than curved ones, since straight tape lines are much easier to control.
This design gives a big visual impact for a relatively small amount of actual painting time.
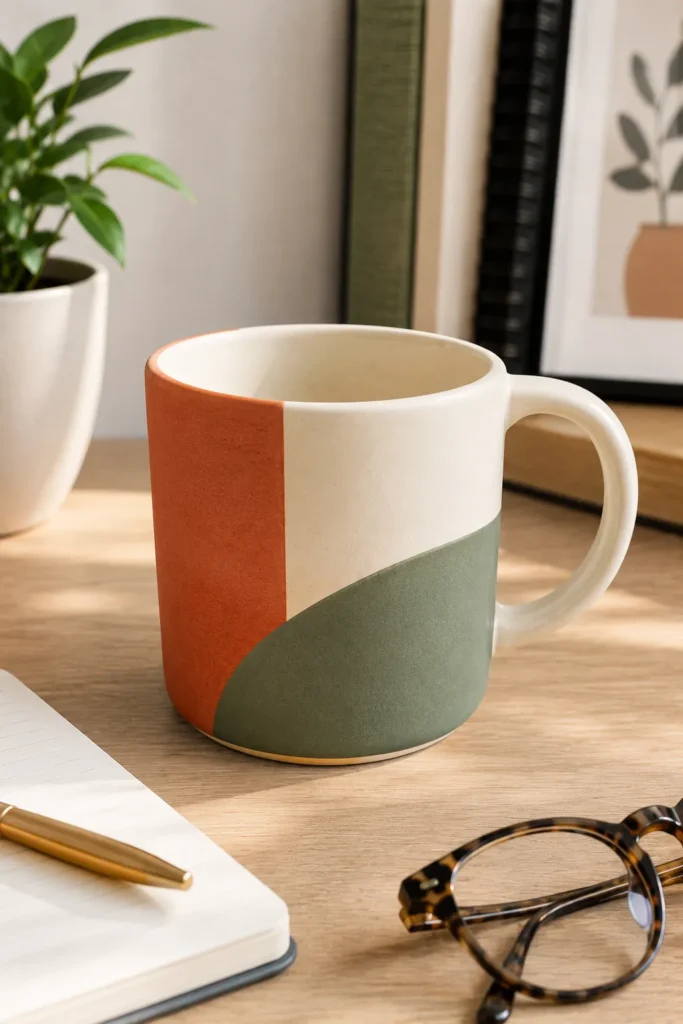
11. Taped Geometric Triangle Mug
Mask off a repeating triangle pattern with small pieces of tape, then paint each triangle a different shade within the same color family for a subtle, sophisticated geometric look. Cutting the tape into consistent triangle shapes ahead of time, rather than freehanding each one, keeps the pattern looking intentional.
This design works particularly well as a set, since slight color variation between mugs still reads as coordinated.
12. Abstract Brushstroke Mug
Load a flat brush with paint and apply bold, confident strokes in varying directions and colors, allowing some overlap between strokes for depth. Unlike more structured patterns, this design benefits from working quickly and not overthinking each stroke.
This is a great option if you’re short on time but still want a design with real visual texture.
Nature-Inspired Mug Designs
These designs bring a bit of the outdoors onto your mug, with techniques ranging from soft and blended to crisp and graphic.
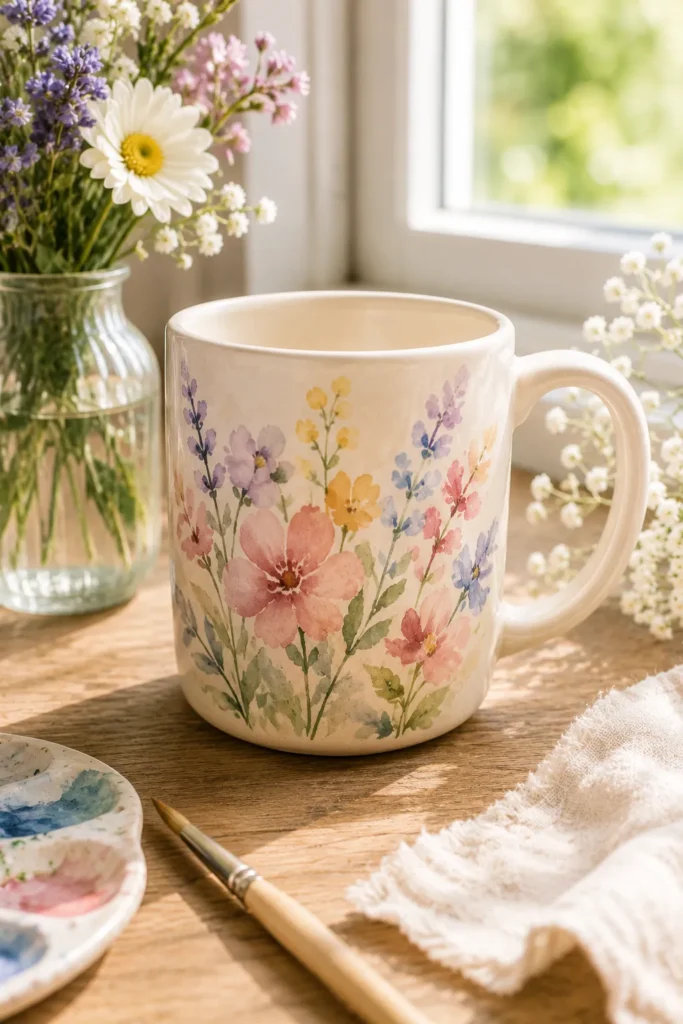
13. Watercolor Wildflower Mug
Thin your paint slightly with water and apply loose, soft strokes to create the translucent, blended look of watercolor flowers. Working wet-on-wet, where you add a second color while the first is still damp, lets the colors blend naturally into each other.
This technique looks intricate but is actually quite forgiving, since a slightly imperfect blend still reads as an intentional watercolor effect.
14. Botanical Leaf Silhouette Mug
Paint solid, simple leaf silhouettes in a single dark color against the mug’s lighter base, focusing on clean outer shapes rather than intricate detail. This design translates well even for painters who aren’t confident with fine detail work, since the impact comes from the silhouette rather than precision linework.
Overlapping a few leaves at different sizes adds depth without adding difficulty.
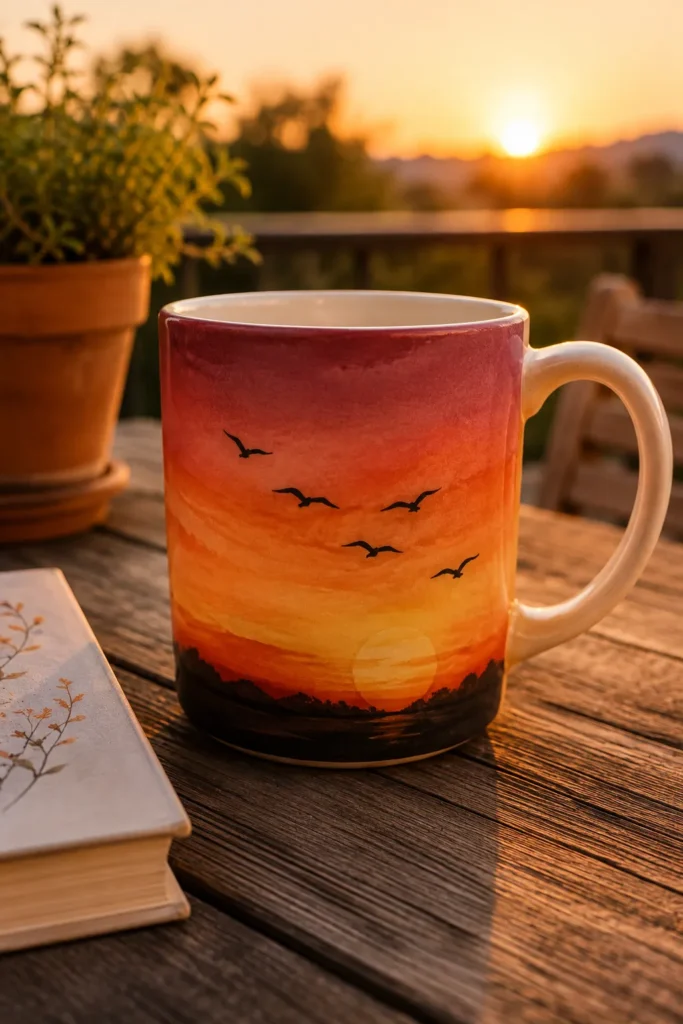
15. Sunset Gradient Sky Mug
Blend warm oranges, pinks, and purples horizontally across the mug while the paint is still wet, then add a simple dark silhouette (birds, a mountain line, a horizon) over the top once the gradient has dried. Working in thin layers, rather than one thick coat, makes blending multiple colors together much more manageable.
This design pairs especially well with a matte varnish finish, which softens the colors slightly for an even more sunset-like effect.
16. Mini Cactus & Succulent Mug
Paint a small row of simple cactus and succulent shapes along the lower half of the mug, using rounded and spiky shapes to add variety between each plant. These shapes are made almost entirely of basic ovals and triangles, making this one of the more approachable nature designs on this list.
Adding a thin terracotta-colored line beneath each plant to suggest a pot ties the whole row together.

17. Mushroom Forest Mug
Paint a small cluster of mushrooms in varying sizes and colors across the mug, using simple dome and stem shapes with a scattering of tiny dots for texture. This design has become a popular cottagecore-style favorite, and it’s genuinely easy to execute even with minimal painting experience.
Adding a few small dots of a lighter color on top of each mushroom cap gives a nice speckled, whimsical touch.
18. Ocean Wave Mug
Paint sweeping, curved blue and white lines across the mug to mimic the movement of ocean waves, using a slightly drybrush technique for the white foam highlights. Working in horizontal bands, rather than trying to paint the whole wave at once, makes the curved lines easier to control.
This design works particularly well on a lighter base color, which helps the blue tones stand out clearly.
Words, Quotes & Personalized Mug Designs
These designs focus on text and personalization, which make especially meaningful handmade gifts.

19. Hand-Lettered Name Mug
Use a fine paint pen to hand-letter a name or short word in a simple, rounded script, sketching lightly in pencil first if you’re not confident freehanding it. Keeping the letters slightly larger and more spaced out than feels natural actually reads better on the curved surface of a mug.
This is one of the most requested personalized mug styles, since it works for kids’ names, gift recipients, or your own morning coffee mug.
20. “World’s Best [Blank]” Custom Mug
Paint a simple bordered text design reading “World’s Best Mom,” “World’s Best Teacher,” or any personalized variation, using a bold block or serif lettering style. Sketching the text lightly in pencil first helps you space the letters evenly before committing to paint.
This design is a genuinely popular gift-mug format precisely because it’s easy to customize for any recipient.

21. Morning Motivation Quote Mug
Hand-letter a short, encouraging phrase around the mug, choosing something brief enough to read comfortably in one glance, like “but first, coffee.” Curving the text slightly to follow the natural curve of the mug looks more intentional than writing in a straight line.
Adding a small decorative flourish, like a tiny star or leaf, at the end of the phrase gives the design a finished feel.
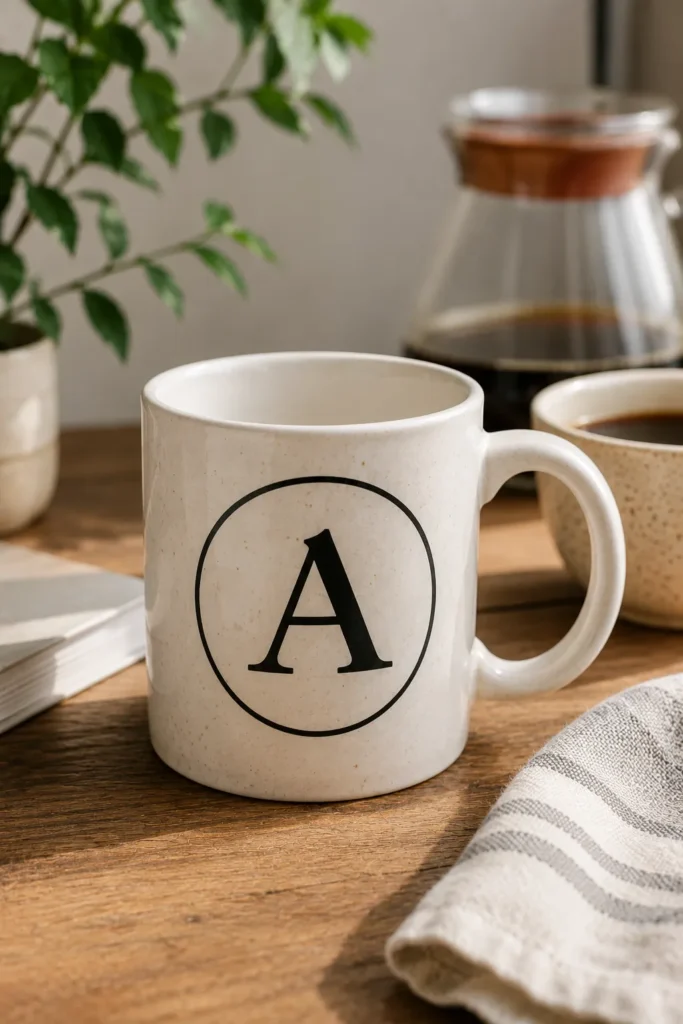
22. Initial Monogram Mug
Paint a single large initial centered on the mug, using a bold, simple font style that reads clearly even from a distance. This is one of the fastest personalized designs on this list, since it requires painting only one letter rather than an entire word or phrase.
Adding a thin painted circle or geometric shape behind the initial gives it a more polished, designed look.
23. Family Recipe or Date Memory Mug
Hand-letter a short, meaningful phrase, date, or abbreviated family recipe onto the mug as a genuinely personal keepsake gift. This works particularly well for anniversaries, new home gifts, or family recipe mugs passed between generations.
Keep the text short and legible rather than trying to fit an entire recipe, since space on a curved mug surface is more limited than it looks.
Bold & Colorful Mug Designs
These designs lean into saturated color and playful energy, ideal for anyone who wants their mug to stand out.
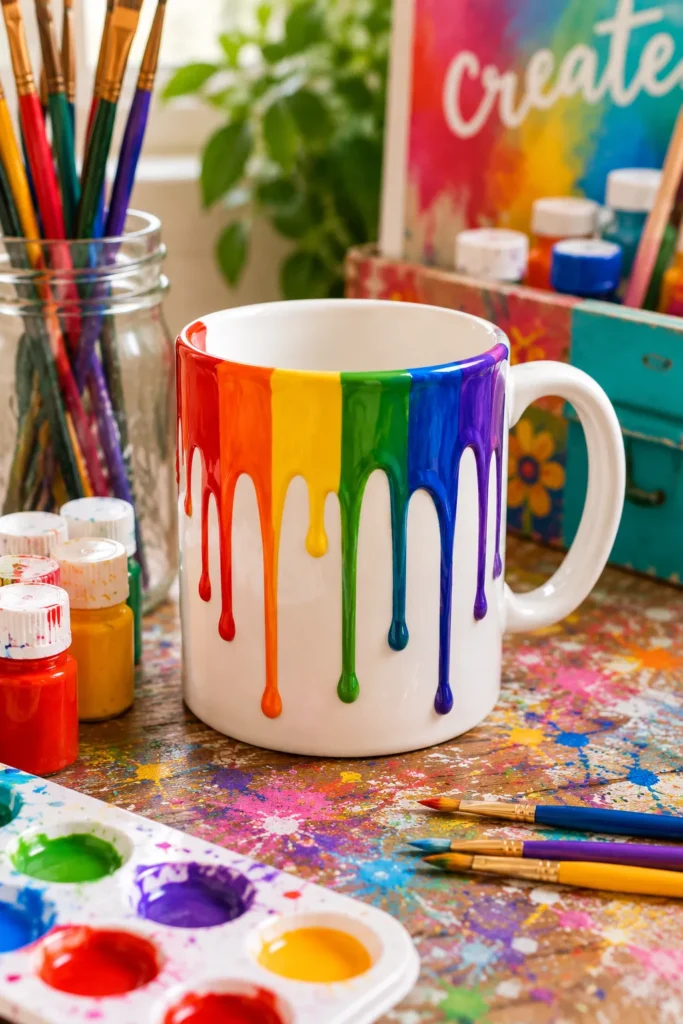
24. Rainbow Drip Mug
Paint a row of colorful vertical drips near the rim of the mug, allowing the paint to run slightly downward for a realistic dripping effect. Thinning the paint slightly with water helps it drip naturally rather than sitting stiffly in place.
Working with the mug propped at a slight angle gives you more control over how far each drip travels before it sets.
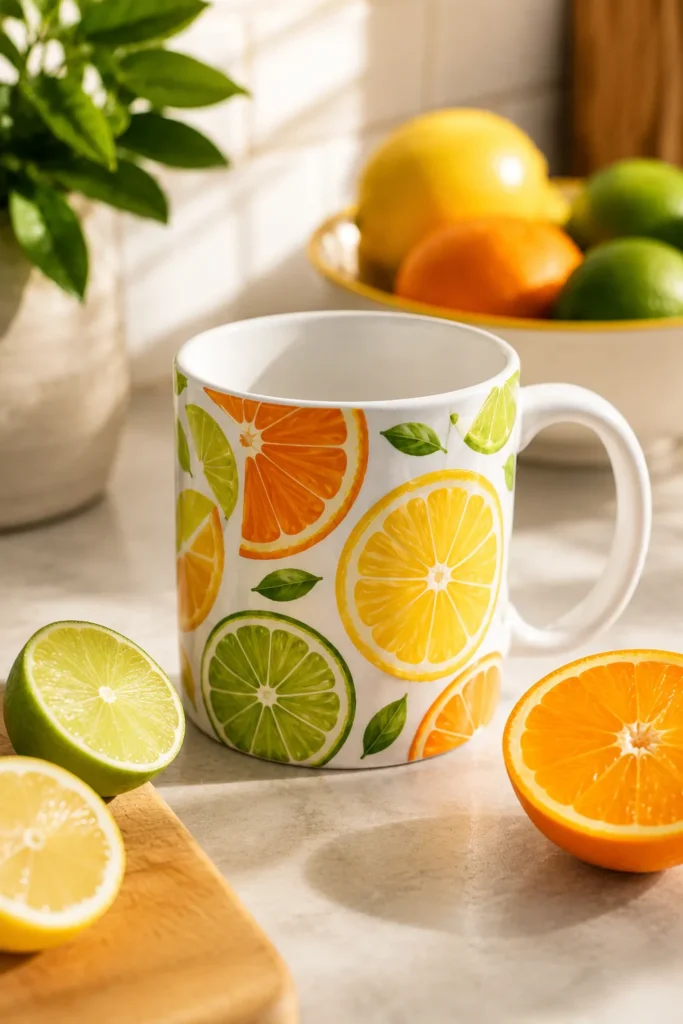
25. Bright Citrus Slice Mug
Paint a repeating pattern of citrus slices — oranges, lemons, limes — using bold, saturated colors and simple wedge-shaped segments. This design has a cheerful, summery feel and works well as a full wraparound pattern or a smaller accent cluster.
Adding a thin white line between each segment helps the citrus wedges read clearly rather than blurring together.
26. Retro Sunburst Mug
Paint alternating triangular rays radiating outward from a central point, using two or three bold colors for a retro, sun-like burst pattern. Lightly sketching the ray placement with a pencil first helps keep the spacing even before you commit to paint.
This design has a strong 1970s-inspired feel and pairs especially well with warm, earthy color palettes.
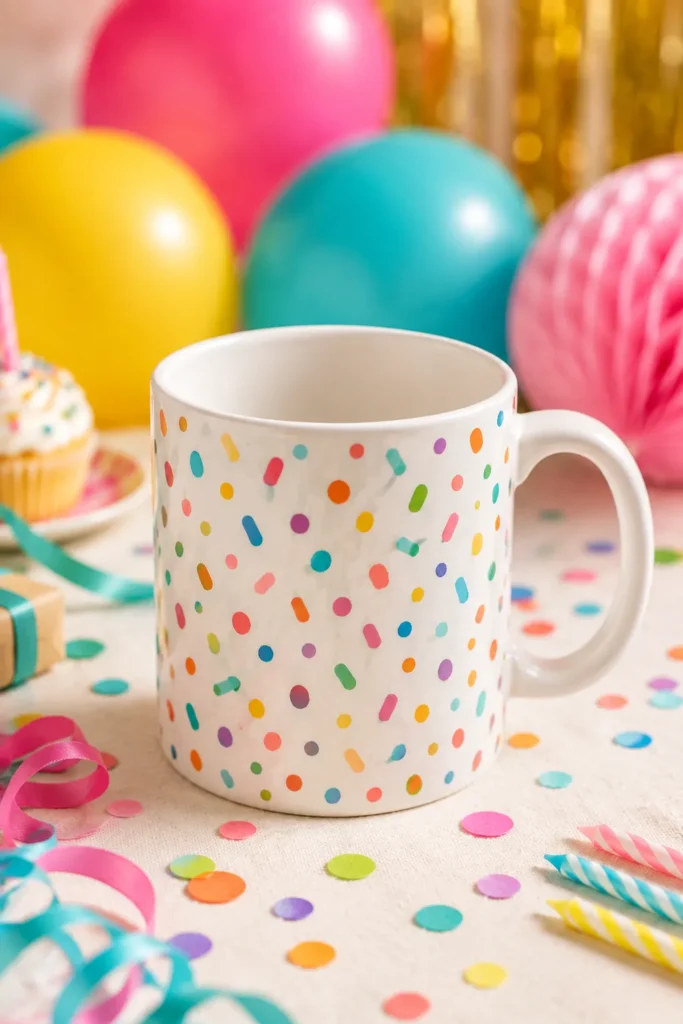
27. Confetti Dot Party Mug
Paint a scattering of small dots, dashes, and tiny shapes across the mug in several bright colors, mimicking the playful chaos of confetti. This design is intentionally loose and imperfect, making it one of the more forgiving options for beginners or kids painting alongside you.
This is a great choice for celebration mugs, like birthdays or graduation gifts.
28. Color Gradient Swirl Mug
Blend two or three colors together in loose, swirling strokes while the paint is still wet, allowing the colors to mix slightly at their edges. Using a slightly damp brush to soften the lines between colors gives the swirl a smoother, more blended appearance.
This design has real visual movement and works particularly well as a bold, eye-catching statement mug.
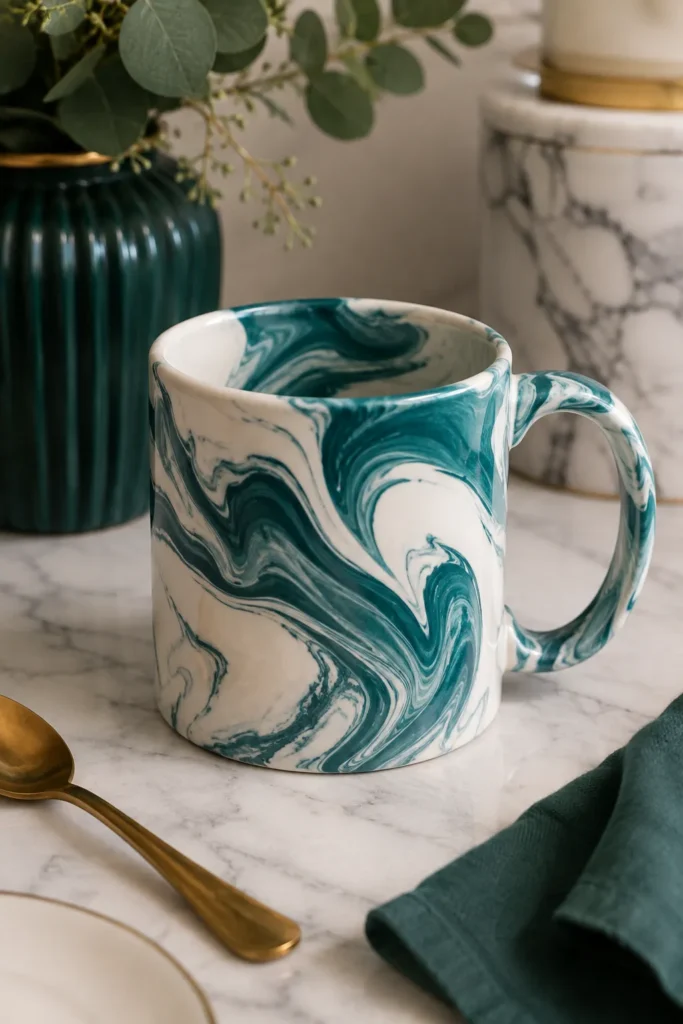
29. Two-Color Marbled Mug
Apply two contrasting paint colors in loose blobs across the mug, then lightly drag a toothpick or fine brush through both colors to create a marbled effect. Working while both colors are still wet is essential, since the marbling technique depends on blending, not layering dry paint.
Slightly less is more here — over-blending the colors can muddy the effect rather than enhancing it.
Related: Pottery Painting: The Complete Guide to Getting Started
30. Playful Doodle Collage Mug
Cover the mug in a cheerful mix of small doodles — stars, hearts, squiggles, simple faces — using several bright colors scattered without any strict pattern. This design is genuinely one of the most beginner-friendly on the entire list, since there’s no need for precise placement or symmetry.
This is also a fun collaborative design for kids or groups, since everyone can add their own small doodle to the same mug.
Frequently Asked Questions
Do you need special paint for painting pottery or ceramic mugs?
Yes — regular craft acrylic paint alone typically isn’t food-safe or durable enough for daily mug use without proper preparation. Ceramic paint pens, underglaze paints used at pottery studios, or specific dishwasher-safe enamel paints are all better suited for a mug you actually plan to drink from regularly.
Is painted pottery dishwasher and microwave safe?
It depends entirely on the paint and sealing method used. Underglaze paint that’s been properly glazed and kiln-fired at a pottery studio is generally dishwasher and microwave safe, while at-home ceramic paint pens often require hand-washing and aren’t microwave safe unless the packaging specifically states otherwise.
Can beginners paint good-looking mugs without art experience?
Absolutely — many of the designs on this list, like the speckled splatter, polka dot, and doodle collage styles, are specifically forgiving of imperfect lines and uneven spacing. Choosing a design that leans into a loose, handmade look rather than requiring precise symmetry is the easiest way for a beginner to get a genuinely good result.
What’s the difference between painting bisque pottery and a finished glazed mug?
Bisque pottery has been fired once but not yet glazed, giving it a slightly porous, matte surface that absorbs paint a bit differently than a smooth, already-glazed mug. Bisque painting, typically done at a pottery studio, requires a second glaze coat and firing before the mug is finished, while painting an already-glazed mug at home is generally the final step with no additional firing required.
How long does painted pottery take to be ready to use?
Pottery-studio bisque painting usually needs about one to two weeks for the glazing and kiln-firing process to be completed by the studio. At-home ceramic paint pen or enamel-painted mugs typically need a shorter curing time, often set with a home oven bake, but should still be left to fully cure for the timeframe listed on the paint packaging before use.
Final Thoughts
Painting a mug is one of those crafts that manages to feel both relaxing and genuinely rewarding, especially once you see a design you pictured actually come together on a real, usable object. The techniques behind these thirty designs aren’t complicated — most come down to a few reliable tricks like taping straight lines, working wet-on-wet for blending, or simply embracing a bit of imperfection.
Start with whichever design matches your comfort level, whether that’s a simple polka dot pattern or a more involved watercolor floral, and build your skills from there. However it turns out, you’ll end up with something far more personal than anything you could buy off a shelf.