20 Easy Pottery Painting Ideas Anyone Can Do
You don’t need to be “good at art” to paint pottery. Honestly, some of the best-looking pieces come from the simplest designs — a clean stripe, a scattered pattern, a single painted shape.
If you’ve ever hesitated to pick up a brush because you were worried about messing up an expensive piece at a studio, or you’re just looking for something low-pressure to try at home, this list is built entirely around that. No fine detail work, no steady-hand requirements, nothing that demands real art training and get more Easy Pottery Painting Ideas
Every idea here is genuinely beginner-proof. And if you finish this list and want something with a little more detail to grow into, our broader pottery painting ideas guide has plenty of options once you’re ready.
What Makes a Pottery Design Actually Easy
Before jumping into the ideas, it helps to understand what actually makes a design beginner-friendly, since it’s not always what it looks like at first glance.
Tape, Stencils, and Dotting Tools — The Beginner’s Best Shortcuts
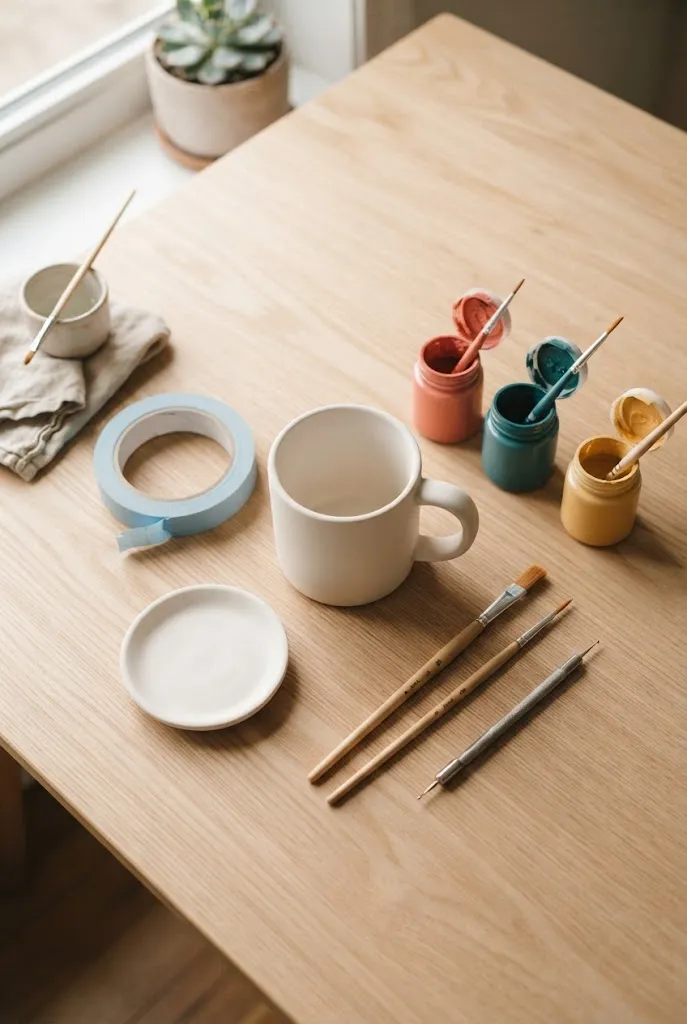
The easiest designs almost always lean on a tool doing the precision work for you. Painter’s tape gives you perfectly straight lines without a steady hand. A simple stencil, even a homemade one cut from an index card, lets you repeat a shape evenly. And a dotting tool, or just the end of a paintbrush handle, makes flawless circles every time.
None of these require skill — they require knowing which shortcut to reach for, which is exactly what separates a design that looks “easy” from one that just is easy.
Common Mistakes That Make Easy Designs Look Harder Than They Are
A few small habits trip up beginners more than the design itself ever does. Paint applied too thick tends to crack or look uneven once dry, so thin, even layers almost always win. Rushing between coats before the first one is dry causes smudging and muddy colors. And skipping a light pencil guideline for anything meant to be symmetrical is one of the most common reasons a simple design ends up looking lopsided.
Keep these in mind as you work through the ideas below — they’ll save you more frustration than any amount of natural talent would.
20 Easy Pottery Painting Ideas Anyone Can Do
These ideas move from simple tape techniques, into dot and stamp methods, through easy freehand shapes, a few color-only techniques, and finish with quick personalized touches.
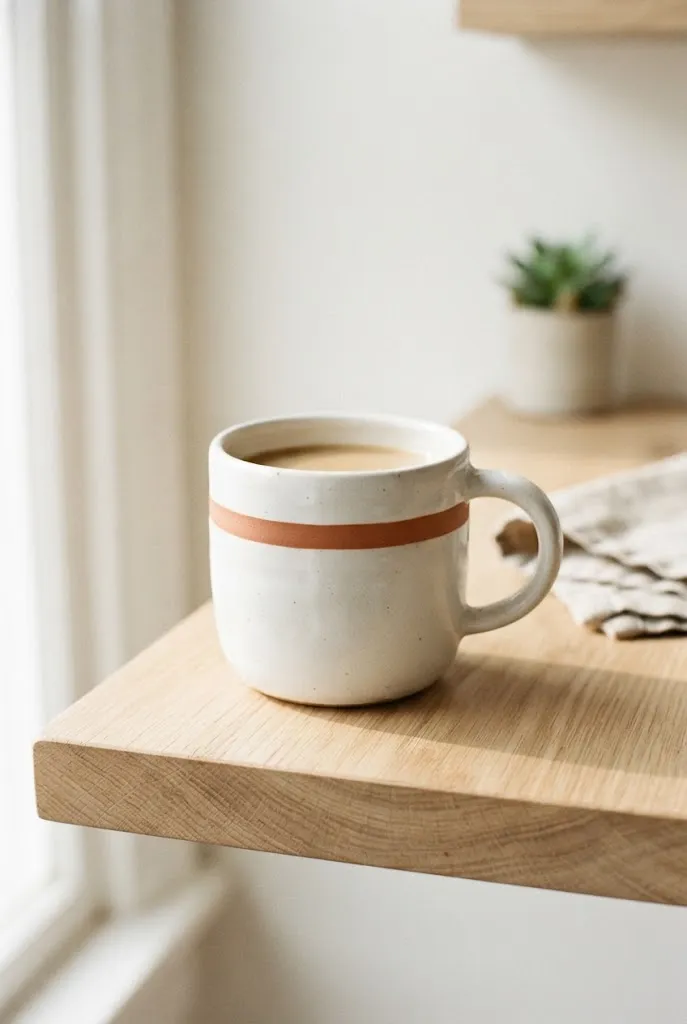
1. Single Rim Stripe
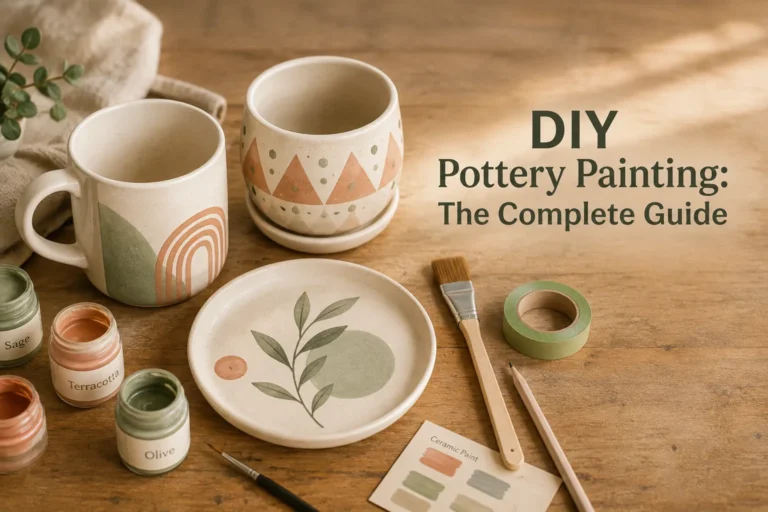
Related: DIY Pottery Painting: The Complete At-Home Guide
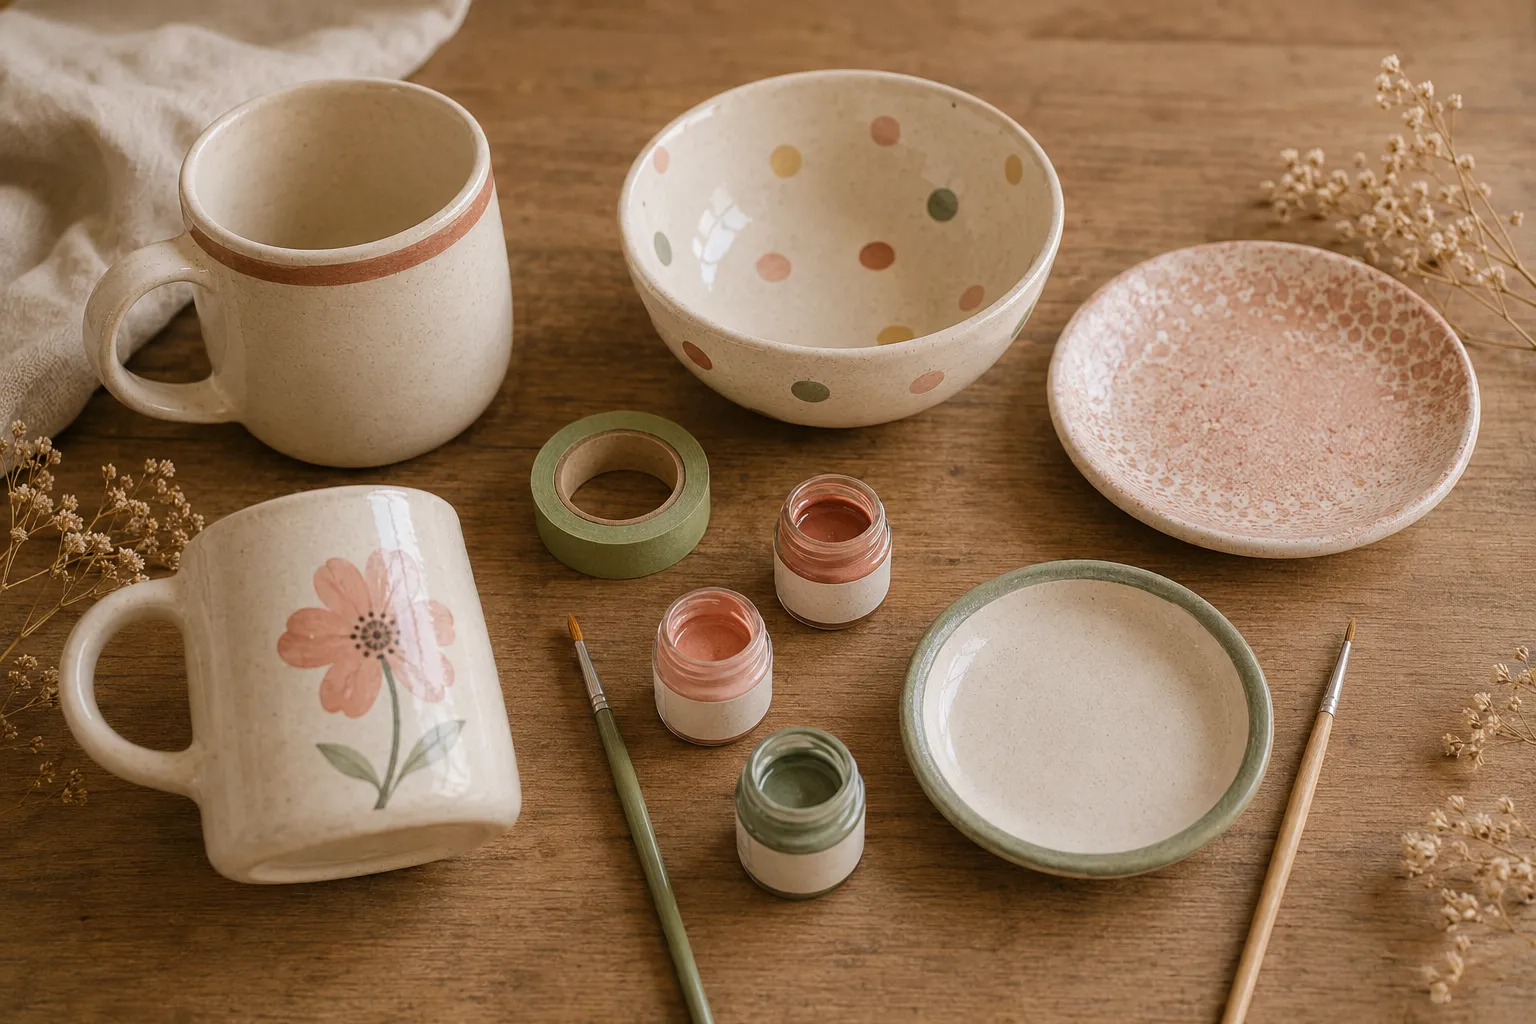
Wrap a strip of painter’s tape around the piece just below the rim, paint the exposed band, and peel the tape away once it’s dry. That’s the entire design.
This is about as foolproof as pottery painting gets, since the tape does all the precision work and there’s no freehand line to worry about.
2. Two-Tone Color Block
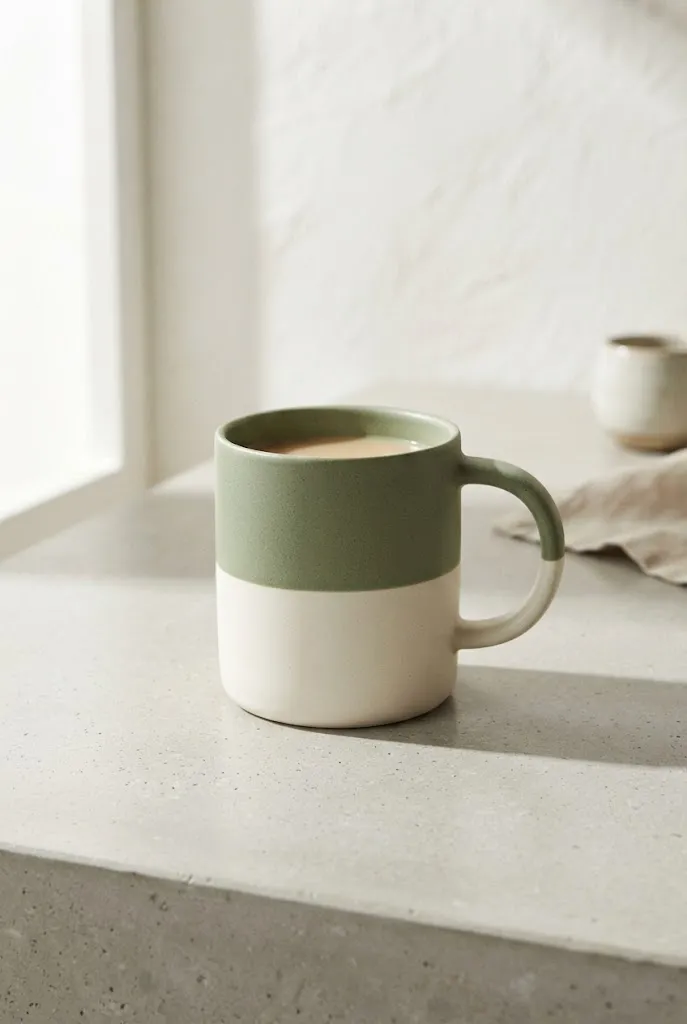
Tape off half the piece — top and bottom, or left and right — and paint each section a different solid color. Once the tape comes off, you’re left with a crisp, clean divide.
Two colors and one straight line is genuinely all this design takes, and it still manages to look bold and intentional.
3. Simple Grid Checkerboard
Mask off a small grid with tape, just a few rows, and fill in alternating squares with two contrasting colors. Keeping the grid small and contained makes this far more manageable than it looks.
Because the tape defines every edge, there’s no freehand painting involved at all — just filling in shapes.
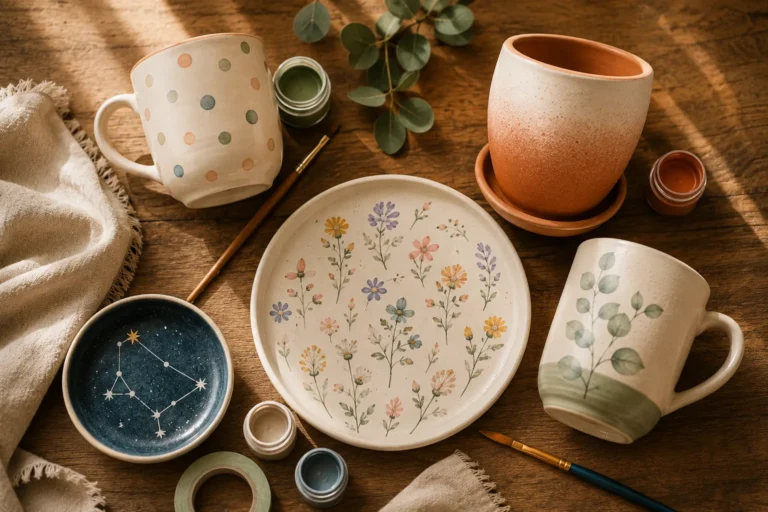
4. Polka Dot Scatter
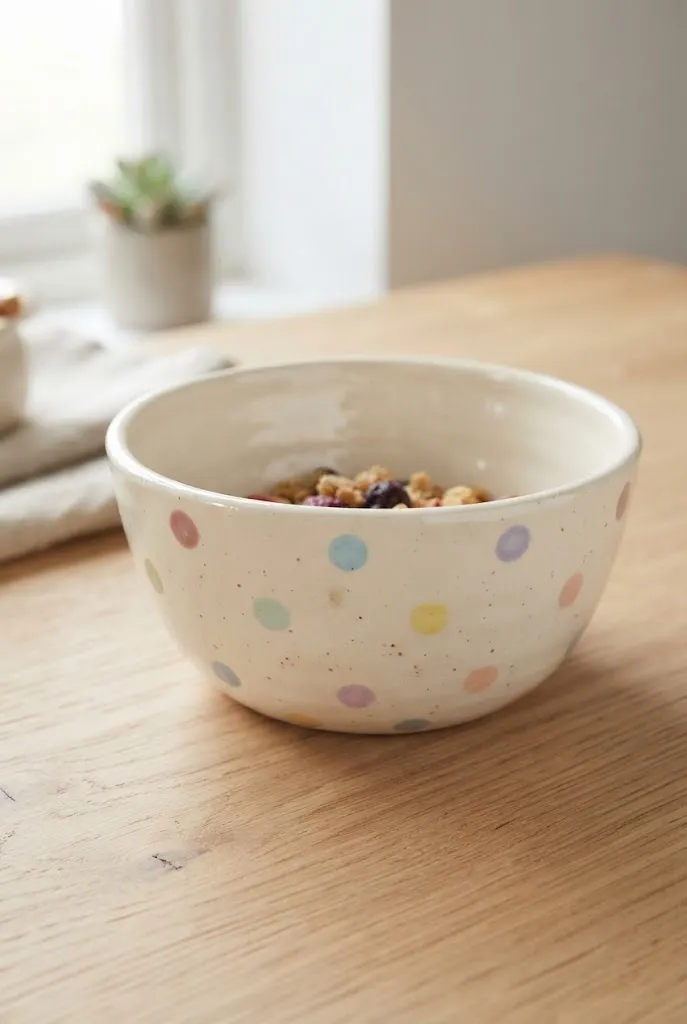
Dip the end of a paintbrush handle or a pencil eraser into paint and stamp dots across the surface. Perfectly even spacing isn’t the goal here — a little randomness actually makes it look better.
This is one of the most forgiving designs on the entire list, since there’s genuinely no way to do it wrong.
5. Dotted Border Trim
Instead of covering the whole piece, use the same dotting technique to add a simple row of dots around just the rim or base. It’s a quick way to add a finished-looking detail without committing to a full design.
This works well on its own, or as a finishing touch layered on top of another easy design from this list.
6. Stamped Sponge Texture
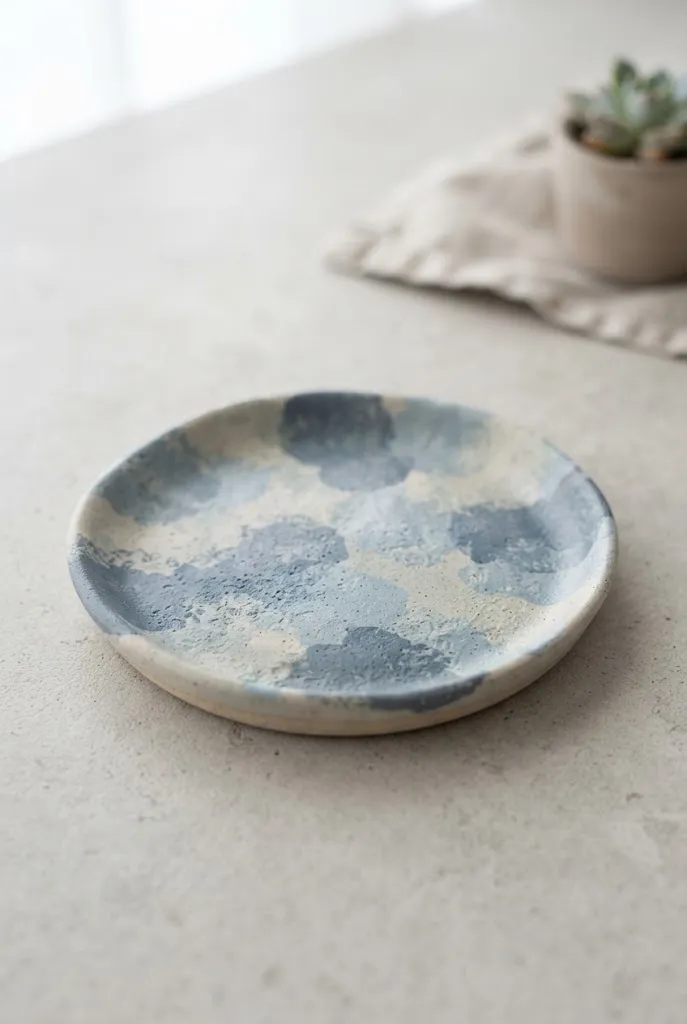
Dab a small piece of sponge into paint and press it lightly across the surface for a soft, textured look. Varying the pressure slightly as you go adds natural-looking variation without any real technique required.
This is a great option if you want texture and depth without painting a single defined shape.
7. Cork-Stamped Circles
A wine cork dipped in paint makes a perfectly round stamp every time, no drawing required. Space the circles out in a loose pattern, or line them up for something more structured.
Keeping a few different-sized corks on hand lets you vary the circle sizes for a slightly more dynamic look with zero added difficulty.
8. Simple Heart Scatter
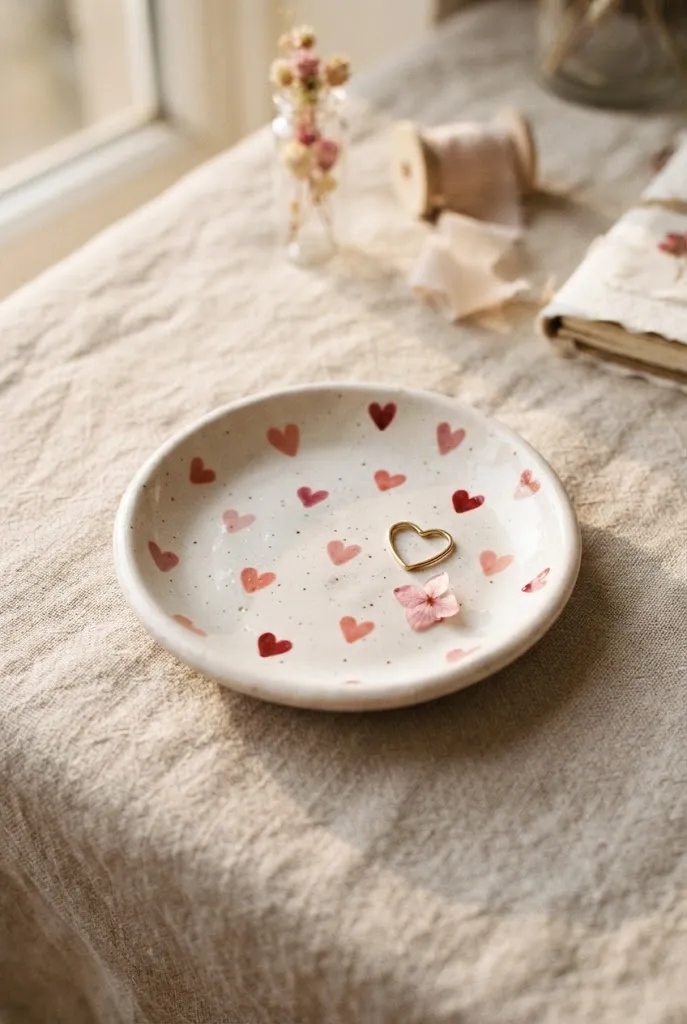
Paint small, simple hearts scattered loosely across the piece — two curved lines meeting at a point is really all a heart shape needs. Slightly imperfect hearts actually read as more charming than stiff, symmetrical ones.
This is an easy favorite for gifts, and it works in practically any color palette.
9. Basic Smiley Face
Two dots for eyes and a single curved line for a smile is the whole design. It’s about as simple as freehand painting gets, and it instantly adds personality to any piece.
This is a great one to let kids try, since there’s really no way to mess up a smiley face.
10. Single Flower Bloom
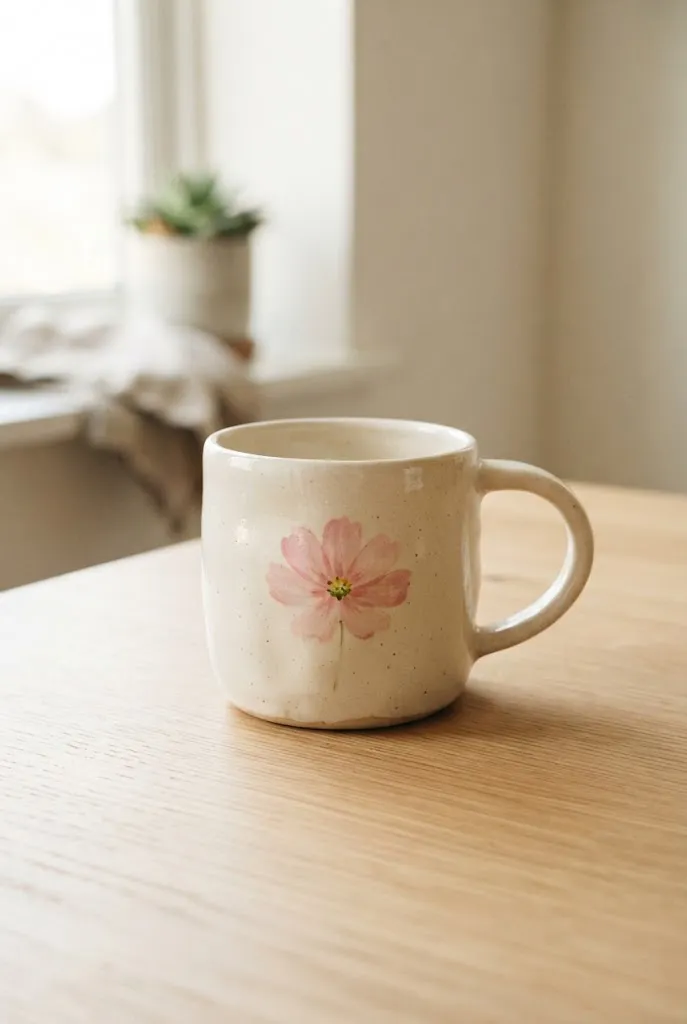
Paint one simple flower — five or six rounded petals around a small center dot — as the sole focal point of the piece. Keeping it to just one flower, rather than a full pattern, keeps the whole design manageable.
A single bloom often looks more intentional and gallery-worthy than a busier pattern would, which makes this an easy win.
11. Wavy Line Border
Paint one loose, wavy line around the rim or base of the piece using a single continuous brushstroke. There’s no need for precision — a slightly uneven wave actually looks more natural than a perfectly even one.
This is a nice way to add a hand-painted detail without any planning or guidelines needed.
12. Single Color Wash
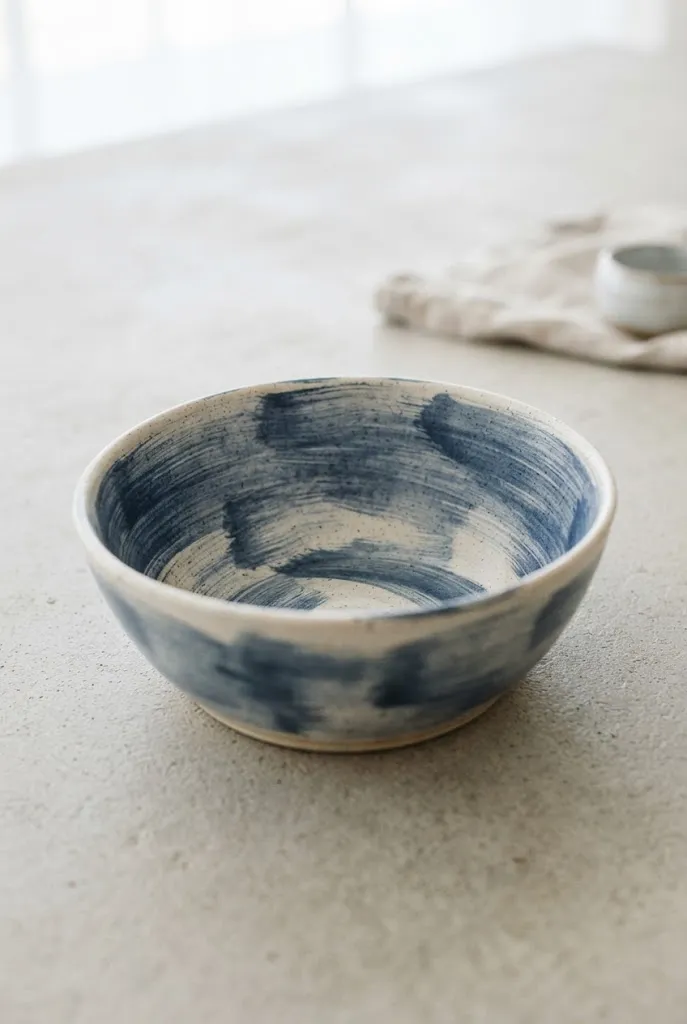
Thin your paint down with a little water and brush it across the entire surface in loose, uneven strokes. The goal isn’t full, solid coverage — some visible brush texture and unevenness is exactly what makes this look intentional.
This is one of the fastest full-coverage techniques on the list, and it’s nearly impossible to get wrong.
13. Two-Color Ombre Fade
Start with a darker color at the base and gradually add more water as you paint upward, letting the color naturally lighten toward the top. Blend the transition zone while the paint is still wet.
Even a slightly uneven fade still reads as an ombre effect, which makes this far more forgiving than it looks.
14. Splatter Flick Texture
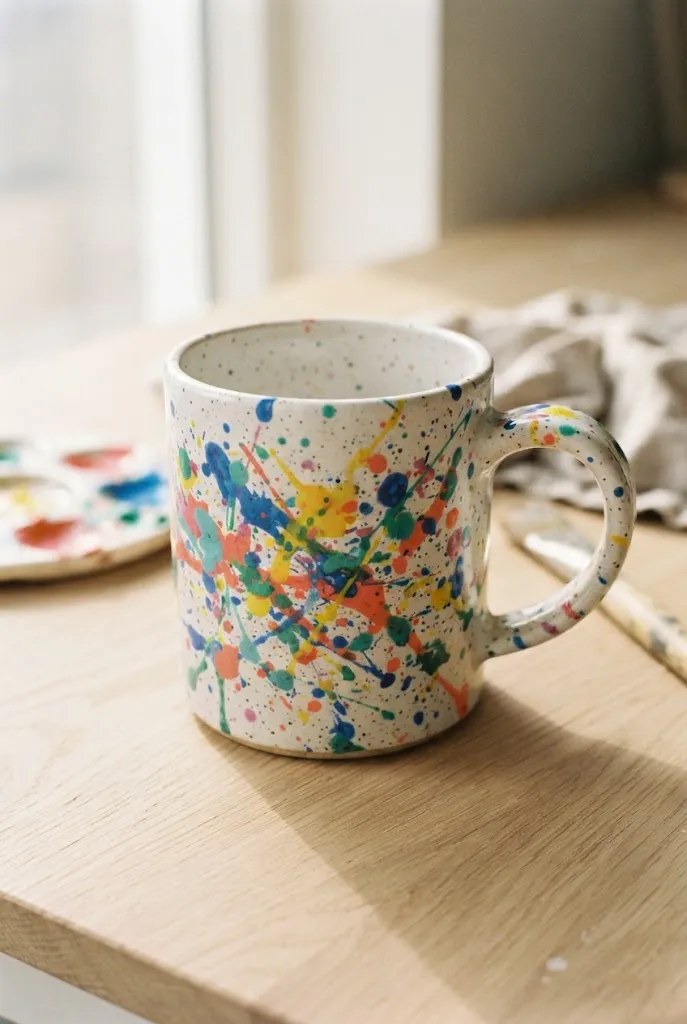
Load a brush with thinned paint and flick it across the surface for a lively, speckled splatter effect. Do this over newspaper or outdoors, since it does get a little messy.
There’s no way to control exactly where the splatters land, which is precisely what makes this design so easy — there’s no wrong result.
15. Speckled Dot Texture
Similar to splatter, but with a lighter touch — dip an old toothbrush in thinned paint and run your thumb across the bristles to create fine, even speckling. This gives a more subtle, controlled texture than a full splatter.
It’s a great base layer that pairs well with a simple stripe or dot design layered on top once it’s dry.
16. Simple Star Scatter

Paint small five-point stars scattered across the piece, or simplify further with just small painted dots and short crossed lines to suggest a star shape. Keeping the stars small and a little uneven makes them easier to paint and more charming to look at.
This design works especially well on a dark base color for a night-sky feel.
17. One-Line Continuous Doodle
Without lifting your brush, draw one continuous squiggly or looping line around the piece. There’s no pattern to match and no symmetry required, which makes this one of the most relaxing designs on the list.
Varying your brush pressure slightly as you go adds visual interest without any added difficulty.
18. Painted Rim Only, Rest Bare
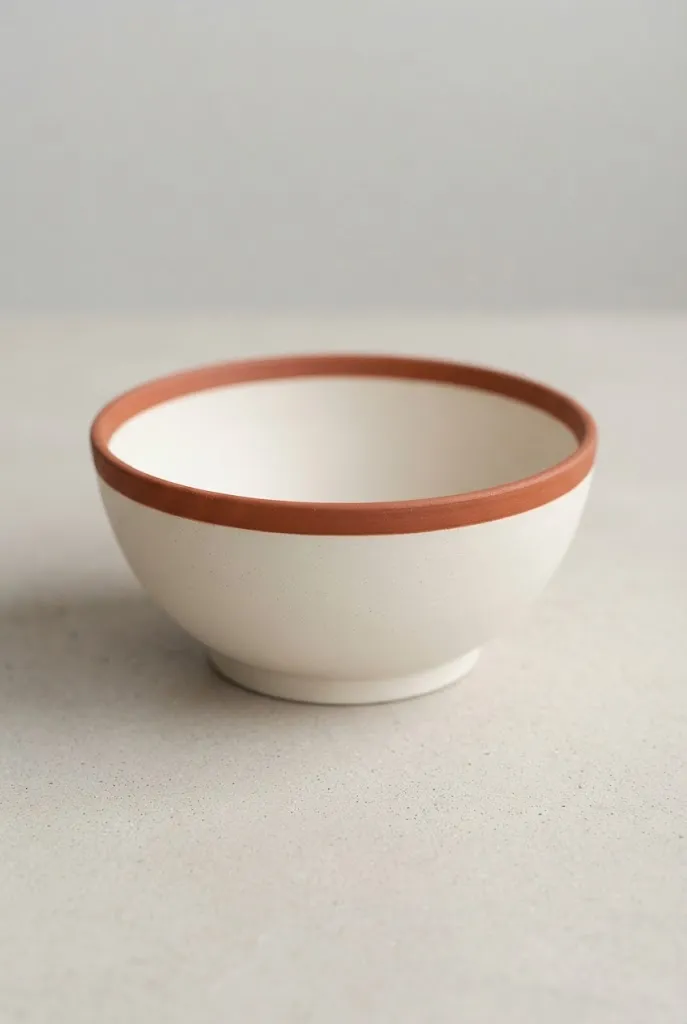
Paint just the rim of the piece in a single solid color and leave the rest completely bare. This minimalist approach takes only a few minutes but still makes a plain piece look finished and considered.
It’s proof that an easy design doesn’t need to cover much surface area to look complete.
19. Single Initial Accent
Paint one letter, centered on the piece, using a paint pen for the cleanest possible line. A single initial takes just a minute or two but instantly makes the piece feel personal.
This is an easy way to add a gift-worthy touch without any real design work involved.
20. Simple Date or Word Stamp
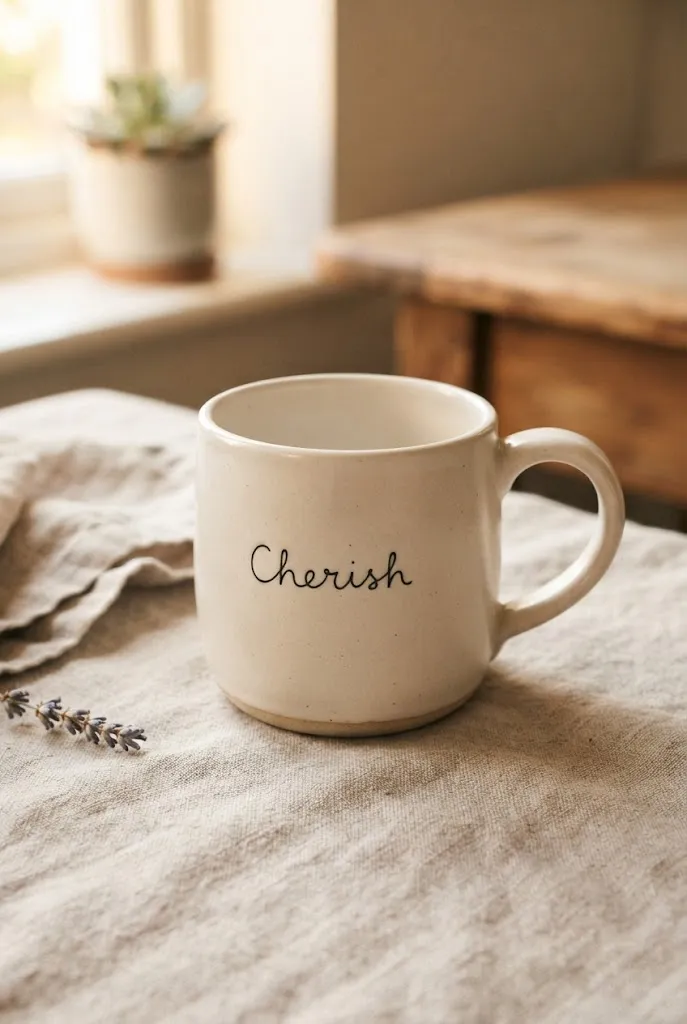
Paint a short word or date using a paint pen, keeping the lettering simple and small. A single word like a name, or a short date, reads clearly even with basic handwriting.
Because the wording stays short, there’s very little room for it to go wrong, making this an easy way to turn a plain piece into a keepsake.
Mistakes to Avoid When You’re New to Pottery Painting
Related: Pottery Painting: The Complete Guide to Getting Started
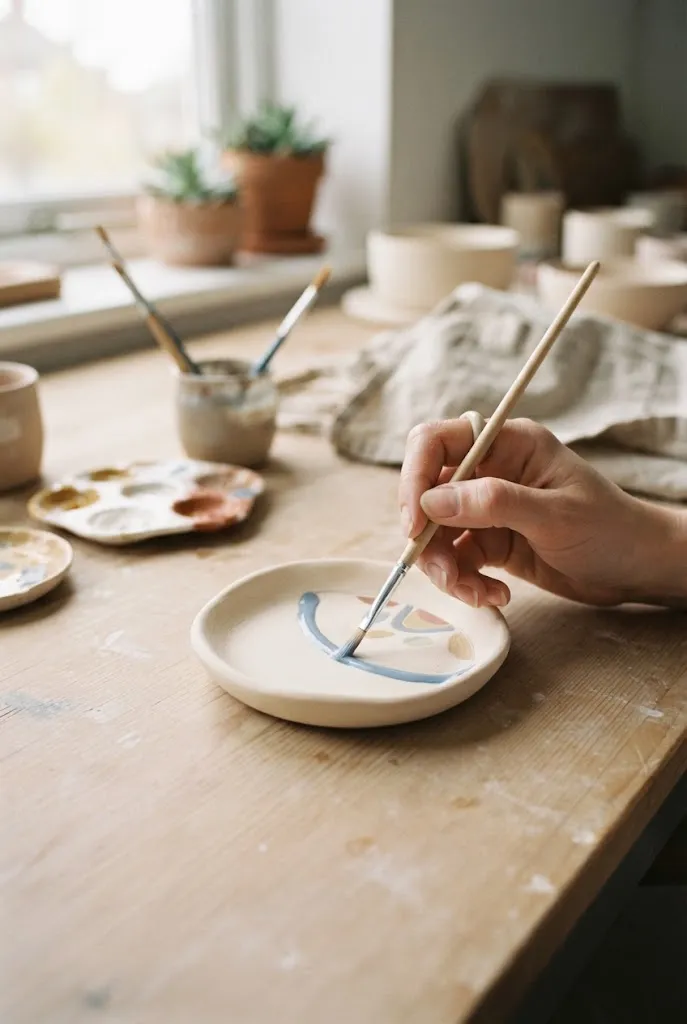
Skipping Thin Coats, Rushing Dry Time, and Other Easy Fixes
The single biggest beginner mistake is applying paint too thickly in an attempt to get full coverage in one pass. Two or three thin coats almost always look better and dry more evenly than one thick one.
Rushing between coats is a close second — painting over a layer that isn’t fully dry tends to smear or mix colors unintentionally. Give each layer a real chance to dry before adding the next.
And if you’re working with a pattern that needs to look even, like stripes or a checkerboard, don’t skip the light pencil guideline first. It takes thirty extra seconds and prevents the most common source of frustration for first-timers.
Frequently Asked Questions
What’s the absolute easiest pottery design for a total beginner?
A single rim stripe or a scattered polka dot pattern are the easiest starting points, since both rely on simple tools — tape or a dotting tool — rather than freehand precision.
Do I need any artistic skill to paint pottery?
No — most of the designs on this list use tools like tape, stencils, or dotting techniques specifically because they don’t require drawing ability or a steady hand.
What tools make pottery painting easier for beginners?
Painter’s tape for straight lines, a dotting tool or paintbrush handle for even circles, and a small sponge or toothbrush for texture are the most useful beginner shortcuts.
How many coats of paint does an easy design usually need?
Most simple designs look best with two to three thin coats rather than one thick one, since thin layers dry more evenly and are less likely to crack or look patchy.
Can kids do these easy pottery painting ideas too?
Yes — designs like the smiley face, polka dot scatter, and simple heart scatter are especially well suited for kids, since they don’t require fine motor control or precise lines.
What if my design doesn’t turn out the way I planned?
Most of these easy designs are forgiving by nature, and small imperfections, like an uneven dot or a slightly wobbly line, usually just add to the handmade charm rather than ruining the piece.
Final Thoughts
The easiest pottery designs often end up looking the most intentional, which takes a lot of the pressure off before you even pick up a brush.
Start with just one idea from this list to build a little confidence, whether that’s a five-minute rim stripe or a simple scattered heart pattern. Once you’re ready to try something with a bit more detail, our full pottery painting ideas guide has plenty of options to grow into.