DIY Phone Case Ideas: Your Complete Guide to Customizing Your Case
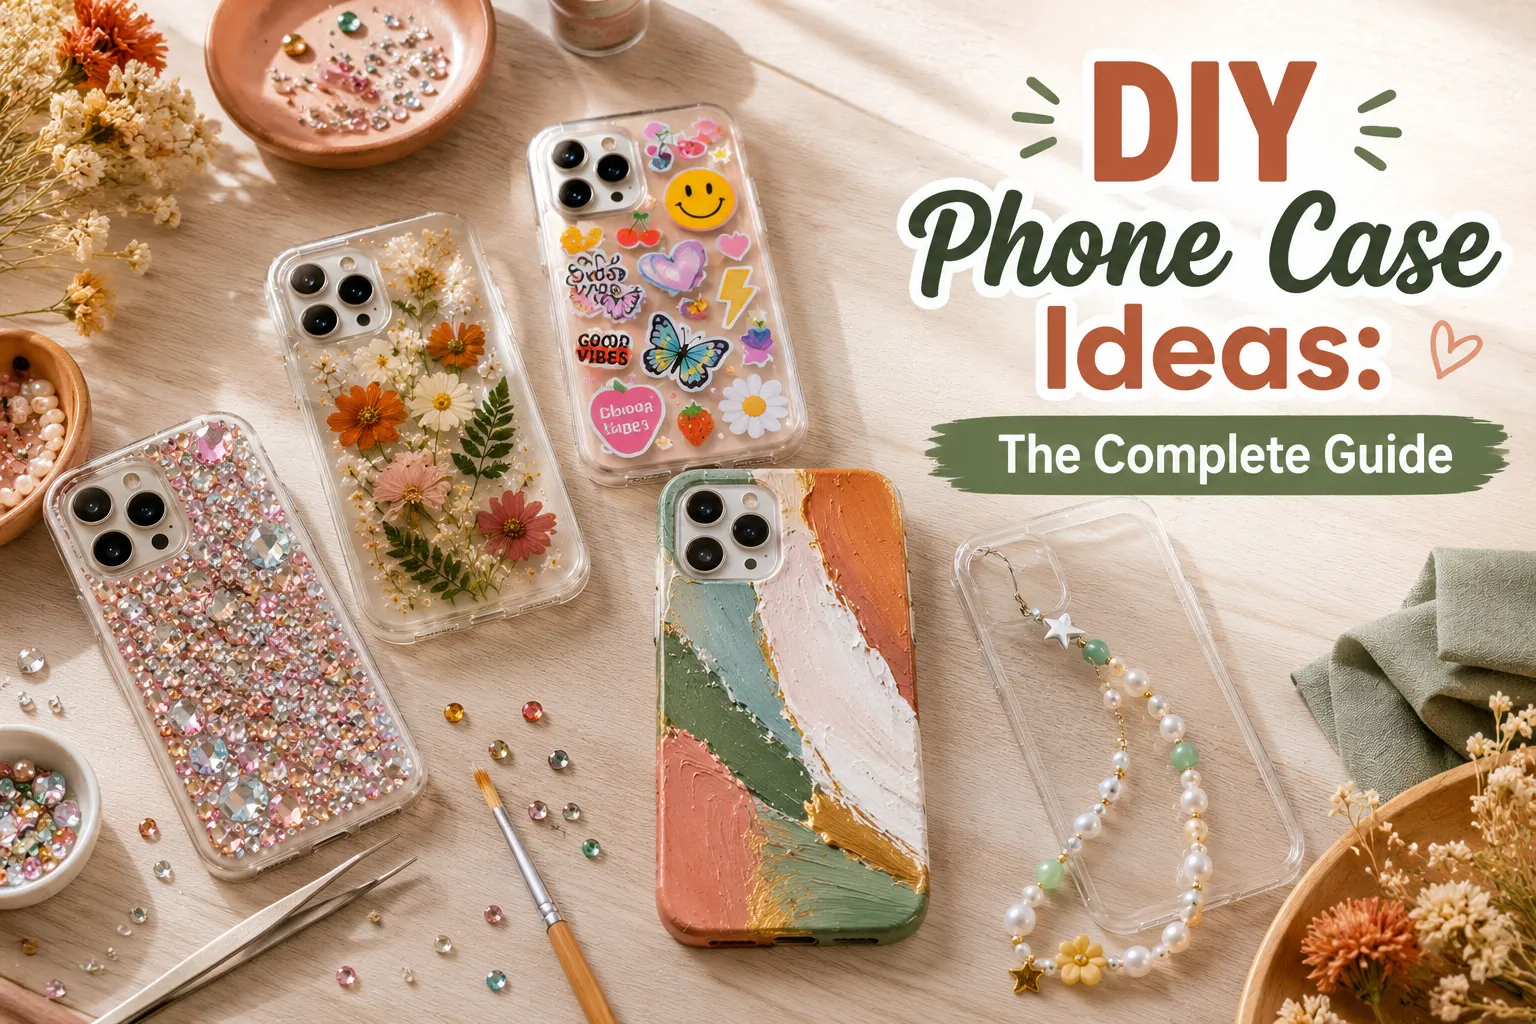
A plain DIY Phone Case Ideas rarely stays plain for long. Somewhere between rhinestones, resin, stickers, and paint, most people find at least one technique that turns a basic case into something that actually feels like theirs — and the appeal isn’t just the look. It’s cheap, it’s flexible, and you can change your mind next month without buying a new phone.
The tricky part is knowing where to start. Each technique has its own learning curve, its own supply list, and its own trade-offs, and jumping into the wrong one for your case type or skill level usually ends in frustration.
This guide lays out the full picture — what each technique actually involves, how to pick the right one, and where to go for a complete walkthrough once you’ve decided.

What DIY Phone Case Customization Actually Involves
At its core, DIY phone case customization means applying or attaching something — paint, resin, rhinestones, stickers, charms — to a case you already own, rather than buying one pre-made. The appeal is obvious: it costs a fraction of a custom case, and you can rework it as often as you like.
The biggest early fork in the road is your case type. A clear case works almost like a blank canvas, letting you layer designs that show through the plastic itself, while a solid or opaque case behaves more like a surface you’re decorating directly, similar to painting an object. Case material matters too — a rigid hard-shell case holds most techniques well, while a flexible silicone case can be trickier, since some finishes (resin especially) don’t flex the way silicone does and may crack over time.
If you’re brand new to all of this, our beginner-friendly DIY phone case guide is the best place to start, covering the fundamentals before you commit to a specific technique.
Choosing Your Technique: A Quick Comparison
Every technique on this list produces a different look, and they don’t all cost the same in time, money, or patience. Here’s how the major options stack up against each other.
| Technique | Durability | Cost | Skill Level | Reversible? |
|---|---|---|---|---|
| Rhinestones | High (with proper glue) | Low–Medium | Beginner | Somewhat |
| Resin | Very high | Medium | Intermediate | No |
| Stickers | Medium–High (with sealing) | Low | Beginner | Yes |
| Paint | Medium (varies by sealant) | Low | Beginner–Intermediate | No |
| Charms | High (attachment-based) | Low–Medium | Beginner | Yes |
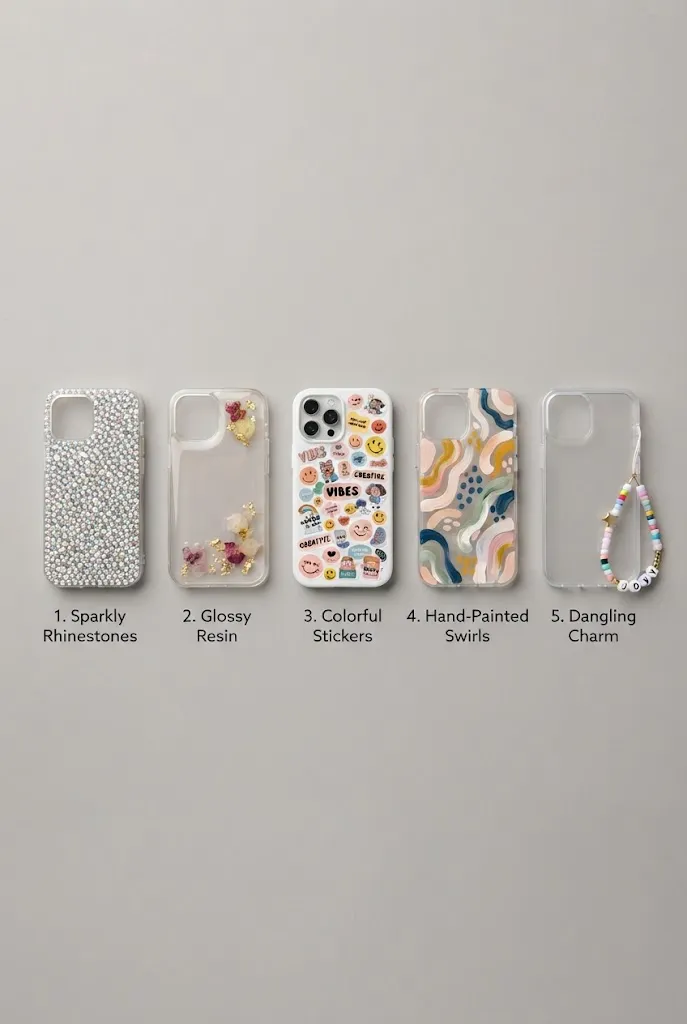
Stickers and charms are your best bet if you like to switch things up often, since neither one is permanent. Resin sits at the opposite end — stunning, glossy, genuinely durable, but a real commitment once it’s cured. Rhinestones and paint fall somewhere in between, offering a lasting result without being quite as irreversible as resin.
Techniques to Try (Choose Your Project)
Once you’ve got a sense of the trade-offs, the next step is picking the technique that actually matches what you want to make.
Rhinestones & Bedazzling
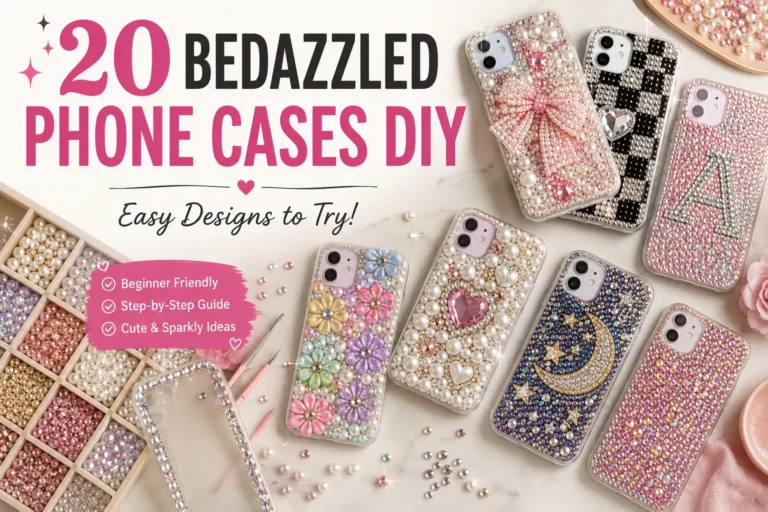
Bedazzling covers your case in rhinestones for a sparkly, glam finish that catches the light with every movement. It’s genuinely beginner-friendly — most of the skill is in patience and glue placement rather than any artistic ability — and it holds up remarkably well with the right adhesive. Our full rhinestone and bedazzling guide walks through the process, from pattern planning to which glue actually survives daily handling.

Resin
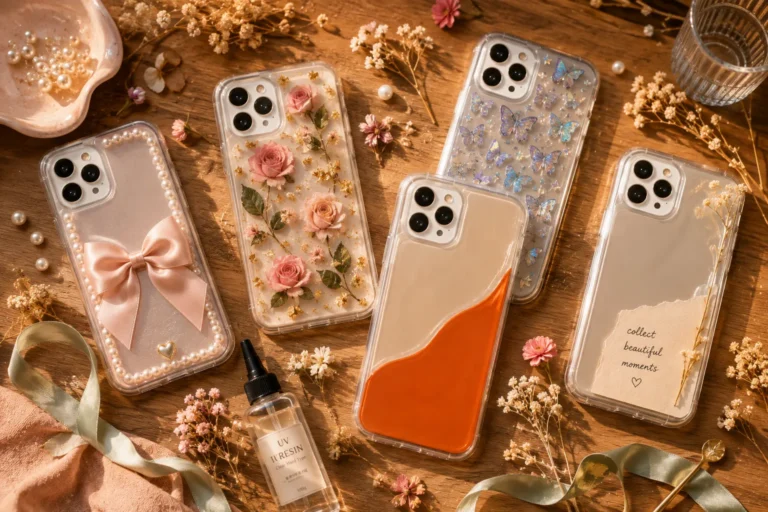
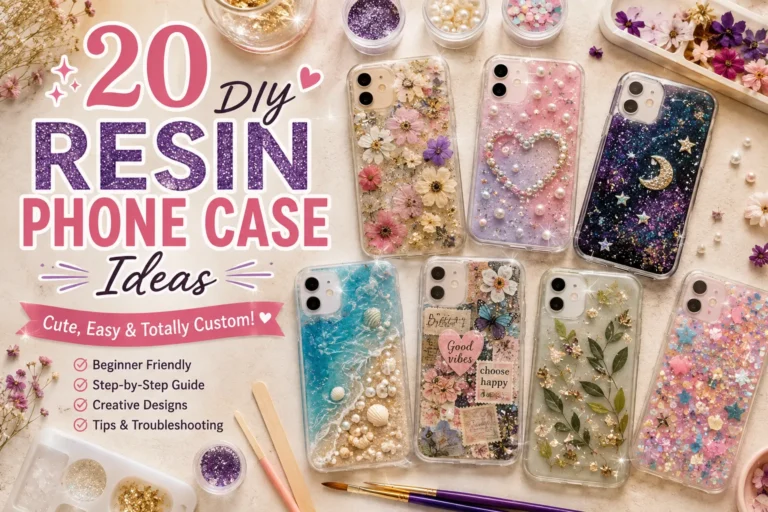
Resin gives you a glossy, dimensional finish, and it’s the technique of choice for anyone who wants to embed things — dried flowers, glitter, small charms — permanently inside a clear layer on the case. It takes more precision than most other techniques (mixing ratios, curing time, avoiding air bubbles), but the payoff is a professional-looking result that nothing else on this list quite matches. Everything you need to know about resin cases covers the full process in detail.
Stickers
Stickers are the fastest, lowest-commitment way to personalize a case, and they’re endlessly changeable — pull them off and start over whenever your style shifts. The trade-off is that cheap paper stickers peel fast, so getting a design to genuinely last takes a bit of technique. Our guide to phone case stickers that actually last covers both the design ideas and the application tricks that keep them from lifting at the edges.

Paint
Painting a case gives you the most creative freedom of any technique here, since you’re not limited to pre-made shapes or colors — freehand designs, ombre effects, and fine detail work are all fair game. It does require the most patience with drying time and sealing, since an unprotected painted design chips fast with daily use. How to paint a phone case step by step covers prep, application, and the sealing step that makes the difference between a design that lasts and one that doesn’t.
Charms & Attachments
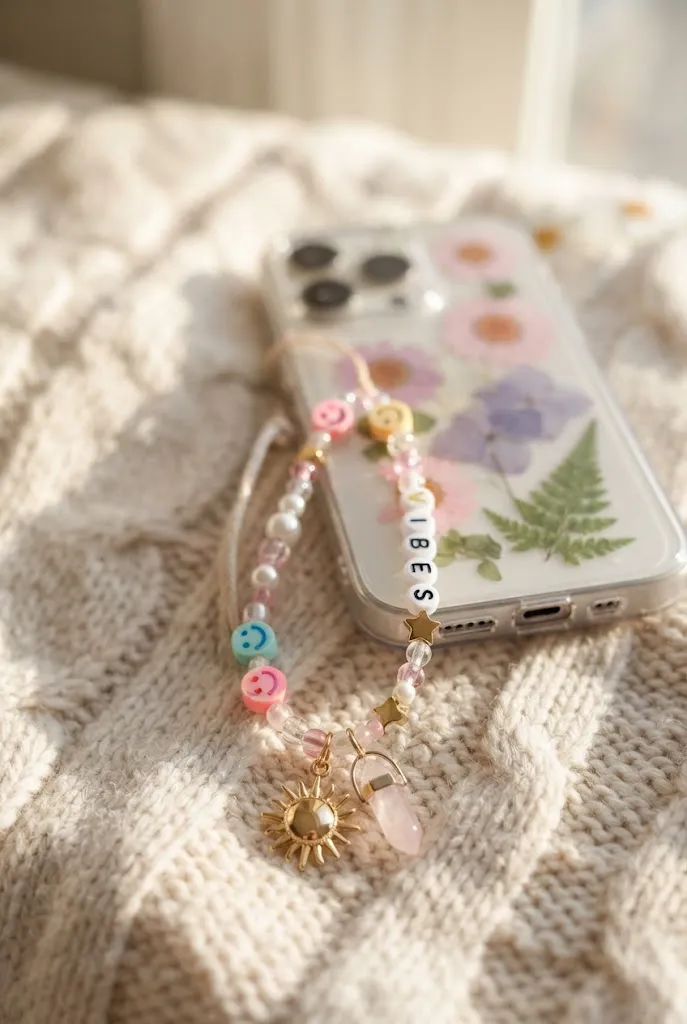
Charms and dangly accessories — beaded straps, small trinkets clipped to a phone case loop — decorate your phone without touching the case surface at all, which makes this one of the most low-risk, reversible techniques on the list. It’s also easy to mix and match, swapping charms in and out as often as you’d change an outfit. Our collection of phone case styling ideas has plenty of pairing inspiration if you want to combine charms with another technique from this list.
Finding Your Style (Design Inspiration by Aesthetic)
Technique is only half the equation — the other half is figuring out what look you’re actually going for. This is where a lot of people get stuck browsing without direction.
If you already know your general vibe — cottagecore, Y2K, minimalist, whatever it might be — browsing by aesthetic and mood is the faster path, since it’s organized around style first and technique second.
If you’re more drawn to a specific visual pattern than a particular mood — ombre, marbling, geometric shapes, collage layouts — exploring patterns and layout ideas approaches things from the composition side instead, regardless of which broader aesthetic it ends up fitting into.
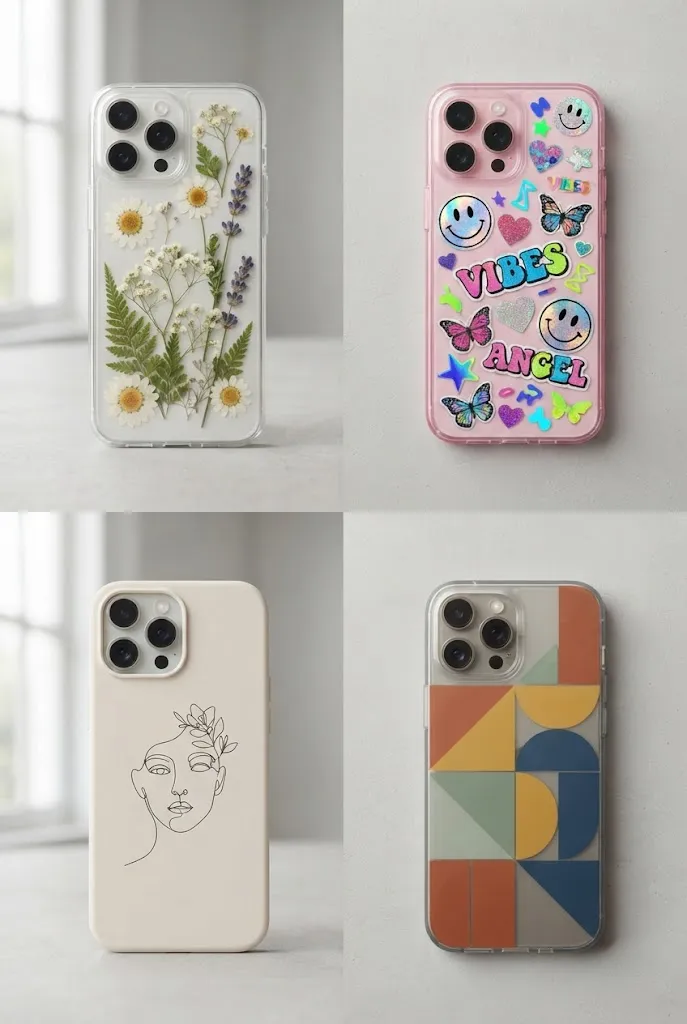
Customizing a Clear Phone Case
Clear cases deserve their own mention, since they behave differently from solid ones. Because light passes through the case itself, anything you place inside or on top of it reads differently than it would on an opaque surface — stickers placed on the inside of a clear case look subtly different from ones applied on top, and pressed flowers or small paper cutouts can be layered underneath the case for a look you simply can’t achieve with a solid one.
Clear cases have become a favorite base for a lot of the techniques already covered in this guide, particularly stickers, minimal paint accents, and resin, precisely because the transparency adds a dimension the design itself doesn’t have to create alone. Our dedicated guide to clear case styling goes deeper into exactly what works well on this specific case type.

Basic Supplies and Finishing Tips
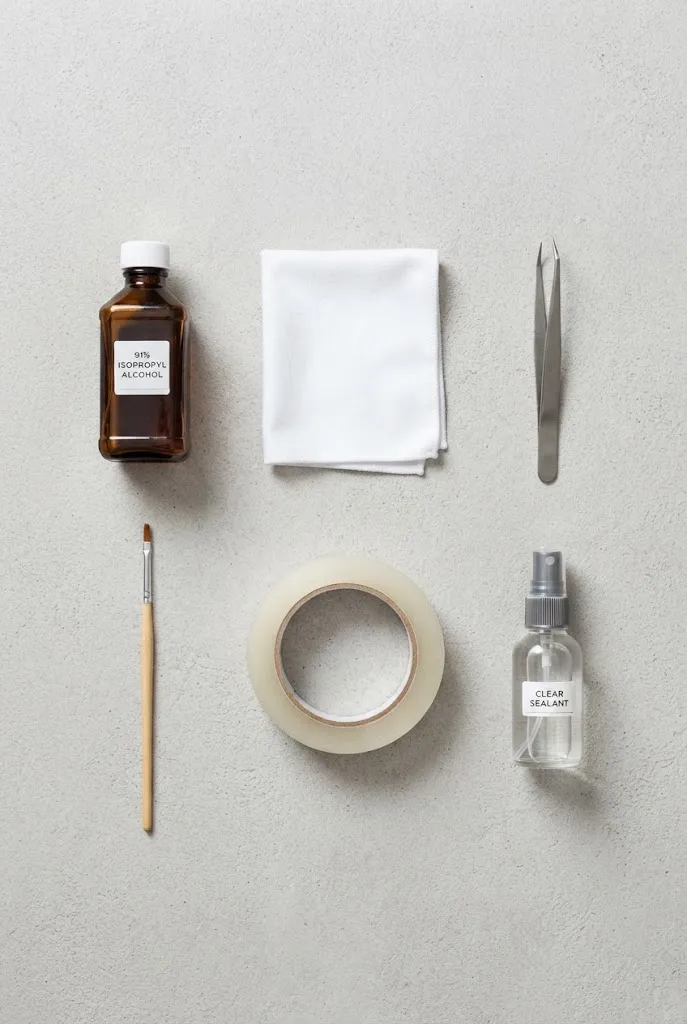
Regardless of which technique you land on, a few supplies come up again and again. Rubbing alcohol for cleaning the case before you start, a set of small precision tools (tweezers, fine brushes) for detail work, and some form of clear sealant — whether that’s a spray sealant, clear tape, or a dedicated topcoat — to protect the finished result.
Two habits make the biggest difference in how long a design actually lasts: cleaning the case thoroughly before you start (dust and skin oils are the number one reason things don’t stick well), and sealing whatever you’ve made once it’s finished, especially for stickers and paint. Skipping either step is the most common reason a DIY design looks great on day one and rough by week two.
For the full supply breakdown and prep process from the ground up, our full supply and prep breakdown walks through everything before you even pick a technique.
Frequently Asked Questions
What’s the easiest way to DIY a phone case?
Stickers and charms are generally the easiest entry points, since neither requires much precision, drying time, or specialized supplies. If you want something a bit more hands-on but still beginner-friendly, rhinestones are a close second — the technique is more about patience than skill.
Will decorating my phone case damage it?
Not typically, as long as you’re using materials actually designed for the job (proper craft glue, vinyl stickers, phone-safe paint) rather than random household adhesives. The bigger risk is usually to the design itself peeling or chipping, not the case underneath.
How long do DIY phone case designs last?
It depends heavily on the technique and whether you’ve sealed the finished result. Resin and properly-glued rhinestones tend to last the longest, often for as long as you use the case, while unsealed stickers or paint can start showing wear within a few weeks of daily handling.
Can I DIY a silicone phone case the same way as a hard case?
Mostly, but with one caveat — rigid finishes like resin don’t flex the way silicone does, so they’re more prone to cracking on a silicone case over time. Stickers, paint, rhinestones, and charms all generally work fine on either case material.
What’s the difference between resin and rhinestones for decorating a case?
Resin creates a smooth, glossy, embedded finish and is genuinely permanent once cured, while rhinestones sit on top of the case in a textured, sparkly pattern and can be removed or adjusted more easily if you use the right glue. Resin takes more technical precision to get right; rhinestones are more forgiving for a first-time project.
Where to Go From Here
Every technique in this guide solves a slightly different problem — stickers and charms for flexibility, resin for a permanent glossy finish, rhinestones for sparkle, paint for full creative control. The right one for you depends less on which is “best” and more on how much commitment, time, and precision you’re up for right now.
If you’re still deciding, start with our beginner DIY phone case guide to get the fundamentals down, then branch into whichever technique caught your eye — resin, rhinestones, or stickers. And if you already know the look you’re after more than the method, browsing by aesthetic is the faster way in.