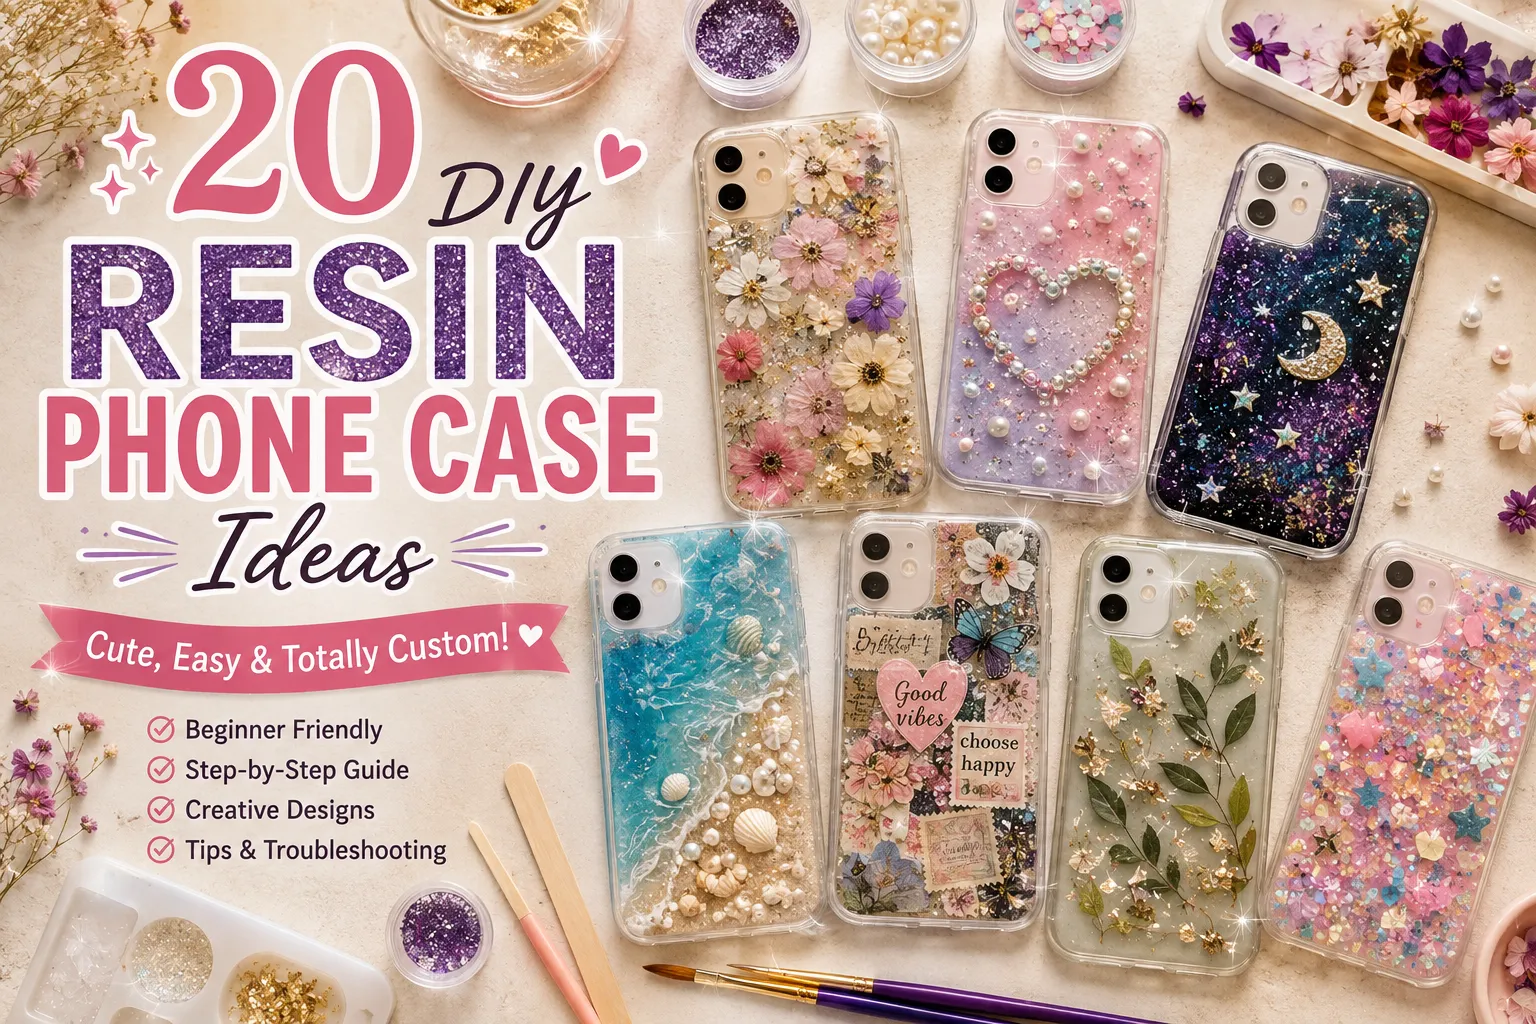
20 DIY Resin Phone Case Ideas That Are Cute & Easy to Make
Want to turn a plain phone case into something completely your own? A DIY resin phone case is a fun way to create a personalized accessory using colors, flowers, glitter, photos, charms, and other small decorative details.
The best part is that you don’t need an advanced craft studio to get started. With the right case, suitable resin, a few basic supplies, and a little patience, you can create everything from a simple minimalist case to a colorful Y2K-inspired design.
Before you start, remember that resin requires careful handling. Always follow the safety, ventilation, mixing, and curing instructions provided with your particular resin.
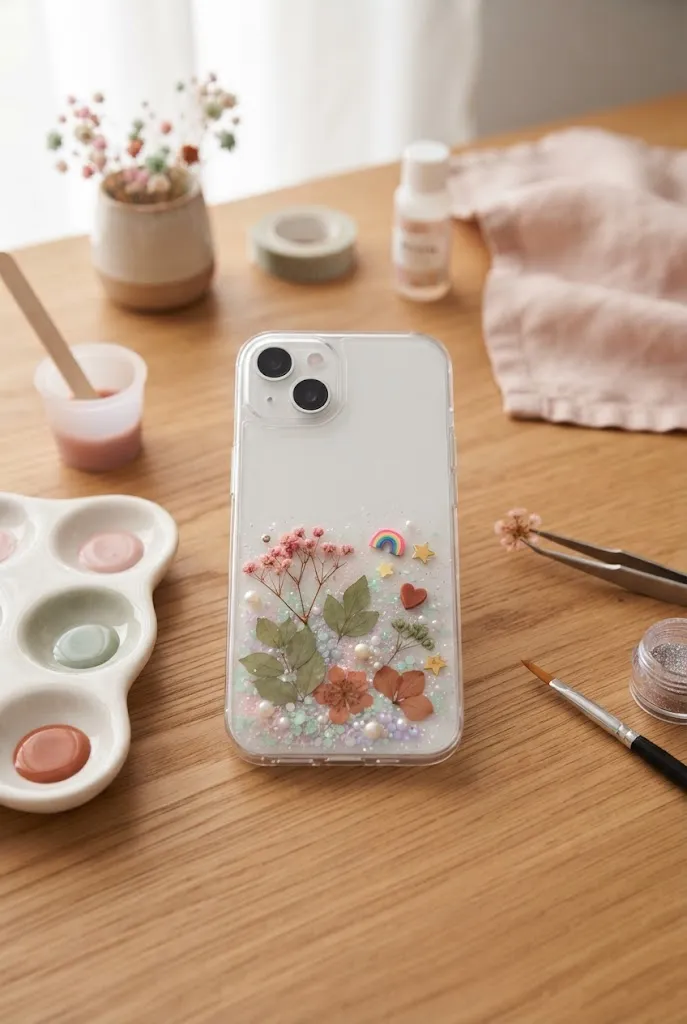
What You Need to Make a DIY Resin Phone Case
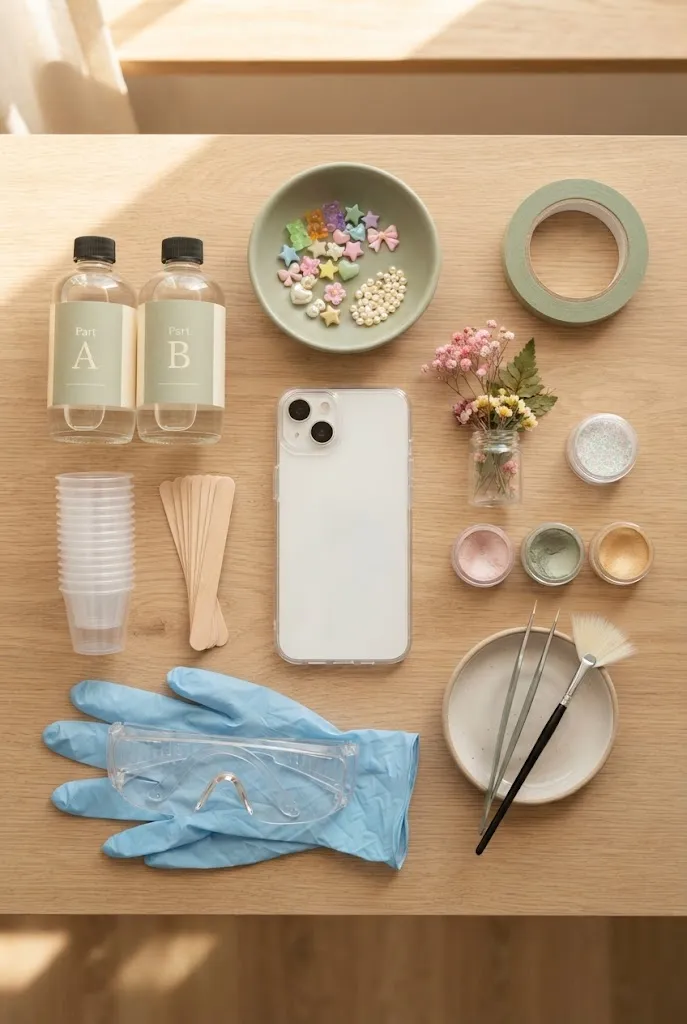
You don’t need a huge collection of supplies to make your first resin phone case. Start with the basics and add decorative materials as you become more comfortable.
Essential Supplies
- A clear phone case that fits your phone
- Resin appropriate for your project
- Disposable mixing cups
- Stirring sticks
- Protective gloves
- Eye protection
- Small decorative pieces
- Tweezers for precise placement
- A protected, level work surface
A transparent case is especially useful because it lets decorative elements show through clearly.
Optional Supplies for More Detailed Designs
Depending on your design, you may also want:
- Resin pigments
- Glitter
- Mica powder
- Fine brushes
- Silicone tools
- Small decorative charms
- Dried flowers and leaves
- Fine sandpaper for appropriate finishing work
- Painter’s tape
It’s better to begin with a simple design than to buy every possible resin accessory at once.
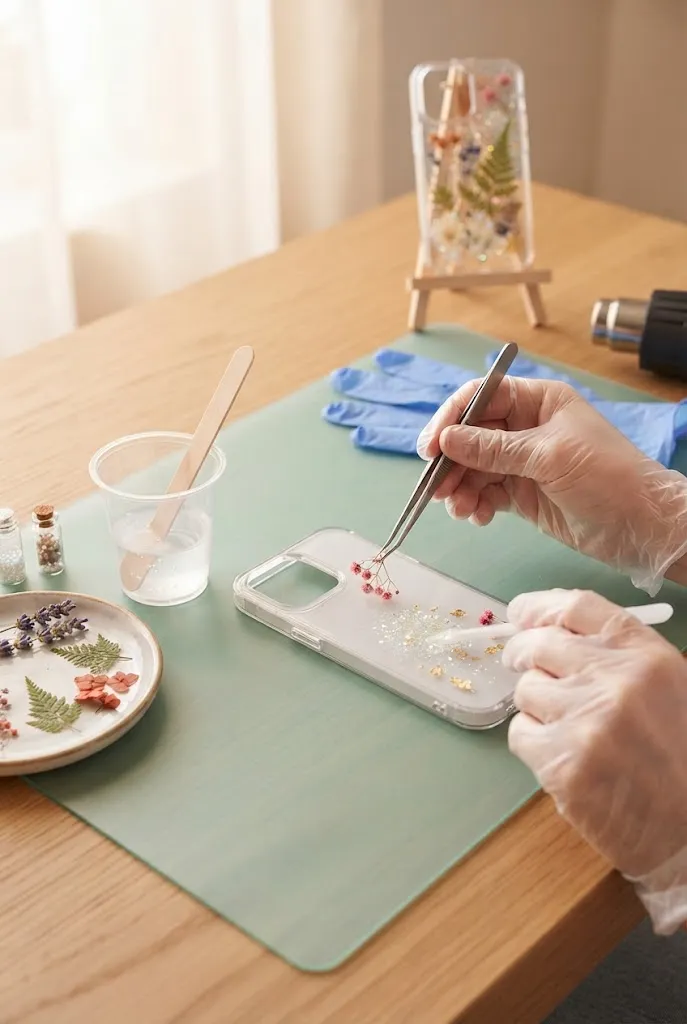
How to Make a DIY Resin Phone Case
The exact process depends on the resin you’re using, so always follow its manufacturer’s directions. Mixing ratios, working times, curing methods, and safety requirements can vary.
1. Prepare the Case and Workspace
Clean the case thoroughly and make sure it’s completely dry before beginning.
Protect your work surface and position the case on a level area. Pay particular attention to the camera opening, buttons, charging port, and other areas that need to remain functional.
2. Plan the Design
Arrange your flowers, glitter, charms, photos, or other decorations on the case before mixing the resin.
This simple step can make a huge difference. You’ll be able to move pieces around until the composition looks balanced instead of trying to design everything while the resin is already setting.
3. Mix the Resin Correctly
Prepare the resin according to the manufacturer’s instructions.
Mix slowly and thoroughly, taking care not to introduce unnecessary air into the mixture. Don’t guess at the mixing ratio or curing requirements, as different products can have different instructions.
4. Add Your Decorations
Place your decorative elements carefully and leave the functional openings of the case clear.
Tweezers can make it much easier to position small flowers, letters, rhinestones, or other tiny pieces.
5. Pour and Level the Resin
Apply the resin slowly rather than dumping a large amount onto the case at once.
Guide it toward the edges while keeping it away from openings. A level workspace helps create a more even finish.
6. Remove Bubbles Carefully
If bubbles appear, use the bubble-removal method recommended for your particular resin.
Avoid experimenting with heat or other techniques unless they’re specifically appropriate for the product you’re using.
7. Cure and Finish
Allow the case to cure completely according to the resin manufacturer’s instructions.
Don’t rush this stage. A surface that feels dry doesn’t necessarily mean the resin has reached its intended final cure.
Once completely cured, check the edges and make sure the phone case still functions properly before putting it on your phone.
Related: Bedazzled Phone Cases DIY: 20 Easy Designs to Try
20 DIY Resin Phone Case Ideas
Now for the fun part. These ideas cover several different aesthetics, so you can choose something that matches your personal style instead of simply copying the same glitter-covered case.
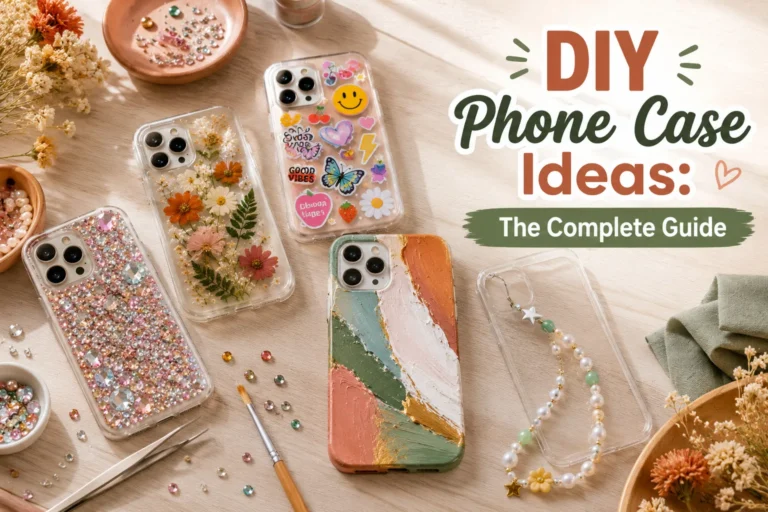
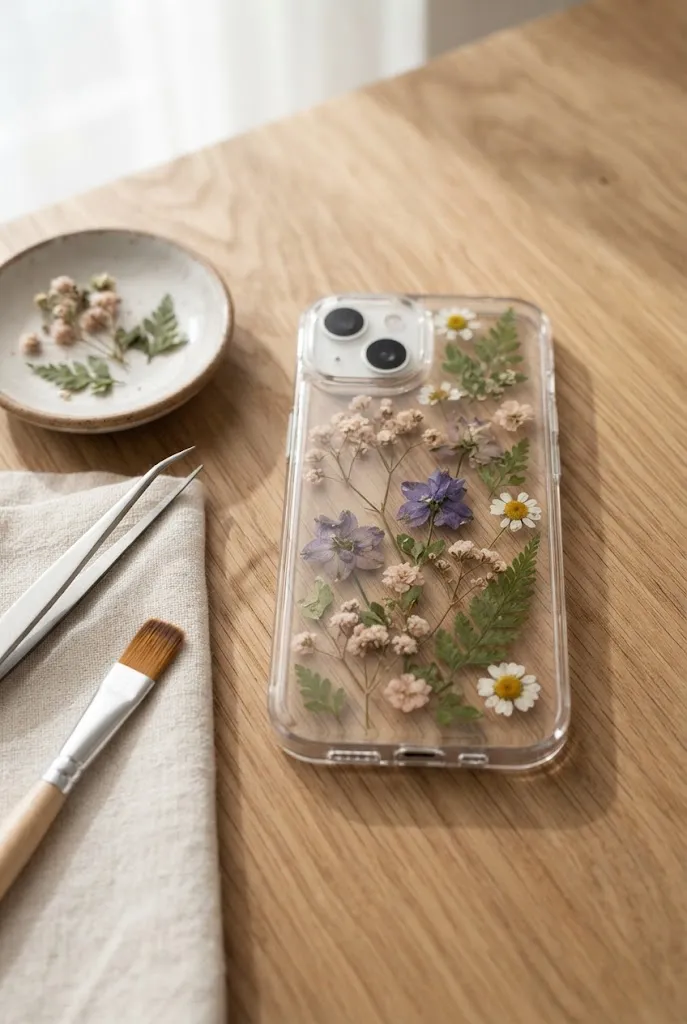
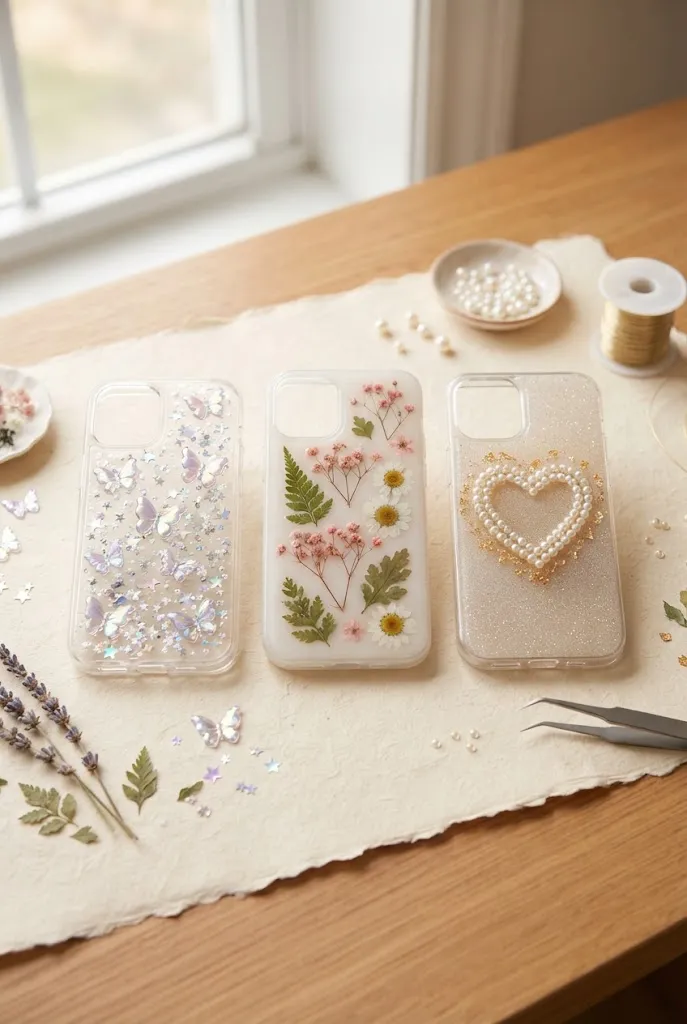
1. Pressed Flower Resin Phone Case
Create a delicate botanical case using small dried, pressed flowers.
Arrange the flowers over a clear case before adding the resin so you can experiment with the composition. Try grouping several tiny flowers in one corner or creating a loose botanical trail across the case.
For a more sophisticated look, stick to two or three flower colors rather than covering every available space.
Design tip: Leave some areas completely clear. Negative space can make the flowers look more intentional and delicate.
2. Pearl and Rhinestone Glam Case
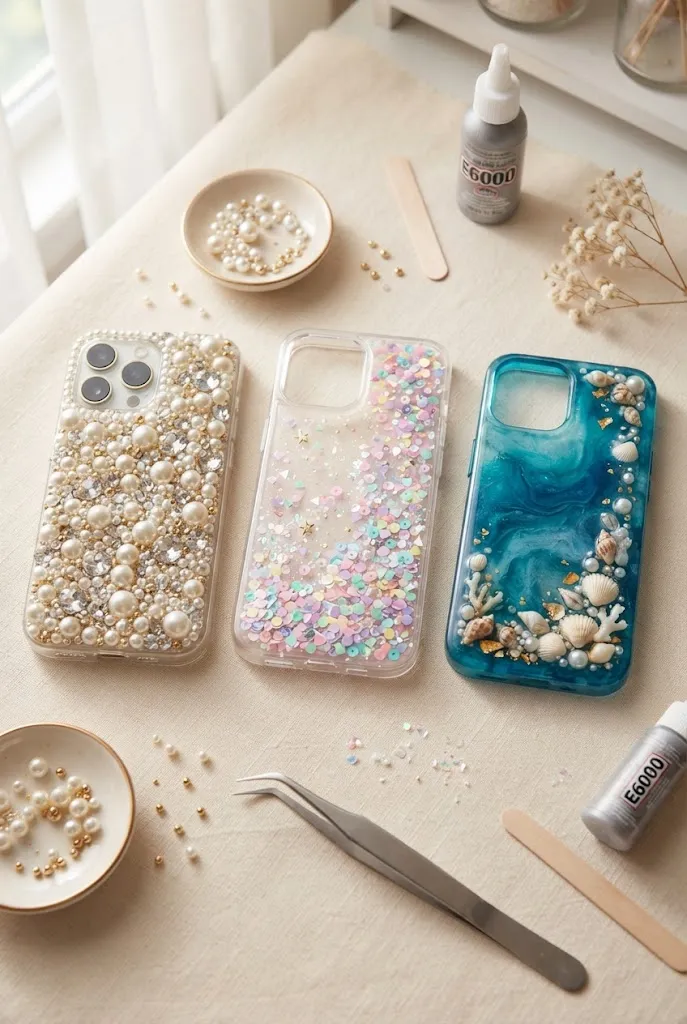
For something more glamorous, combine small pearls with rhinestones or crystal-style embellishments.
You can create a scattered pattern, outline a heart, or build a central motif with smaller pieces surrounding it.
The trick is to give the embellishments some structure. Randomly adding decorations can quickly make the case look crowded.
Design tip: Choose one dominant embellishment size and use smaller pieces as accents.
3. Pastel Confetti Resin Case
Create a playful case with pastel shapes, tiny pieces of glitter, and colorful confetti-style embellishments.
Soft pink, mint, lavender, butter yellow, and baby blue work especially well together.
Instead of distributing every color evenly, choose one or two dominant colors and use the others sparingly.
Design tip: Use a transparent resin base so the colorful pieces appear to float inside the case.
4. Ocean-Inspired Blue Resin Case
Bring a beach-inspired look to your phone with translucent blues, shimmer, and small coastal details.
You can experiment with several shades of blue to create the feeling of water rather than using one flat color.
Small shell-inspired embellishments or pearl details can complete the theme.
Design tip: Keep the deeper blue toward one area and gradually transition into lighter shades for a more dimensional appearance.
5. Mini Photo Memory Case
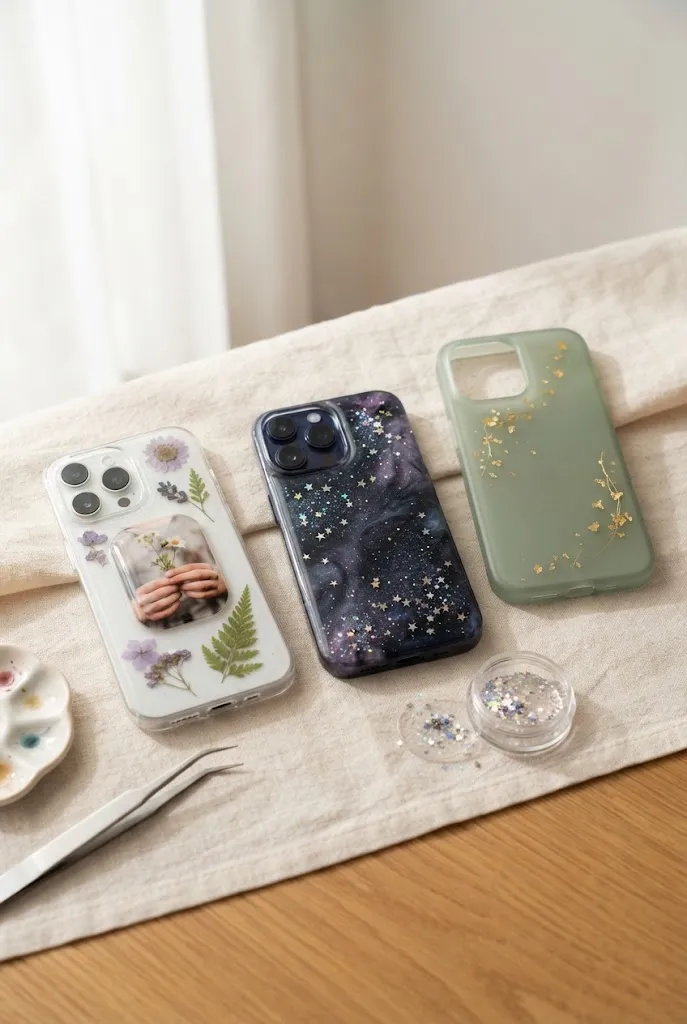
Turn your phone case into a personalized keepsake by incorporating a small photograph.
A favorite travel photo, pet picture, landscape, or meaningful memory can become the centerpiece of the design.
Keep additional decorations relatively simple so they don’t compete with the photograph.
Design tip: Plan the placement of the photo and check that it won’t interfere with the camera opening before adding resin.
6. Glitter Galaxy Phone Case
Create a night-sky-inspired design using dark tones, fine glitter, stars, and shimmer.
Deep blue, black, purple, and silver can create a dramatic background. Tiny star-shaped decorations can then be added for contrast.
You don’t need to cover the entire case with glitter. A concentrated area can create more visual depth.
Design tip: Use different glitter sizes to create the impression of stars at different distances.
7. Minimalist Single-Color Resin Case
Not every DIY resin phone case needs to be bold.
Choose one color and pair it with just a few carefully selected embellishments. A translucent sage green with tiny gold accents, for example, can look polished without being complicated.
This is also a good option if you’re completely new to resin crafts.
Design tip: Limit yourself to one main color and one accent color for an intentionally minimal finish.
8. Daisy and Floral Charm Case
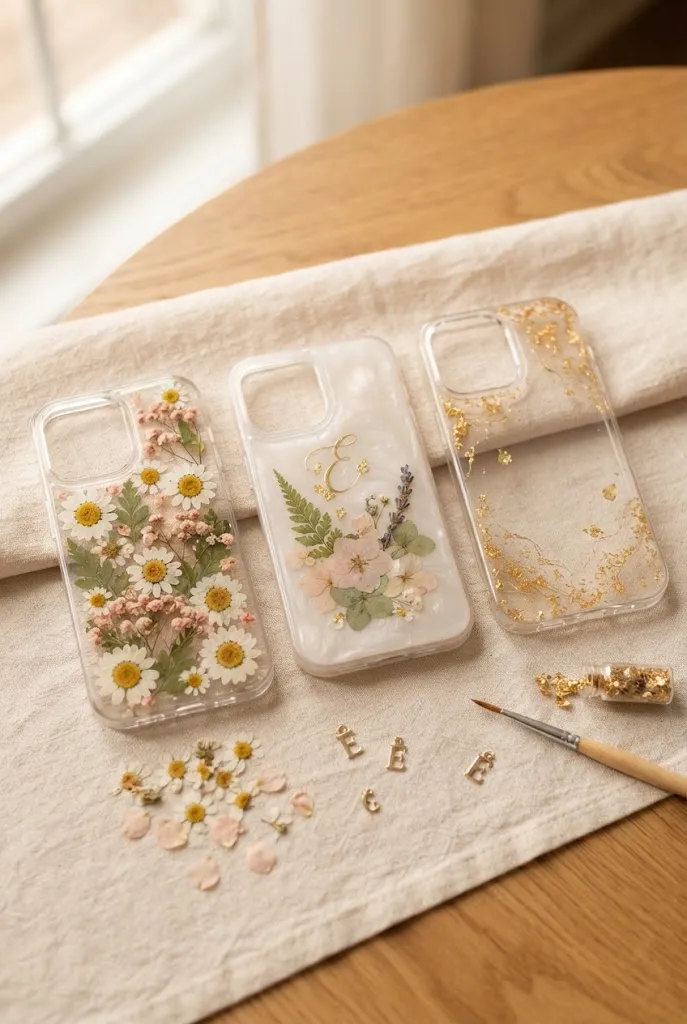
Create a cheerful floral case with small daisy-shaped decorations or miniature flowers.
You can arrange the flowers in rows, create a border, or scatter them across the surface.
A white-and-yellow floral design works well for a bright spring-inspired look, while muted colors can give it a softer aesthetic.
Design tip: Repeat the same flower shape throughout the design to create a cohesive pattern.
9. Letter and Initial Resin Case
Personalize your phone case with an initial, name, or short word.
Make the lettering the focal point and build the rest of the design around it. Tiny flowers, pearls, glitter, or stars can be used as supporting details.
This idea also works particularly well as a handmade gift.
Design tip: Choose one prominent letter rather than trying to fit too much text onto a small surface.
10. Gold Flake Luxury Case
For a sophisticated look, combine transparent resin with metallic gold flakes.
Gold looks especially striking against clear, cream, black, deep green, or soft neutral tones.
The design doesn’t need many additional decorations. A few carefully positioned flakes can create a high-end appearance.
Design tip: Break up large flakes into smaller pieces if you want a more delicate, scattered effect.
11. Y2K Resin Phone Case
Bring back the playful Y2K aesthetic with butterflies, hearts, stars, glitter, bright colors, and nostalgic embellishments.
Pink, silver, baby blue, purple, and iridescent accents work particularly well for this style.
Rather than trying to use every Y2K element at once, choose a few recurring motifs.
Design tip: Pick two or three signature elements, such as butterflies and stars, and repeat them throughout the case.
12. Cottagecore Botanical Case
Create a softer, nature-inspired design using botanical details, dried leaves, tiny flowers, and muted colors.
Sage green, cream, brown, dusty pink, and soft yellow can create a warm cottage-inspired palette.
This style works beautifully with a transparent background because the natural elements remain the focus.
Design tip: Combine different leaf shapes and sizes to create a relaxed, collected-from-nature appearance.
13. Pearl Heart Centerpiece Case
Build your entire case around one recognizable heart shape.
Use pearls or small embellishments to create the outline, then add smaller details around it without overwhelming the centerpiece.
This approach demonstrates an important design principle: one strong focal point can make a simple case look intentional.
Design tip: Leave space around the heart so the shape remains immediately recognizable.
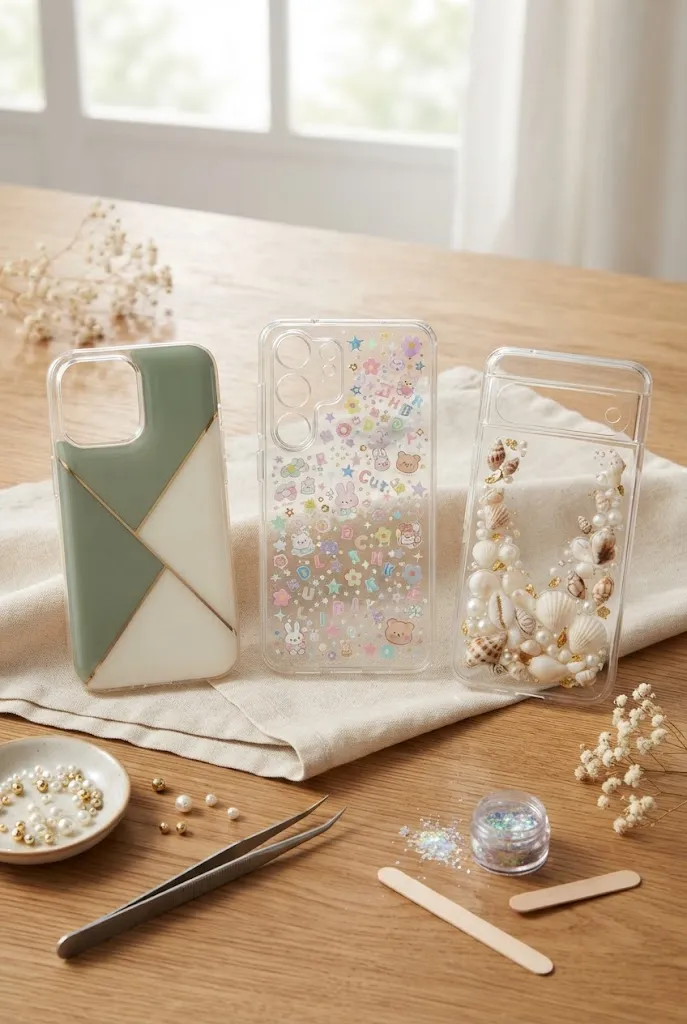
14. Color-Block Resin Case
If you prefer geometric designs, divide the case into two or three complementary color areas.
You can use contrasting shades or softer neighboring colors. For example, sage and cream create a calm look, while pink and orange create something more energetic.
The key is to make the boundaries look deliberate.
Design tip: Sketch the color-block layout on paper first so you know exactly where each color should go.
15. Clear Resin Sticker Collage Case
Create a detailed case without having to paint the artwork yourself.
Arrange selected stickers or decals beneath a clear resin finish to create a layered collage.
This is particularly useful for beginners who want a detailed design but don’t feel confident with a paintbrush.
Design tip: Mix larger statement stickers with tiny supporting details instead of using stickers that are all the same size.
16. Shell and Beach Treasure Case
Create a coastal phone case using tiny shells, pearl-like accents, and beach-inspired colors.
Cream, sandy beige, pale blue, and soft aqua can give the case a relaxed seaside appearance.
Be mindful of the size and thickness of anything you embed so the finished case remains practical.
Design tip: Use a small number of larger coastal elements surrounded by subtle details rather than covering the entire case.
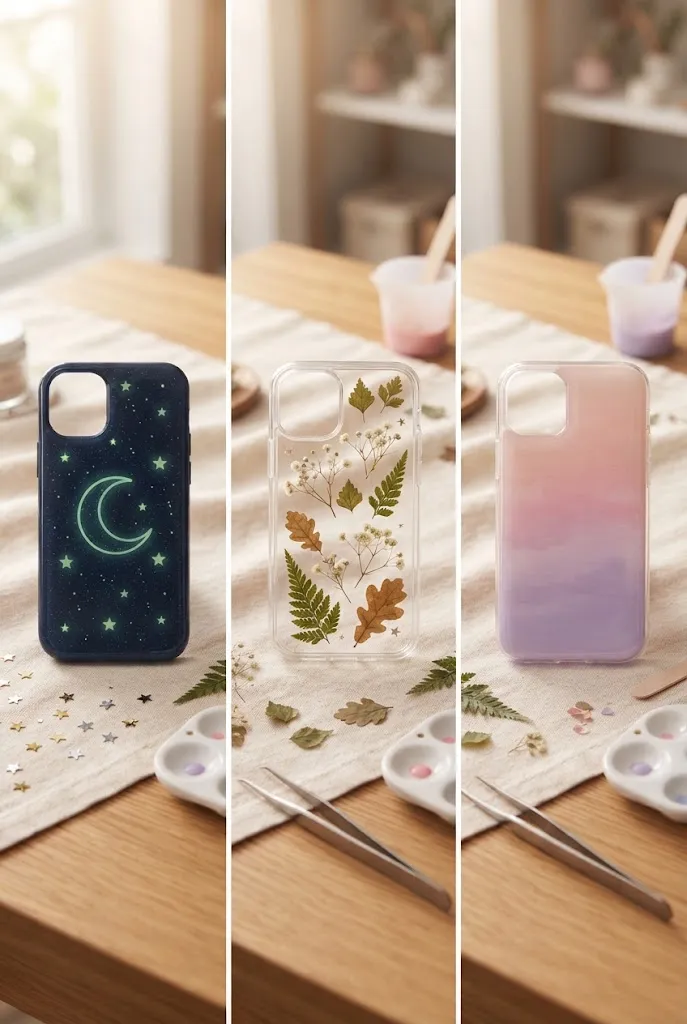
17. Glow-Inspired Night Sky Case
For something a little different, create a moon-and-stars design using glow-compatible decorative materials.
A dark or translucent background can make the brighter elements stand out.
This idea is especially fun because the appearance can change under different lighting conditions.
Design tip: Keep the glow elements concentrated around a recognizable shape, such as a moon, constellation, or star trail.
18. Resin and Dried Leaf Case
Dried leaves can create a beautiful alternative to a traditional floral phone case.
Choose small leaves with interesting shapes and arrange them so that some areas remain transparent.
This style can feel understated and natural, especially when paired with warm neutral colors.
Design tip: Combine different leaf sizes rather than placing identical leaves in a repetitive pattern.
19. Ombre Resin Phone Case
Create a smooth-looking color transition by blending two or more complementary shades.
You could move from pale pink to lavender, cream to sage, or light blue to deeper blue.
The most important part is keeping the transition visually soft rather than creating obvious blocks of color.
Design tip: Test your color combination on a small surface first so you can see how the shades work together.
20. Custom “Everything I Love” Memory Case
Why choose just one theme?
Create a completely personalized case using a curated collection of things that mean something to you. This might include initials, tiny flowers, favorite colors, photographs, symbols, charms, or other meaningful details.
Unlike a specific aesthetic, this design doesn’t need to follow a strict formula.
The goal is to create a phone case that feels personal rather than simply trendy.
Design tip: Choose three or four major elements and use smaller decorations to connect them visually.
Related: DIY Phone Case Ideas: Your Complete Guide to Customizing Your Case
How to Choose the Best Resin and Phone Case
The materials you choose can make a big difference in the finished project.
Start with the phone case itself. A clear case is often the easiest starting point because it allows decorative elements to remain visible.
Pay attention to the case material and whether it is flexible or rigid. Resin may behave differently depending on the surface, so compatibility matters.
You also need to choose an appropriate resin. UV resin and epoxy resin have different working and curing characteristics, so don’t assume that instructions for one type apply to another.
Always follow the specific manufacturer’s instructions for:
- Mixing
- Application
- Curing
- Ventilation
- Safety equipment
- Recommended surfaces
- Maximum working thickness
Most importantly, make sure the case is designed for your exact phone model. A beautiful case isn’t useful if the camera, buttons, speakers, or charging port don’t line up correctly.
How to Keep Resin From Sticking Where You Don’t Want It
One of the easiest ways to improve a resin phone case is to plan for the areas that shouldn’t receive resin.
The camera opening deserves particular attention. Resin should not accidentally cover the camera lens area or interfere with the camera cutout.
The same applies to buttons, speakers, microphones, and the charging port.
Painter’s tape can help protect selected areas while you’re working, provided it is appropriate for your setup and doesn’t interfere with the resin’s intended application.
Keep your case level as well. Resin naturally moves, and an uneven work surface can cause it to collect on one side.
Take a few minutes to inspect the case from every angle before the resin cures. Catching an overflow early is much easier than trying to correct a fully cured problem.
Common DIY Resin Phone Case Problems and How to Fix Them
Even a simple resin project can have a few surprises. Most beginner problems become easier to prevent once you know what to look for.
Why Is My Resin Still Sticky?
Sticky resin can happen for several reasons, including incomplete curing or problems with the preparation process.
Follow the resin manufacturer’s instructions carefully and make sure the product has had the recommended conditions and amount of time to cure.
Don’t assume that a slightly sticky surface will automatically become usable after a few minutes.
Why Are There Bubbles in My Resin?
Bubbles can become trapped during mixing and pouring.
Mix slowly and avoid unnecessarily aggressive stirring. Pour carefully and use only a bubble-removal technique appropriate for your specific resin.
A little patience during preparation can prevent many bubbles before they appear.
Why Is My Resin Uneven?
An uneven workspace is one possible cause.
Make sure your case is positioned on a stable, level surface before applying resin. Also avoid pouring too much material in one place.
Slowly distributing the resin can help create a more consistent surface.
Why Is My Resin Peeling From the Case?
Peeling can be related to the surface of the case, preparation, or compatibility between the materials.
Before starting a larger project, consider whether the resin you’re using is appropriate for the case material.
Properly preparing the surface according to the product’s directions can also help.
Why Did My Decorations Move?
Small decorations can shift if they’re placed into resin without considering how the resin flows.
Planning your layout beforehand can help. You may also find that working in layers makes it easier to control delicate pieces.
The goal is to avoid trying to reposition decorations after the resin has started setting
Resin Phone Case Safety Tips for Beginners
Resin should be treated as a craft material that requires proper handling, particularly while it is uncured.
Work in an appropriate, well-ventilated area and use the protective equipment recommended by the resin manufacturer.
Keep uncured resin away from your skin and eyes. Gloves and appropriate eye protection are important precautions.
Keep food and drinks away from your workspace, and don’t allow children or pets to handle uncured resin.
Always read the product’s safety information before beginning. Different resin products can have different requirements for handling, ventilation, curing, and disposal.
Finally, allow the project to cure completely according to the manufacturer’s instructions before using the phone case.
Tips for Making a Resin Phone Case Look Professional
A professional-looking case isn’t necessarily the one with the most decorations.
Start with a simple concept and choose a limited color palette. Two or three coordinated colors often look more intentional than a collection of unrelated shades.
Think about visual balance as well. If one corner contains several large flowers, you may not need equally large decorations on every other part of the case.
Keep functional openings clear and pay attention to the edges.
Most importantly, don’t rush the curing stage. A carefully planned design can be ruined by handling it before the resin has fully cured.
When your case is finished, photograph it near a window or in soft natural light. A clean background and close-up shot can make even a simple DIY project look much more appealing.
Frequently Asked Questions About DIY Resin Phone Cases
Can you put resin on a phone case?
Resin can be used with suitable phone cases, but compatibility depends on the case material and the specific resin. Always check the manufacturer’s recommendations before starting.
What type of phone case is best for resin?
A clear case is a convenient choice for many decorative projects because it lets the design remain visible. However, the resin must be compatible with the case’s material.
What resin is best for making a phone case?
There isn’t one resin that is best for every project. UV resin and epoxy resin have different characteristics, so choose a product appropriate for your intended application and follow its instructions.
Is epoxy resin safe for a phone case?
Once fully cured, resin may be suitable for decorative applications depending on the product. However, uncured resin requires careful handling. Always follow the manufacturer’s safety and curing instructions.
How long does a resin phone case take to cure?
Curing time varies by resin type and product. Follow the curing time specified by the manufacturer rather than relying on a universal timeframe.
How do you prevent bubbles in a resin phone case?
Mix slowly, avoid introducing unnecessary air, pour carefully, and use an appropriate bubble-removal technique recommended for your resin.
Can you put dried flowers in a resin phone case?
Dried flowers can be incorporated into many resin crafts. Make sure the flowers are thoroughly dry and plan their placement before applying the resin.
Can you use glitter in a resin phone case?
Yes, glitter can be incorporated into resin designs when it is suitable for the product. Use it intentionally rather than adding excessive amounts that could overwhelm the design.
Why does resin peel off a phone case?
Peeling can result from incompatibility between the resin and case material or insufficient surface preparation. Check that both materials are appropriate for use together and follow the product instructions.
Can you make a resin phone case without a mold?
Yes. A suitable phone case can serve as the base for a decorative resin project, meaning you don’t necessarily need to create a separate silicone phone-case mold.
How do you clean a resin phone case?
Once the resin has fully cured, clean the finished case gently using a method appropriate for the case and cured resin. Avoid harsh cleaning methods unless the manufacturer recommends them.
How long will a DIY resin phone case last?
Its lifespan depends on the case material, resin, construction, and everyday use. Proper curing and careful handling can help the finished case remain attractive for longer.
Final Thoughts
Making a DIY resin phone case is a fun way to turn a simple case into something that reflects your personality.
You can keep things simple with a single-color design, pressed flowers, or gold flakes, or go all out with a Y2K collage, galaxy theme, pearls, glitter, and personalized details.
If you’re new to resin, start with a straightforward design and focus on getting the preparation, placement, pouring, and curing steps right. Once you’re comfortable with the process, you can experiment with more detailed combinations.
The best part is that there isn’t one correct design. Your phone case can be minimalist, colorful, botanical, nostalgic, glamorous, or completely personal.