20 DIY Phone Case Design Ideas That Are Cute, Easy & Creative
A phone case is one of those everyday accessories that can say a lot about your personal style. Instead of buying another case, why not create a design that feels completely your own?
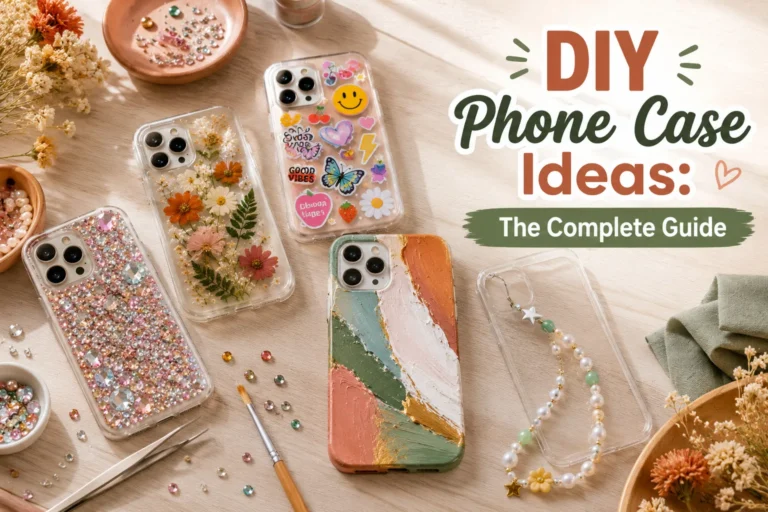
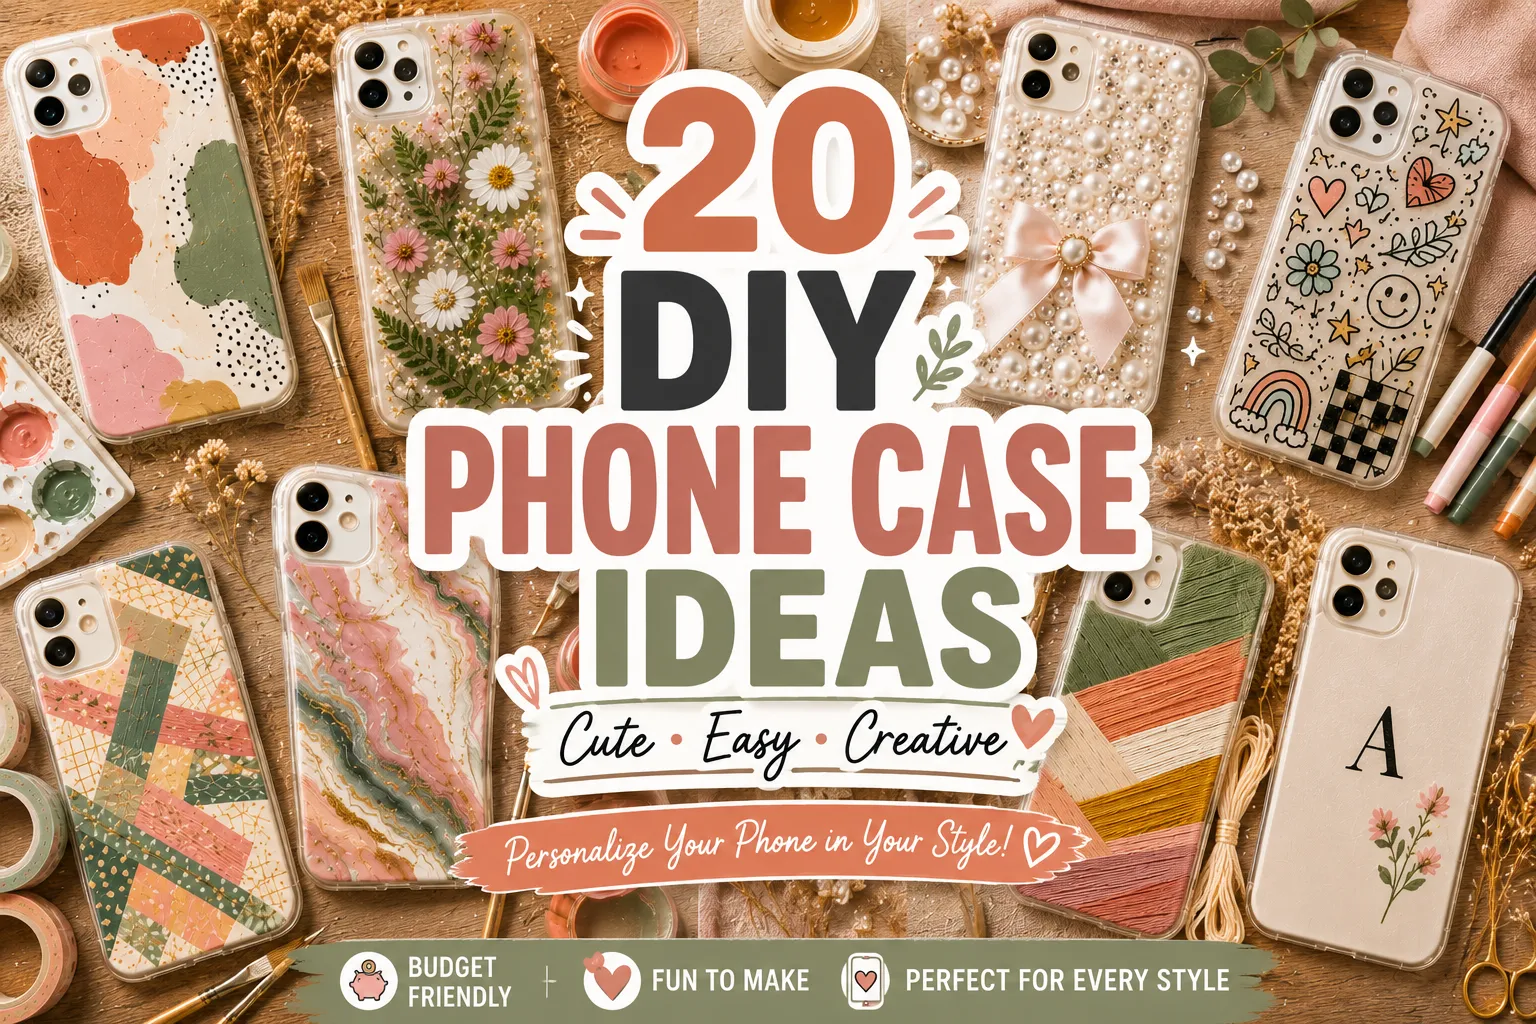
These DIY phone case design ideas range from simple painted patterns to pressed flowers, pearls, photos, embroidery thread, and mixed-media designs. Some take only a few minutes, while others are perfect for a relaxed afternoon craft project.
You can use an inexpensive clear case as your starting point and adapt almost any idea to your favorite colors, patterns, or aesthetic.
Whether you love minimalist designs, cottagecore details, Y2K nostalgia, or something colorful and playful, there is an idea here to try.
Why Make Your Own Phone Case?
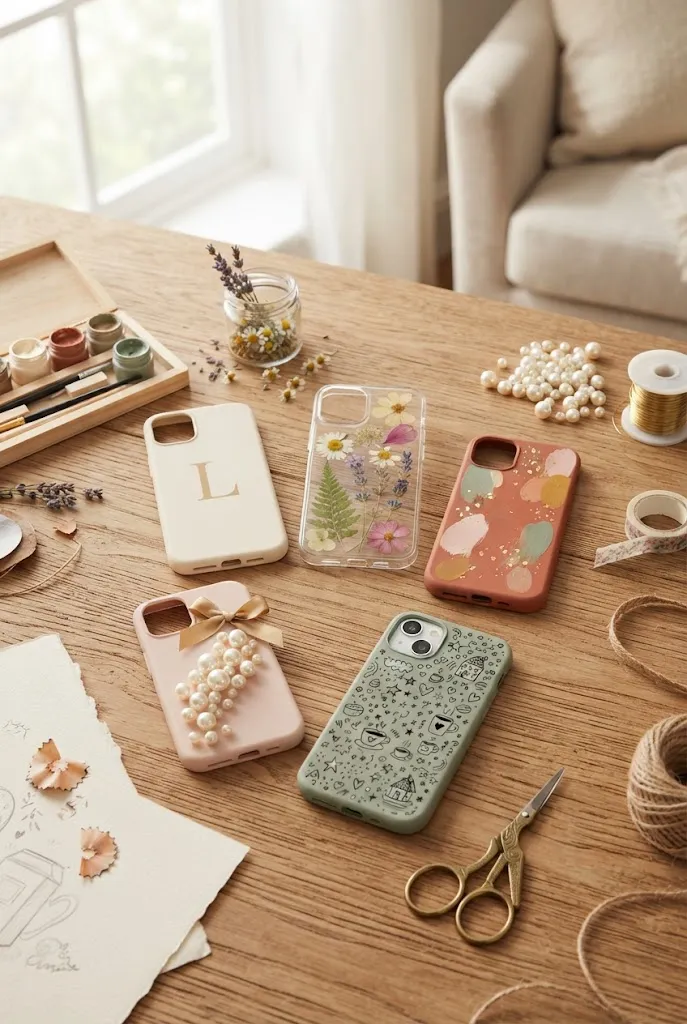
Making your own phone case is an easy way to personalize something you use every day.
A DIY design can also be much more affordable than buying several trendy cases. You can start with a basic case and use craft supplies you already have at home.
Another advantage is flexibility. If your style changes, you can create a completely different design instead of replacing your entire collection of accessories.
DIY phone cases also make fun creative projects for teens, students, craft lovers, and anyone who enjoys making practical items feel more personal.
What You Need for a DIY Phone Case Design
You don’t need a huge collection of supplies to get started. The materials depend on the design you choose, but a few basics are useful for many projects.
- A clear or plain phone case
- Acrylic paint or suitable paint markers
- Small detail brushes
- Decorative paper
- Washi tape
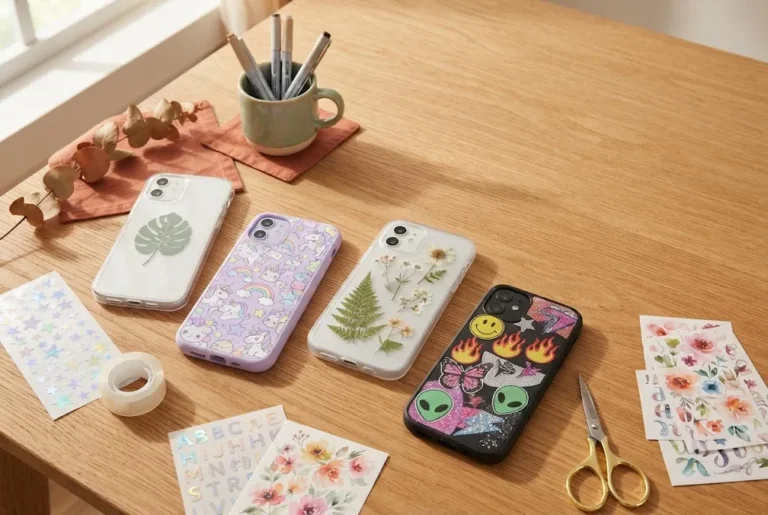
- Stickers
- Pressed flowers
- Pearls or rhinestones
- Craft adhesive
- Scissors
- Pencil and tracing paper
- A suitable protective finish when needed
Before decorating, make sure the case is clean and dry. It’s also a good idea to test unfamiliar paints, adhesives, or finishes on an inexpensive spare case first.
Remember that the best materials depend on the surface of the case and the decoration method you are using.
20 DIY Phone Case Design Ideas
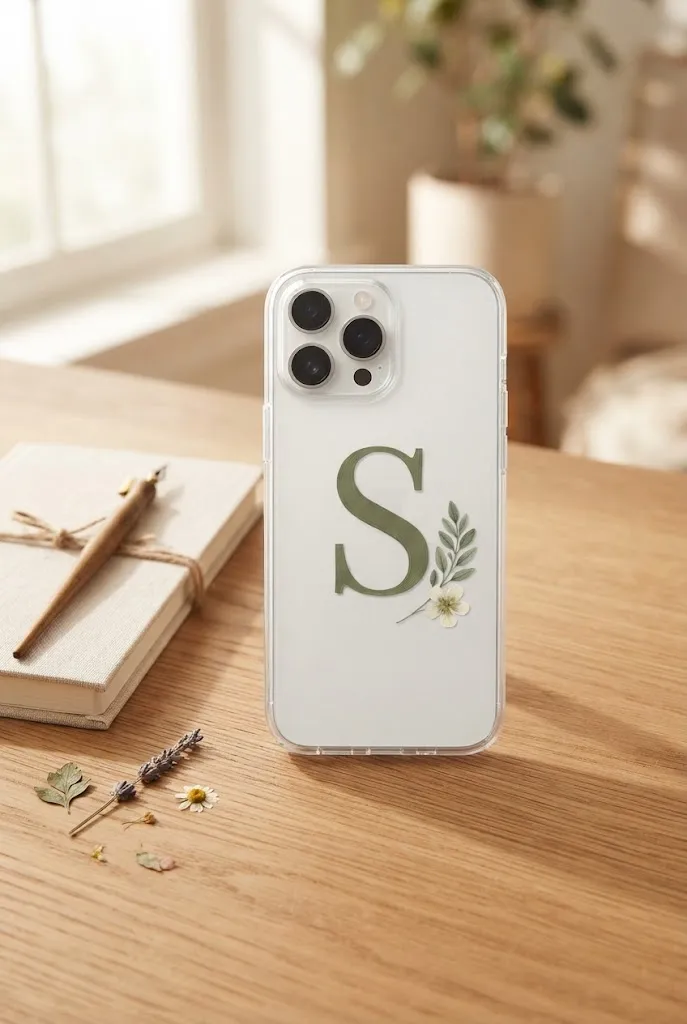
1. Minimalist Initial Phone Case
If you prefer simple accessories, start with a minimalist initial design.
Choose one letter and place it in the center of a clear, cream, white, or neutral-colored case. You can use a classic serif letter, a handwritten-style initial, or add one tiny botanical detail beside it.
For an especially clean look, stick with one main color such as black, dark green, brown, or muted gold.
Try this: Add a tiny flower or leaf beside the initial for a subtle personalized touch.
2. Abstract Color-Block Phone Case
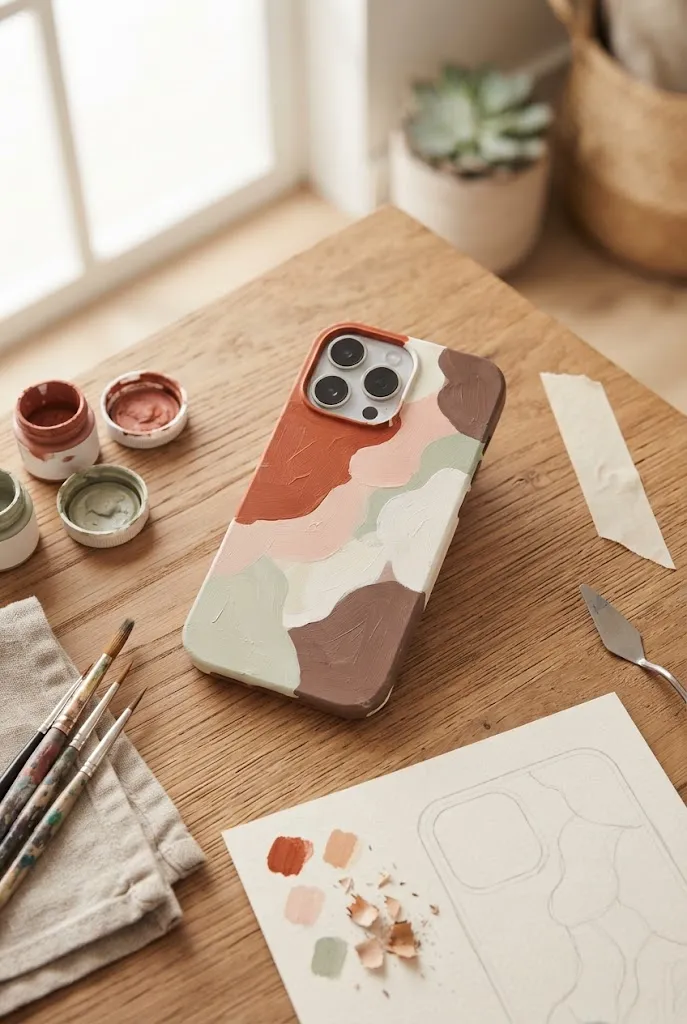
Create an artistic phone case without needing to draw complicated pictures.
Use two or three complementary colors and paint simple organic shapes across the case. Try rounded blocks, curved sections, dots, or irregular arches rather than perfectly geometric shapes.
Terracotta, sage green, cream, blush pink, and muted brown work beautifully together for a warm modern look.
Try this: Sketch the layout lightly with a pencil before painting so you can experiment with the arrangement first.
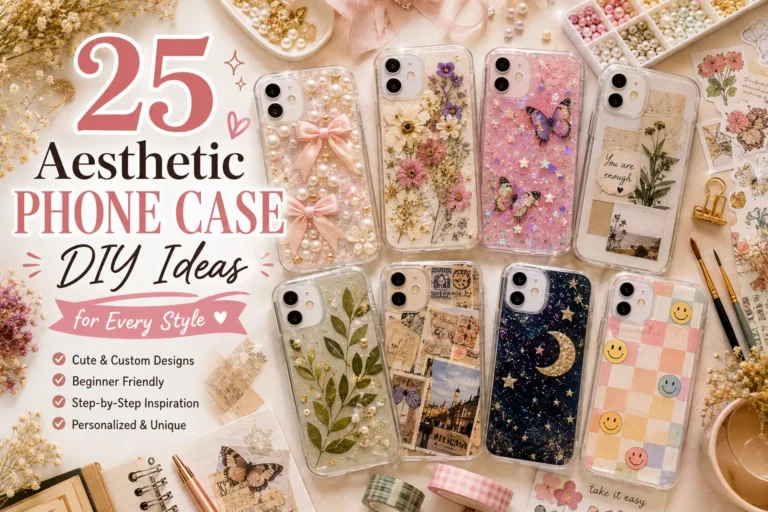
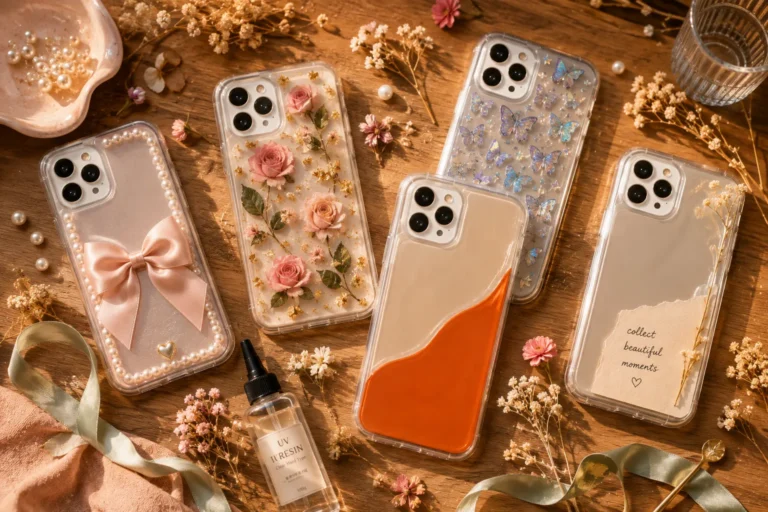
3. Pressed Flower Cottagecore Case
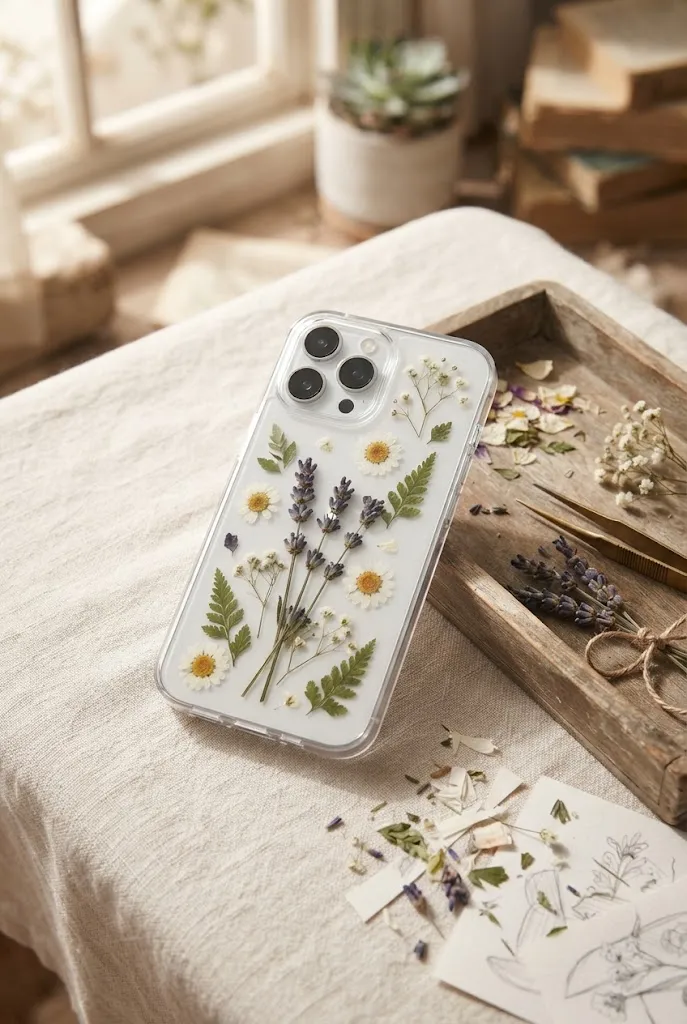
Pressed flowers can turn an ordinary clear phone case into a delicate botanical accessory.
Arrange small dried flowers and leaves behind a clear case before deciding on the final placement. Tiny daisies, baby’s breath, lavender, and small leaves can create a soft cottagecore effect.
Keep the arrangement relatively flat so the finished case remains practical to use.
Try this: Leave some empty space between the flowers instead of covering the entire case for a more delicate appearance.
4. Cute Hand-Drawn Doodle Case
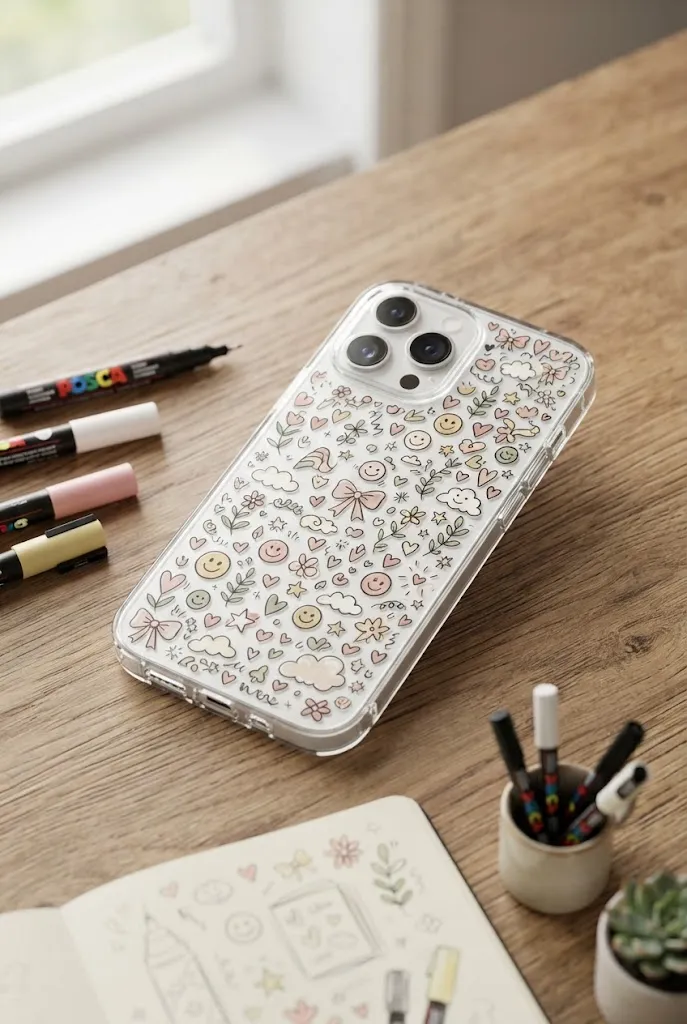
A doodle phone case is perfect when you want something playful and completely personal.
Fill the case with small drawings such as hearts, stars, smiley faces, bows, flowers, clouds, or tiny fruit. You don’t need to be an experienced artist—the charm comes from keeping the illustrations simple.
Use a limited color palette so the individual doodles don’t become visually overwhelming.
Try this: Repeat two or three small motifs throughout the design to make the finished case look intentional.
Related: 20 DIY Phone Case Ideas Anyone Can Make at Home
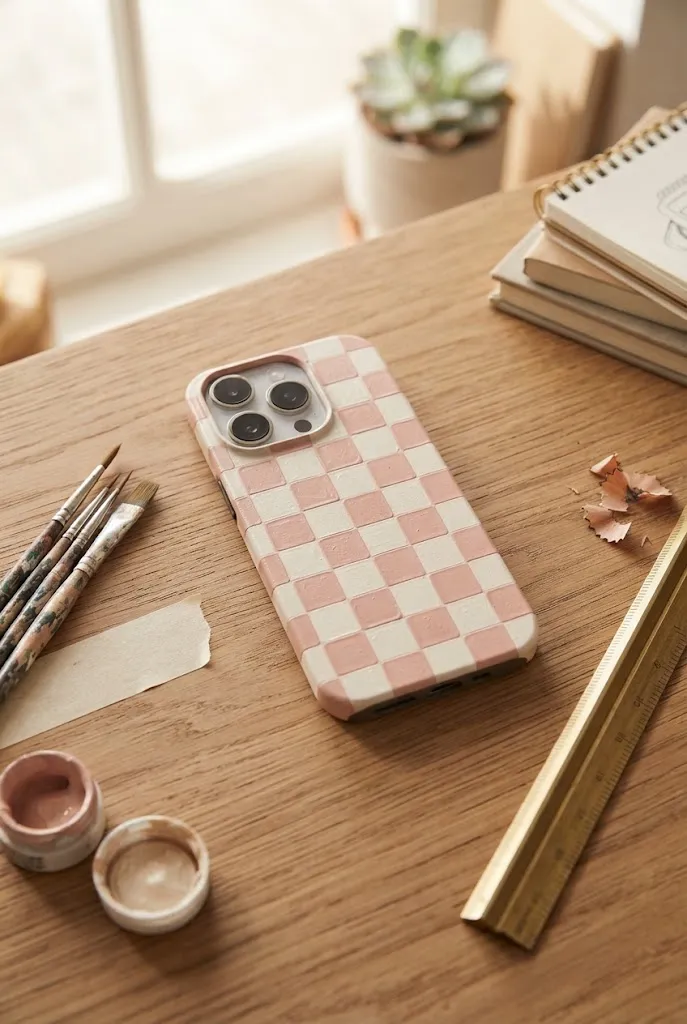
5. Retro Checkerboard Case
Checkerboard patterns instantly give a phone case a bold graphic look.
You can use classic black and white, or make the design softer with combinations such as pink and cream, sage and white, or lavender and pale yellow.
Painter’s tape can help create straighter sections if you’re painting the pattern yourself.
Try this: Use smaller checks for a subtle pattern or larger squares when you want the case to become the main accessory.
6. Pastel Polka-Dot Case
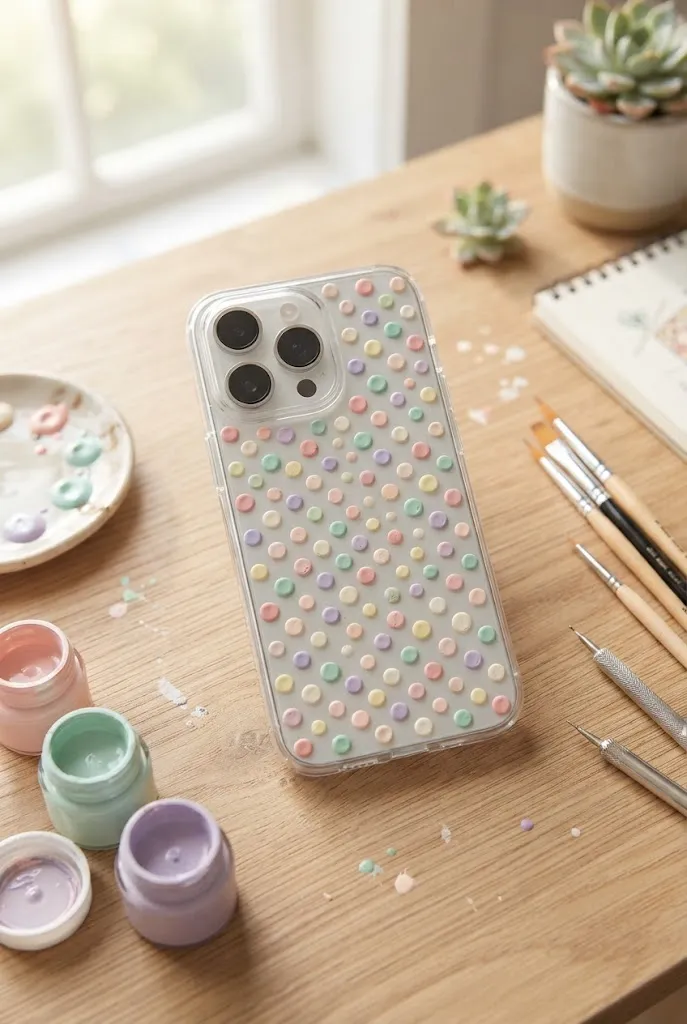
Polka dots are one of the easiest DIY phone case designs for beginners.
Choose three or four pastel colors and create dots across a plain case. They can be evenly spaced for a neat appearance or scattered randomly for a more playful look.
You can make different-sized dots by using appropriately sized dotting tools or the ends of clean craft tools.
Try this: Keep the background clear or cream and use soft pink, mint, lavender, and yellow dots for a cheerful pastel aesthetic.
7. Vintage Paper Collage Case
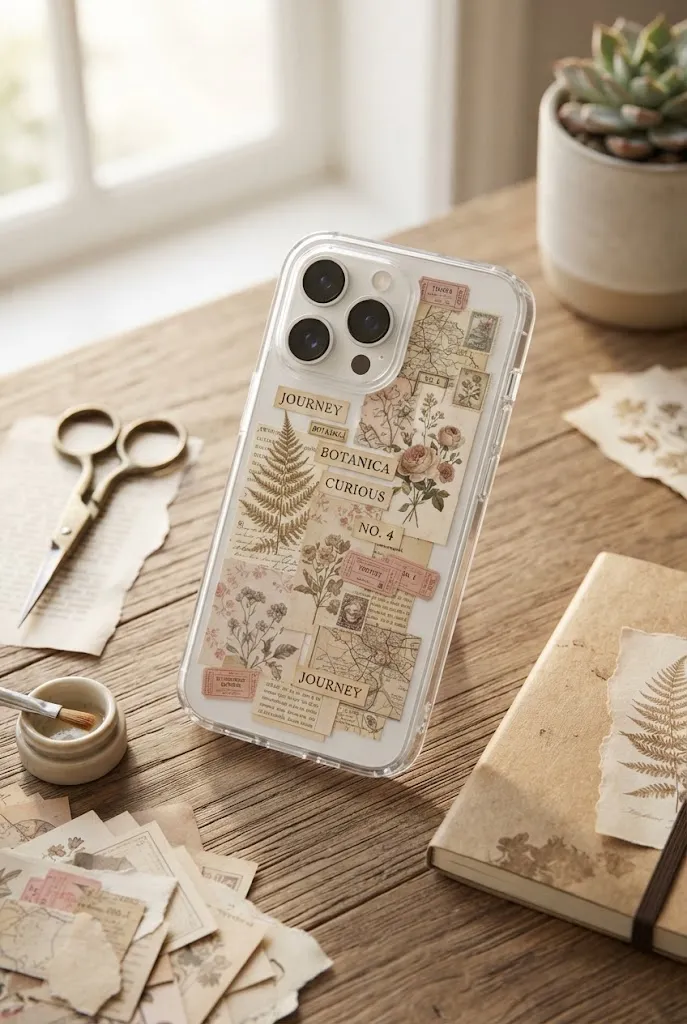
A paper collage gives your phone case a scrapbook-inspired personality.
Collect small pieces of decorative paper, vintage-style illustrations, typography, botanical images, or magazine-inspired graphics. Arrange them into a composition before securing them to the case.
This works especially well when the individual pieces share a similar color palette.
Try this: Mix large and tiny paper elements so the design has visual variety without looking crowded.
8. Photo Memory Case
Turn your phone case into a small collection of favorite memories.
Choose a few photographs and arrange them behind a clear case. You could use pictures of friends, family, pets, places you’ve visited, or other moments that mean something to you.
For a cleaner appearance, crop the photographs into similar shapes or create a small grid.
Try this: Add one tiny handwritten word or date to make the design feel more like a personal memory album.

9. Celestial Moon & Stars Case
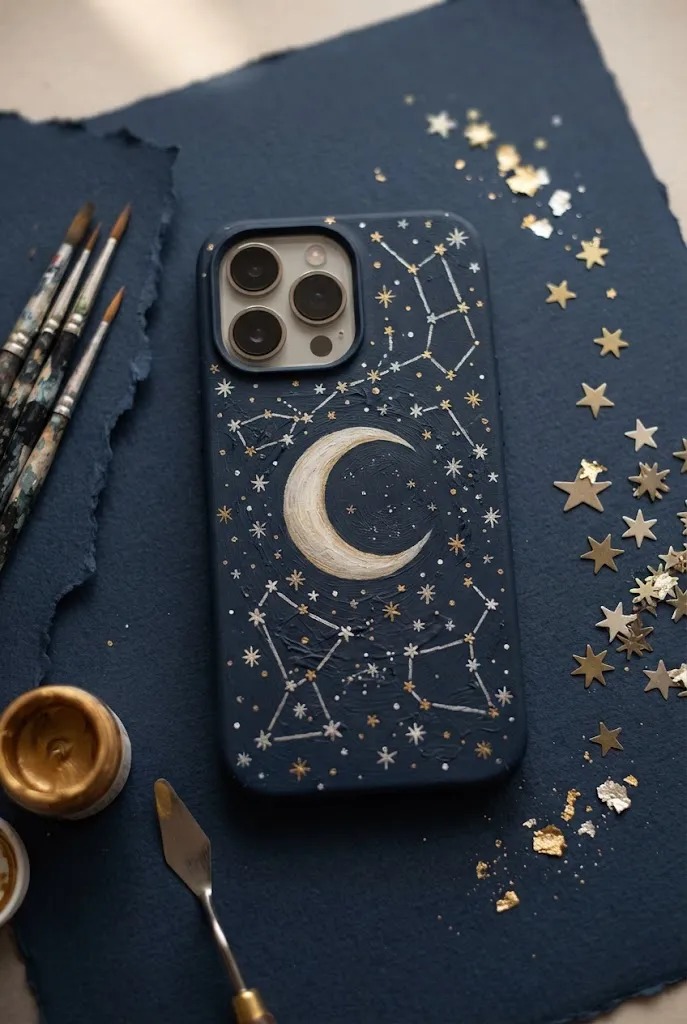
For a dreamy, nighttime aesthetic, create a celestial design inspired by the sky.
Use a dark blue, navy, or deep purple background and add moons, stars, tiny dots, and constellation-inspired lines.
Gold, silver, white, and pale lavender details can create contrast against the darker background.
Try this: Keep the larger moon as the main focal point and use smaller stars to fill the surrounding space.
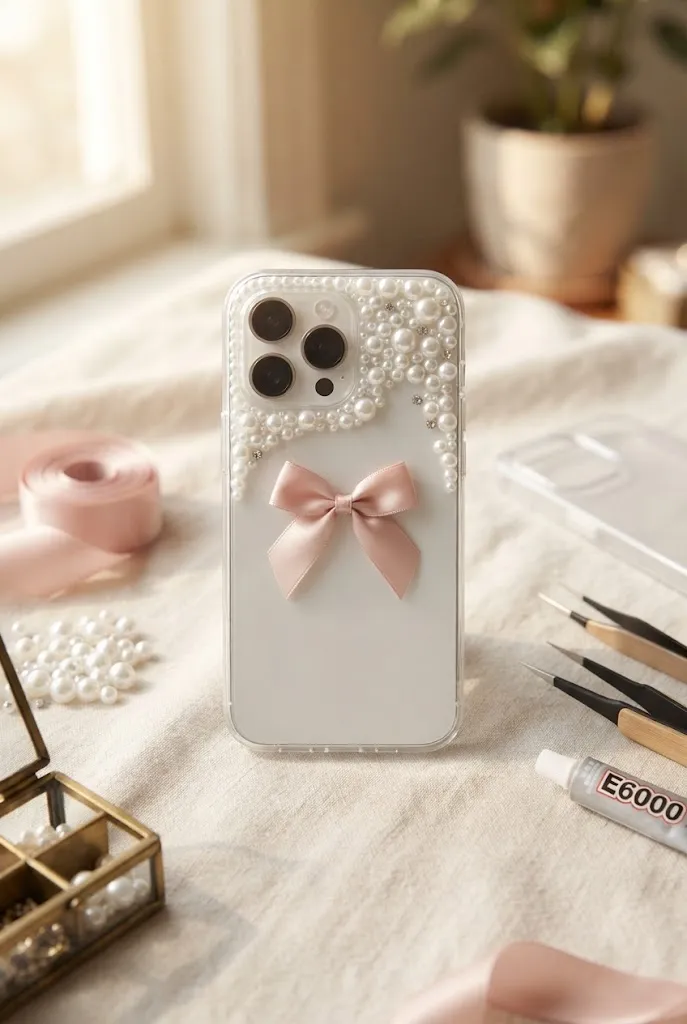
10. Coquette Pearl & Bow Case
Pearls and bows create a soft, feminine phone case with plenty of visual impact.
Start with a plain or clear case and arrange small pearls around the surface. Add a satin bow as the main focal point, with a few subtle rhinestones if you want additional sparkle.
Avoid making the decoration too bulky around the phone’s edges or buttons.
Try this: Use one larger bow rather than several small bows to create a cleaner, more polished design.
11. Washi Tape Geometric Case
Washi tape makes it easy to create patterns without committing to permanent painted designs.
Cut pieces into strips, triangles, blocks, or other shapes and arrange them across a plain case. You can create stripes, grids, diagonal patterns, or abstract compositions.
Because washi tape is available in so many colors and patterns, it’s easy to change the aesthetic.
Try this: Combine one patterned tape with two solid-colored tapes for a coordinated geometric design.

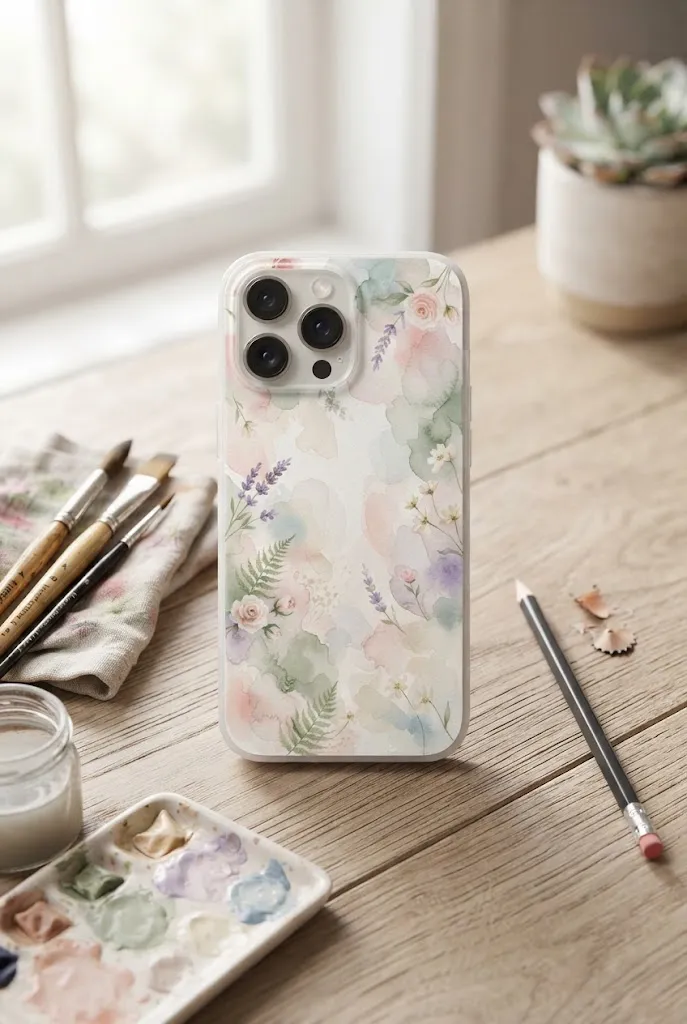
12. Watercolor-Inspired Art Case
A soft watercolor-inspired design can give your phone a more artistic appearance.
Create gentle washes of complementary colors, then add simple flowers, leaves, clouds, or abstract shapes. The goal isn’t perfect detail but rather a soft blended effect.
This style works particularly well with pastel or muted colors.
Try this: Use plenty of visual breathing room instead of filling every part of the case with color.
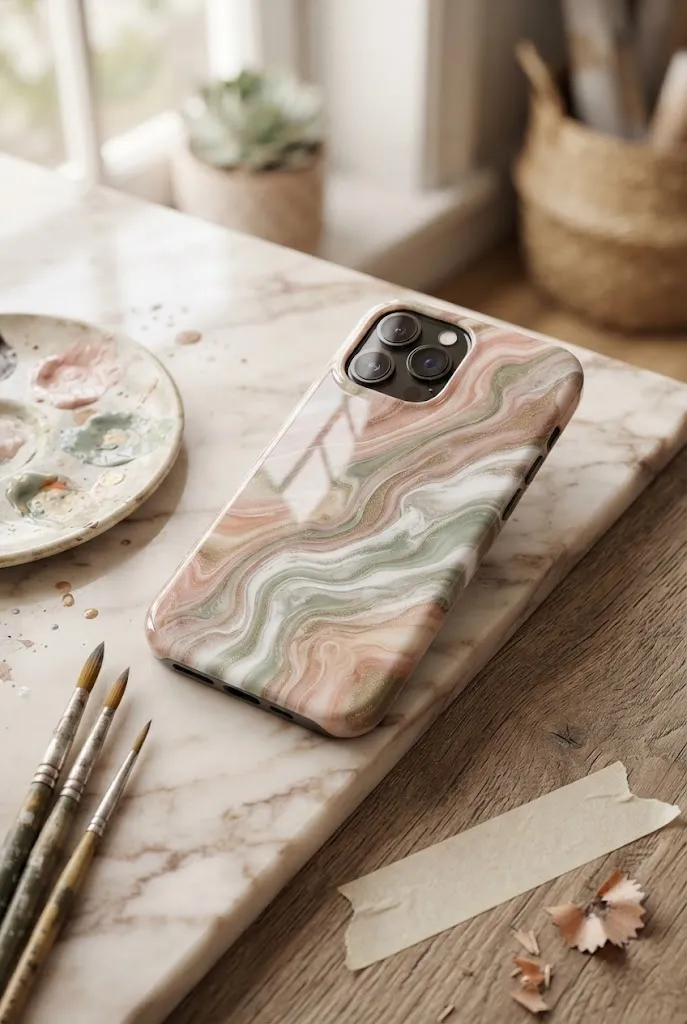
13. Marble Swirl Phone Case
A marble-inspired phone case can look surprisingly sophisticated.
Use flowing lines and blended colors to imitate natural marble. Soft pink, cream, sage, white, and muted gold can create an elegant palette.
The beauty of this design is that imperfections can actually make the pattern look more natural.
Try this: Keep the swirls irregular rather than making them perfectly symmetrical.
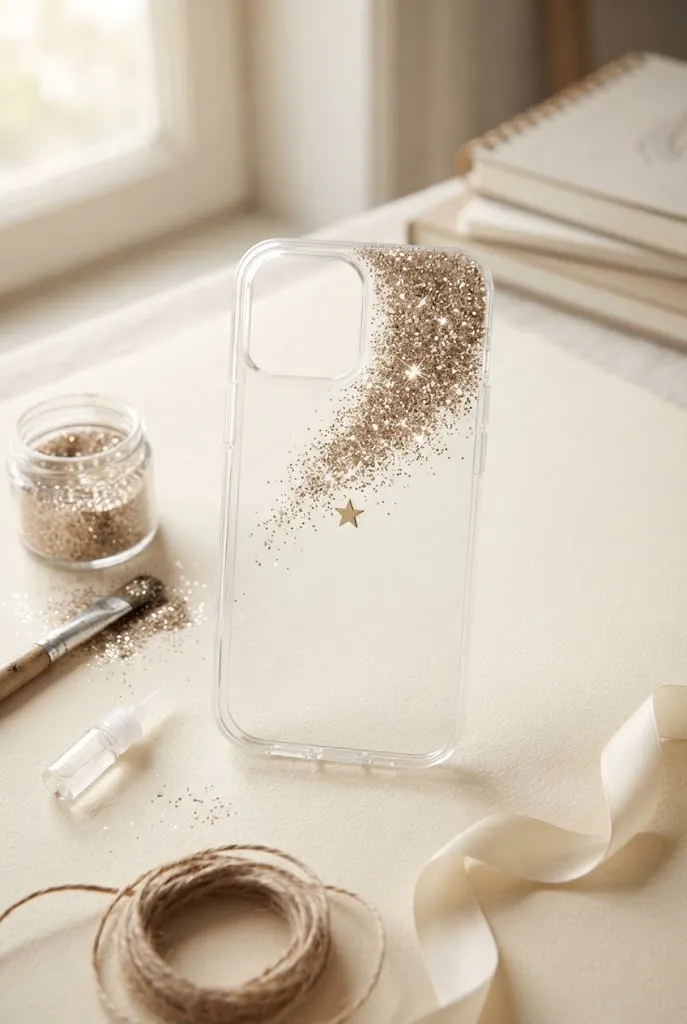
14. Glitter Accent Case
You don’t need to cover an entire phone case in glitter to make it sparkle.
Instead, use glitter selectively along a corner, border, initial, flower, star, or another small feature. This creates a more controlled look while still catching the light.
A neutral base with one glitter accent can feel especially polished.
Try this: Combine fine glitter with one larger decorative detail for contrast.
15. Rhinestone Statement Case
For a glamorous phone accessory, turn rhinestones into the main design element.
Rather than randomly covering the case, arrange the stones into a recognizable shape. You could create an initial, heart, border, star, or another simple motif.
A clear or neutral case works well because it allows the rhinestones to remain the focal point.
Try this: Lay out the rhinestones before attaching them so you can adjust the spacing and shape.

16. Embroidery Thread Wrapped Case
Embroidery thread adds texture that you don’t get from traditional painted phone cases.
Use colorful thread to create stripes, diagonal sections, geometric shapes, or a woven-inspired pattern. A combination of cream, terracotta, sage, pink, and mustard can create a warm handmade look.
This design takes more patience than a simple painted case, but the texture makes it stand out.
Try this: Plan the color sequence first and keep the thread tension consistent for a cleaner result.

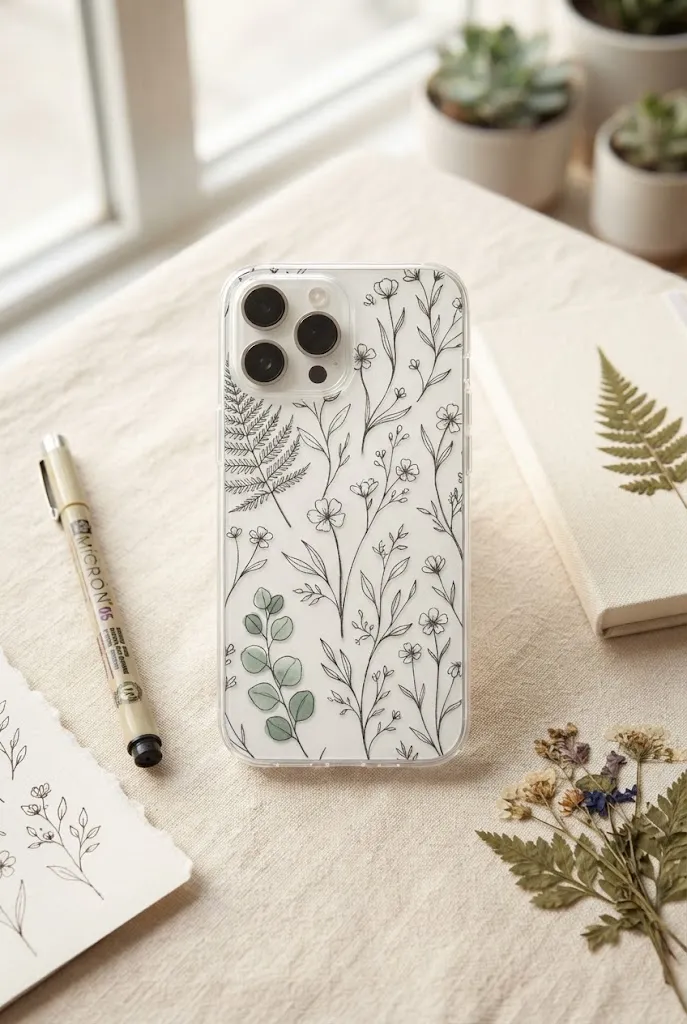
17. Botanical Line-Art Case
If you like nature-inspired designs but want something more minimalist than pressed flowers, try botanical line art.
Draw or transfer simple leaves, stems, flowers, or branches onto the case. Keep the illustrations delicate and use one or two colors.
Black botanical drawings on a clear or cream background can look particularly elegant.
Try this: Choose one botanical theme and repeat it instead of mixing too many unrelated illustrations.
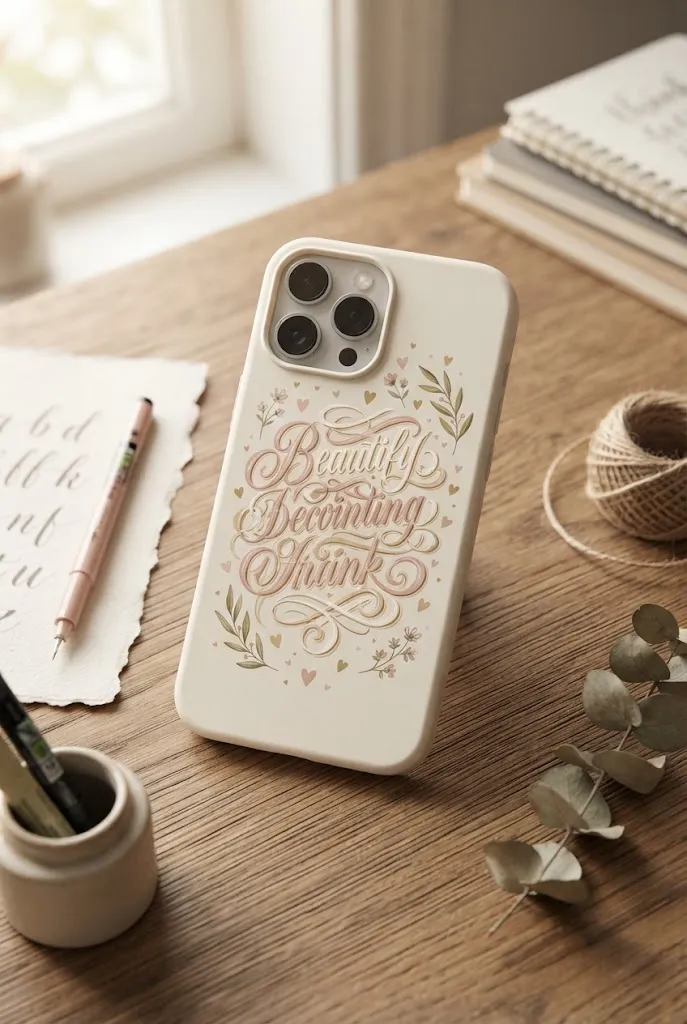
18. Quote or Hand-Lettered Case
A short phrase can turn an ordinary phone case into something personal.
Choose a favorite word, affirmation, or simple saying that you enjoy seeing every day. Keep the wording short enough to remain readable.
You can pair the lettering with a tiny heart, flower, star, or underline.
Try this: Make the lettering the focal point and keep the decorative elements around it minimal.
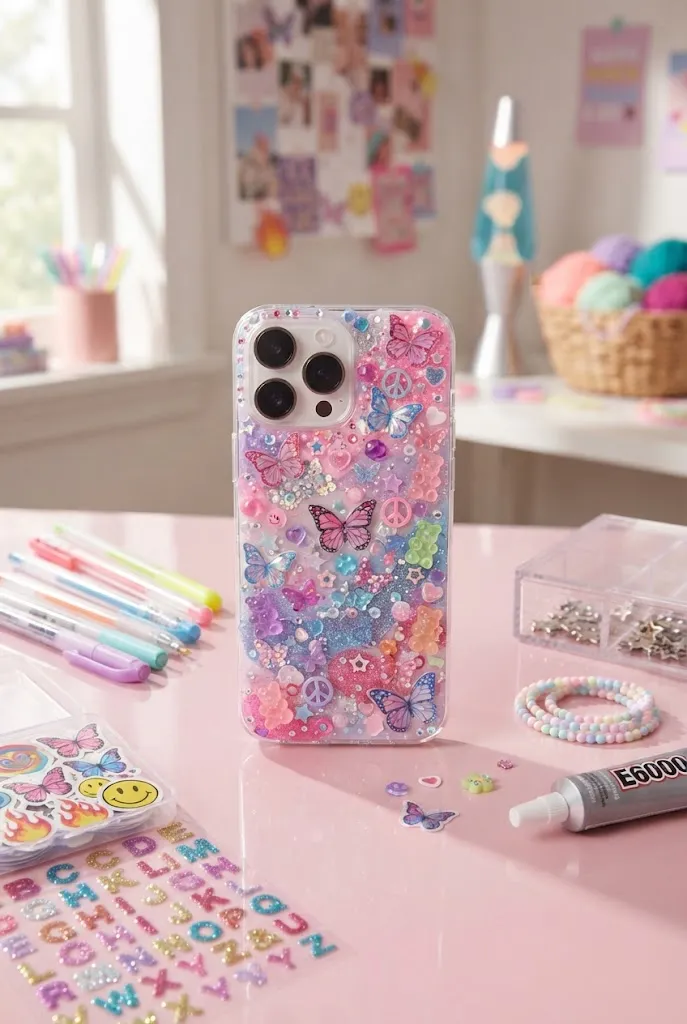
19. Y2K Sticker & Charm Case
Bring a nostalgic feel to your phone with a colorful Y2K-inspired design.
Combine playful stickers, butterflies, stars, hearts, colorful graphics, and small decorative elements. Bright pink, blue, purple, silver, and iridescent details can create a fun maximalist effect.
The key is to embrace the playful look rather than trying to make every element perfectly coordinated.
Try this: Choose one or two recurring motifs, such as butterflies and stars, to give the busy design some visual consistency.
20. Custom Mixed-Media Dream Case
If you can’t choose just one technique, combine several.
Start with a painted background, then add pressed flowers, pearls, lettering, stickers, or another small decorative feature. The goal isn’t to use every craft supply you own, but to combine a few elements that work together.
For example, a soft sage background could feature a botanical illustration, a few pressed flowers, and one small pearl detail.
Try this: Choose one dominant element first, then add one or two supporting details instead of layering everything at once.

Related: DIY Phone Case Ideas: Your Complete Guide to Customizing Your Case
How to Choose the Best DIY Phone Case Design
With so many possibilities, choosing a design can be harder than making one.
Start by thinking about how you want your finished phone case to look and how much time you want to spend on it.
Choose Your Aesthetic
Your existing style can make the decision easier.
For a clean look, try the minimalist initial, botanical line art, or color-block design. If you prefer softer details, pressed flowers, watercolor effects, and pearls may be a better fit.
For something more playful, consider doodles, Y2K stickers, checkerboards, or colorful polka dots.
Choose Your Skill Level
Beginners don’t need to start with the most complicated design.
Polka dots, simple initials, washi tape patterns, and basic color blocks are relatively straightforward starting points. More detailed options, such as embroidery thread or mixed-media designs, are better when you’re comfortable working with multiple materials.
Choose a Design That Matches Your Case
The surface of your phone case matters.
A smooth clear case gives you plenty of options for inserts, paint, stickers, and other decorative approaches. A flexible case may require materials that can move with the surface without cracking or peeling.
Also make sure your design doesn’t interfere with the camera opening, charging port, buttons, or wireless charging area.
Start With a Design You Can Easily Change
If you like changing your accessories frequently, choose a design that isn’t too permanent.
A decorative insert, photo collage, or washi tape design can be easier to replace than a heavily embellished case.
This is especially useful if you’re experimenting with a new aesthetic and aren’t sure how long you’ll want to keep it.
Tips for Making Your DIY Phone Case Last
A great design is only useful if it can survive everyday handling.
Start by cleaning the case thoroughly before decorating it. Dust, oils, and residue can prevent paint or adhesive from bonding properly.
If you’re trying a new material, test it first. An inexpensive spare case can save you from ruining the case you actually want to use.
Pay attention to the edges and functional areas of the case. Keep decorations away from buttons, camera openings, speakers, and charging ports.
It’s also important to give paints, adhesives, and finishes enough time to dry or cure. A project that feels dry on the surface may still need additional time before it is ready for daily use.
Avoid adding excessive bulk. Large decorations may look cute on a craft table but can make the phone uncomfortable to hold or difficult to place in a pocket or bag.
For designs that need additional protection, use a finish that is appropriate for both the decorating material and the case surface. Always follow the product’s directions rather than assuming one protective coating works for every type of DIY.
Finally, check the case on your phone before considering the project finished. Make sure it fits correctly and that none of your decorations interfere with the phone’s functions.
Frequently Asked Questions About DIY Phone Case Designs
What is the easiest DIY phone case design for beginners?
Simple polka dots, initials, doodles, and washi tape patterns are excellent starting points. They don’t require advanced artistic skills and are easy to customize with different colors.
What type of phone case is best for DIY decorating?
A plain, smooth clear case is one of the most versatile choices. It can work with inserts, stickers, paper designs, and many decorative approaches. The ideal case still depends on the specific technique and materials you plan to use.
Can you paint directly onto a phone case?
You can decorate some phone cases with suitable paints, but the result depends on the case material and the type of paint. Always check that your chosen product is appropriate for the surface and test it before committing to the final case.
How do you make a DIY phone case design last longer?
Start with a clean surface, use materials appropriate for the case, allow everything to dry or cure properly, and avoid placing decorations in areas that experience constant friction. A suitable protective finish can also help with some designs.
Can you use a clear phone case for DIY designs?
Yes. Clear cases are particularly useful because you can place photos, decorative paper, pressed flowers, or other flat designs underneath them. They can also serve as a base for many painted and decorative styles.
How can I make a DIY phone case without painting?
Try a photo collage, pressed flowers, washi tape, stickers, decorative paper, pearls, or other flat embellishments. These options let you create a personalized case without needing painting skills.
What can I put inside a clear phone case?
Flat photographs, decorative paper, printed illustrations, stickers, pressed flowers, small notes, and other thin decorative elements can work well. Avoid anything that could damage the phone or interfere with its buttons, camera, or charging functions.
How do you make a cute aesthetic phone case at home?
Start by choosing one aesthetic and a limited color palette. Then select a design such as pressed flowers for cottagecore, pearls and bows for a coquette look, celestial details for a dreamy style, or simple lettering for a minimalist case.
Can I use stickers to decorate a phone case?
Yes. Stickers are an easy way to personalize a case, especially when combined with a clear case. For everyday durability, choose materials and application methods appropriate for the case surface.
How do I protect a handmade phone case design?
Protection depends on the materials used. Allow decorations to fully dry or cure, avoid bulky pieces around functional areas, and use a compatible protective product when appropriate. Always follow the instructions for the specific material you’re using.
Final Thoughts on DIY Phone Case Designs
Creating a DIY phone case design doesn’t have to be complicated or expensive. A simple initial, a few pressed flowers, colorful dots, or a favorite photograph can completely change the look of an ordinary case.
The best project is the one that fits your style, skill level, and the materials you already have.
Choose one idea that catches your eye, gather a few supplies, and make it your own. If you’re still deciding, save this list so you can come back to your favorite DIY phone case ideas when you’re ready for your next craft project.